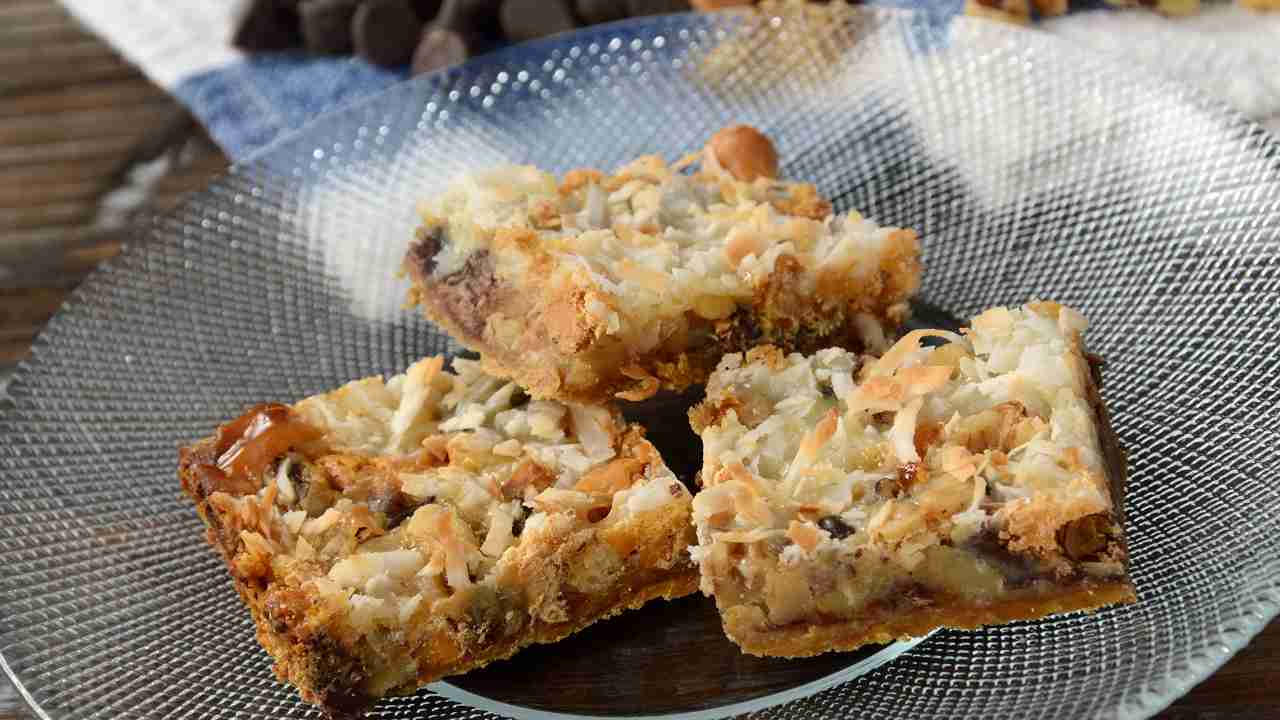
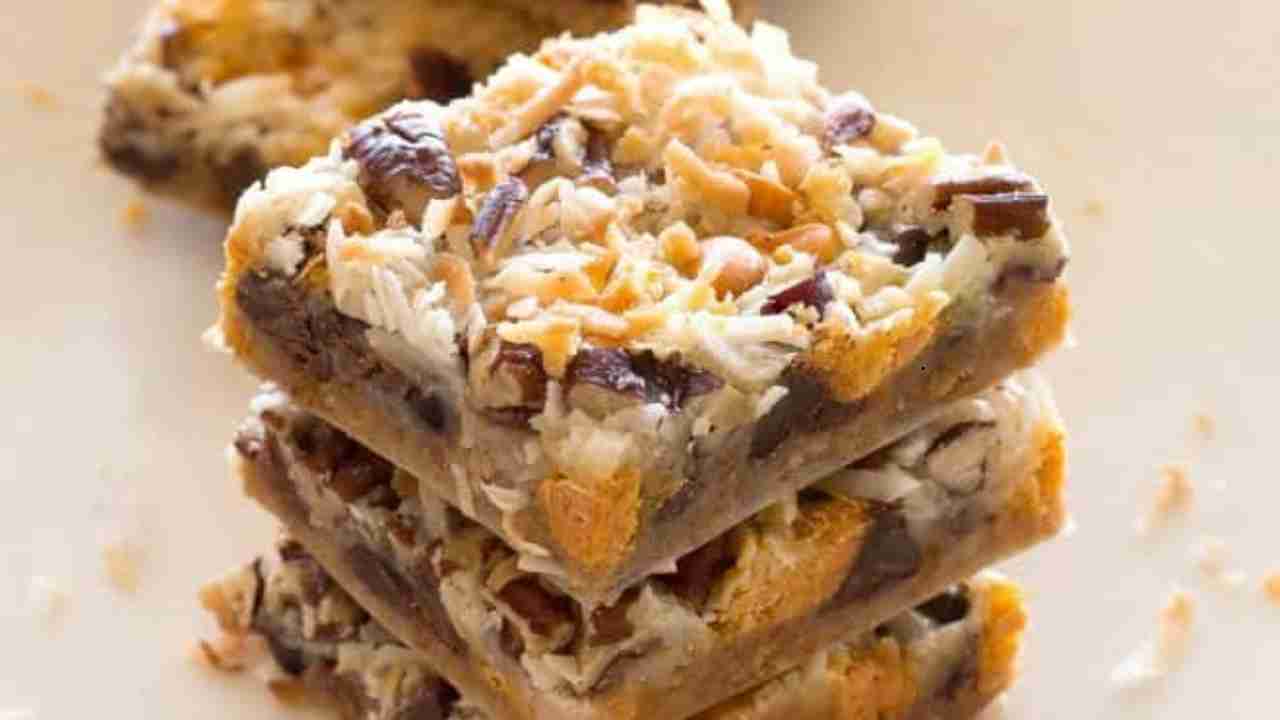
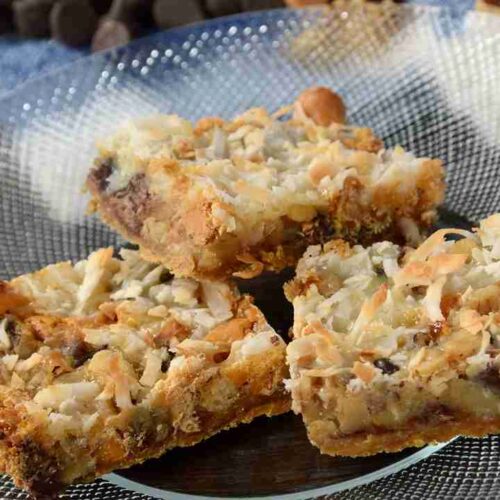
Magic Cookie Bars
Magic Cookie Bars, also called Seven Layer Bars or Hello Dolly Bars, are a timeless dessert. Their rich, chewy texture and sweet, crunchy layers make them a favorite for generations. This simple treat requires no mixing just layer the ingredients and bake.
Despite their long history, many people are still discovering this dessert for the first time. Some versions use different types of chips or nuts, but the classic combination of chocolate, butterscotch, coconut, and pecans remains a favorite.
These bars are perfect for holidays, potlucks, or everyday cravings. They store well, making them a great make-ahead dessert. Whether you grew up eating them or are trying them for the first time, Magic Cookie Bars never disappoint.
“Indulge in the rich layers of Magic Cookie Bars, featuring a buttery graham cracker crust, sweet chocolate, and crunchy coconut. For another delicious treat, try my Chocolate Chip Caramel Bars.”
But my previous STAR CRUNCH COOKIES RECIPE is also very delicious. If you want the recipe, go to my website a crispy cookies and see the ingredients for this recipe.
Magic Cookie Bars Ingredients
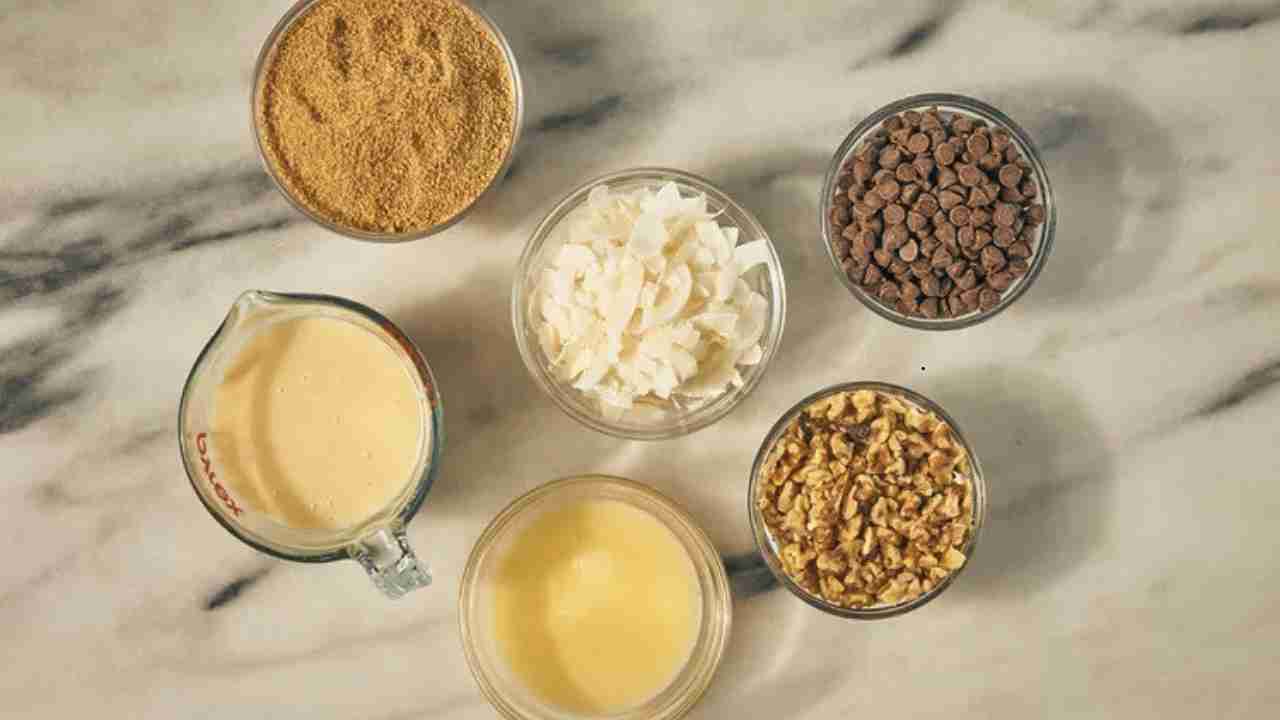
Crust
- Graham Cracker Crumbs (1 ½ cups): Forms a firm, buttery base for the bars.
- Melted Butter (½ cup): Binds the crumbs together, creating a rich foundation.
Sweet Layer
- Sweetened Condensed Milk (1 can, 15 oz): Adds sweetness and helps hold the layers together.
Chocolate and Chips
- Peanut Butter Chips (½ cup): Brings a nutty, creamy flavor.
- Milk Chocolate or Semi-Sweet Chips (½ cup): Provides a rich chocolate taste.
- White Chocolate Chips (½ cup): Adds sweetness and a smooth texture.
- Butterscotch Chips (½ cup): Enhances the bars with a warm caramel-like flavor.
Topping
- Coconut Flakes or Sweetened Shredded Coconut (1–1 ½ cups): Gives a chewy texture and a tropical hint.
Step-by-Step Instructions for Magic Cookie Bars
1. Preheat the Oven
Set your oven to 350°F to ensure even baking.
2. Prepare the Crust
- Melt ½ cup butter using a microwave or in a small saucepan over low heat.
- Spread 1 ½ cups graham cracker crumbs evenly across the bottom of a 9×13-inch pan.
- Pour the melted butter over the crumbs, then use a fork to press and compact the crust so it holds together.
3. Add the Layers
- Sprinkle 2 cups of assorted chocolate and butterscotch morsels evenly over the crust.
- Pour 1 can (15 oz) sweetened condensed milk over the morsels, ensuring full coverage.
4. Top with Coconut
- Spread coconut flakes or shredded coconut (1–1 ½ cups) over the condensed milk, covering the entire surface.
5. Bake to Perfection
- Place the pan in the oven and bake for 25 minutes.
- The edges should turn golden brown, and the center should be firm, not jiggly.
6. Cool and Serve
- Allow the bars to cool completely before cutting them into squares.
- Enjoy as a chewy, layered dessert perfect for any occasion.
Magic Cookie Bars or 7-Layer Bars?

These bars are often called Magic Bars or 7-Layer Bars, but they go by many names. Some even call them “Garbage Bars” because they are a great way to use up leftover baking ingredients.
A Time-Tested Recipe
The original version of these bars has been around for decades, with variations appearing in old church cookbooks and family recipe collections. This particular version comes from a church cookbook passed down from my Mother, making it a nostalgic treat enjoyed for generations.
Why the Name Variations?
- Magic Cookie Bars: The layers of ingredients seem to magically transform into a chewy, delicious treat.
- 7-Layer Bars: Traditional versions often contain seven ingredients, though some variations may have more or fewer.
- Garbage Bars: A fun nickname because you can mix and match pantry ingredients like different chocolate chips, nuts, or coconut.
No matter what you call them, these bars are a timeless dessert, loved for their easy preparation and irresistible taste.
How to Store, Freeze, and Thaw Magic Cookie Bars
Storing Magic Cookie Bars
- Let the bars cool completely before storing to prevent condensation and sogginess.
- Place them in an airtight container or wrap them tightly with plastic wrap to maintain freshness.
- Store at room temperature for up to 3 days or refrigerate for up to 1 week to keep them firm and chewy.
Freezing Magic Cookie Bars
- Ensure the bars are fully cooled before freezing to prevent texture changes.
- Slice into individual servings before freezing. This makes it easier to thaw only what you need.
- Wrap each bar in plastic wrap or aluminum foil for protection.
- Place wrapped bars in a freezer-safe airtight container or resealable plastic bag to avoid freezer burn.
- Label and date the container for easy tracking. These bars stay fresh in the freezer for up to 3 months.
Thawing Magic Cookie Bars
- To thaw naturally, remove the desired number of bars and let them sit at room temperature for about 30 minutes.
- For a slower thaw, place them in the refrigerator for a few hours.
- If you need them quickly, wrap a bar in a damp paper towel and microwave on the defrost setting for 1–2 minutes.
Proper storage ensures your Magic Cookie Bars stay fresh, chewy, and delicious, whether you’re enjoying them immediately or saving them for later.
Magic Cookie Bars Variations
Chocolate Chip Cookie Magic Bars
- Swap the graham cracker crust for a chocolate chip cookie dough base for a soft, chewy twist.
Lemon Magic Bars
- Use a lemon cookie crust instead of graham crackers.
- Add lemon zest to the coconut filling for a bright, citrusy flavor.
Peanut Butter Magic Bars
- Replace the crust with a peanut butter cookie base for a nutty flavor.
- Mix chopped peanuts into the coconut layer for extra crunch.
Caramel Magic Bars
- Drizzle caramel sauce over the top before baking for a rich, gooey finish.
Mint Magic Bars
- Use mint chocolate cookies for the crust.
- Add a few drops of peppermint extract to the coconut layer for a refreshing taste.
Berry Magic Bars
- Spread a layer of berry jam or preserves over the crust before adding the filling.
- Raspberry, strawberry, or blueberry jam pairs well with the other ingredients.
Endless Possibilities
Feel free to get creative! Try different cookie crusts, flavored chips, or mix-ins to customize the bars to your liking.
If you enjoyed the Magic Cookie Bars please rate it 5 stars and share it with loved ones!
I hope this recipe brings as much joy to your home as it does to mine .
Share your baking stories below and tag us on social media—Instagram, Facebook, and Pinterest—using the username Acrispy cookies for a chance to be featured. Explore our website for more recipes and inspiration.
happy baking!
Magic Cookie Bars Recipe
Ingredients
Crust
- Graham Cracker Crumbs 1 ½ cups: Forms a firm, buttery base for the bars.
- Melted Butter ½ cup: Binds the crumbs together, creating a rich foundation.
Sweet Layer
- Sweetened Condensed Milk 1 can, 15 oz: Adds sweetness and helps hold the layers together.
Chocolate and Chips
- Peanut Butter Chips ½ cup: Brings a nutty, creamy flavor.
- Milk Chocolate or Semi-Sweet Chips ½ cup: Provides a rich chocolate taste.
- White Chocolate Chips ½ cup: Adds sweetness and a smooth texture.
- Butterscotch Chips ½ cup: Enhances the bars with a warm caramel-like flavor.
Topping
- Coconut Flakes or Sweetened Shredded Coconut 1–1 ½ cups: Gives a chewy texture and a tropical hint.
Instructions
Preheat the Oven
- Set your oven to 350°F to ensure even baking.
Prepare the Crust
- Melt ½ cup butter using a microwave or in a small saucepan over low heat.
- Spread 1 ½ cups graham cracker crumbs evenly across the bottom of a 9×13-inch pan.
- Pour the melted butter over the crumbs, then use a fork to press and compact the crust so it holds together.
Add the Layers
- Sprinkle 2 cups of assorted chocolate and butterscotch morsels evenly over the crust.
- Pour 1 can (15 oz) sweetened condensed milk over the morsels, ensuring full coverage.
Top with Coconut
- Spread coconut flakes or shredded coconut (1–1 ½ cups) over the condensed milk, covering the entire surface.
Bake to Perfection
- Place the pan in the oven and bake for 25 minutes.
- The edges should turn golden brown, and the center should be firm, not jiggly.
Cool and Serve
- Allow the bars to cool completely before cutting them into squares.
- Enjoy as a chewy, layered dessert perfect for any occasion.