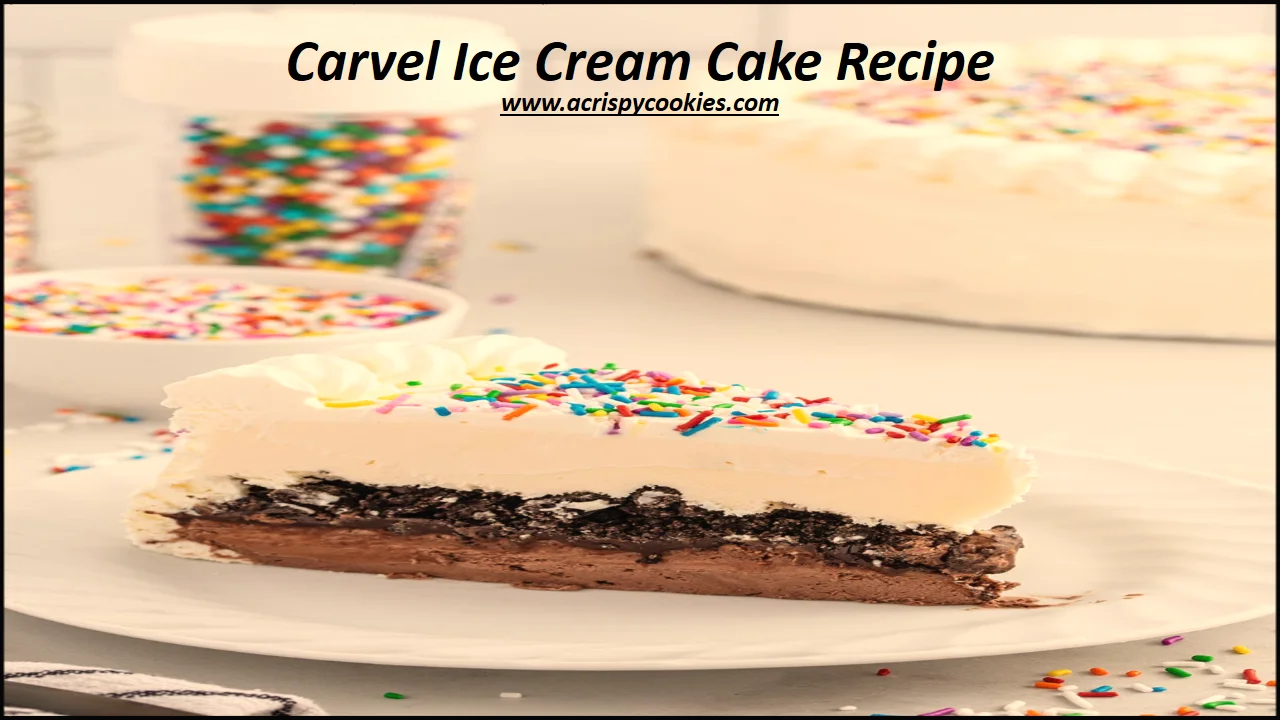
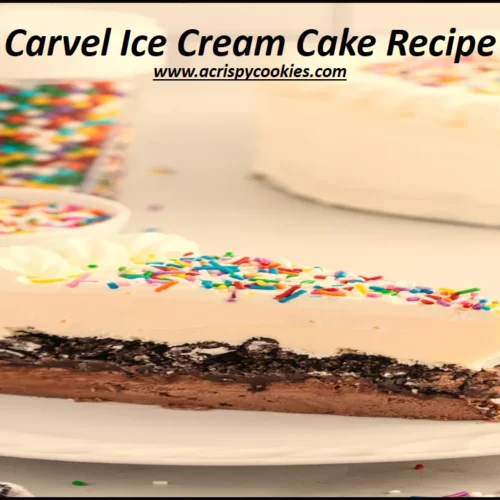
This ice cream cake is sure to be the highlight of any birthday party. It’s a homemade take on the classic Dairy Queen ice cream cake, featuring layers of ice cream, hot fudge, and Oreo cookie crumbs, all topped with whipped cream and sprinkles.
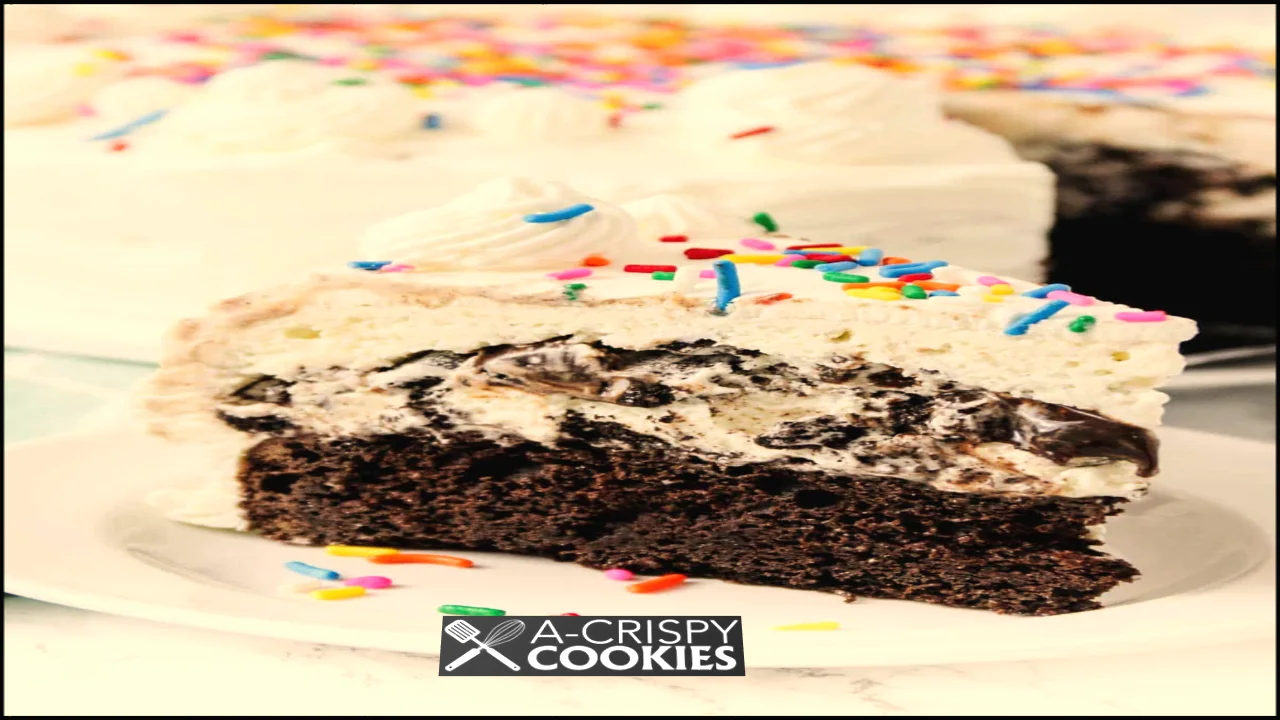
A slice of cake with chocolate and vanilla ice cream, rich hot fudge, and crunchy Oreo bits, served on a plate with colorful sprinkles.
I’ve always preferred ice cream cake over a traditional birthday cake. The layers of chocolate and vanilla ice cream, along with fudge and those delicious chocolate crunchies, were my absolute favorites.
What Is Carvel Ice Cream Cake Recipe?
A Carvel ice cream cake recipe is a homemade delight often enjoyed for celebrations. Originating in New York, it has become a beloved tradition for birthdays. Recreating the magic of Carvel, known for its special ice cream cakes, is a popular way to add a personal touch to your festivities.
“When I make a Carvel ice cream cake recipe, I like picking my favorite flavors, such as mint chocolate chip and cookies and cream. I make it special and yummy for me and my friends.”
To make a Carvel-style ice cream cake, you layer different flavors and textures like chocolate peanut butter, crushed Oreos, chocolate chip cookie dough, raspberry cream, magic shell, and whipped cream. Each layer adds to the cake’s deliciousness, and you can get creative by adding sprinkles or nuts.
There’s also a sugar-free version for those watching their sugar intake. This low-carb, sugar-free recipe for Carvel ice cream cake frosting follows the Trim Healthy Mama guidelines, making it a guilt-free treat.
Making a copycat Carvel ice cream cake recipe takes a bit of planning and patience. It’s a step-by-step process that requires time in the freezer for each layer to set. Though it takes some effort, the result is a stunning dessert with cake, fudge, cookies, ice cream, and whipped cream.
The Ice cream cake cravel recipe is like a celebration on a plate, bringing joy and togetherness. Whether you follow a traditional recipe or add your own twist, this homemade creation is sure to be a cherished memory for any occasion.
Carvel Ice Cream Cake Recipe Equipment
- Mixing Bowls
- Round Cake Pans
- Parchment Paper
- Spatula
- Hand mixer or Stand mixer
- Whisk or Spoon
- Plastic Wrap
- Freezer Space
- Hot Water and Towel
- Decorating Tools (Optional)
- Crushing Tool (Optional)
Carvel Ice Cream Cake Recipe Ingredients and Instructions
Step 1: Chocolate Crunch Layer
Ingredients
- 2 tablespoons of refined coconut oil
- 1/4 teaspoon blackstrap molasses
- 1/2 cup almond flour
- 1/3 cup gentle sweet (or your own sweetener blend)
- Pinch of mineral salt
- 2 tablespoons of unsweetened cocoa powder
Instructions
- Melt 2 tablespoons of refined coconut oil.
- Stir in 1/4 teaspoon of blackstrap molasses.
- Add 1/2 cup almond flour, 1/3 cup gentle sweet, a pinch of mineral salt, and 2 tablespoons of unsweetened cocoa powder.
- Mix until you achieve a crumb-like texture.
- Set aside for later use as the chocolate crunch layer.
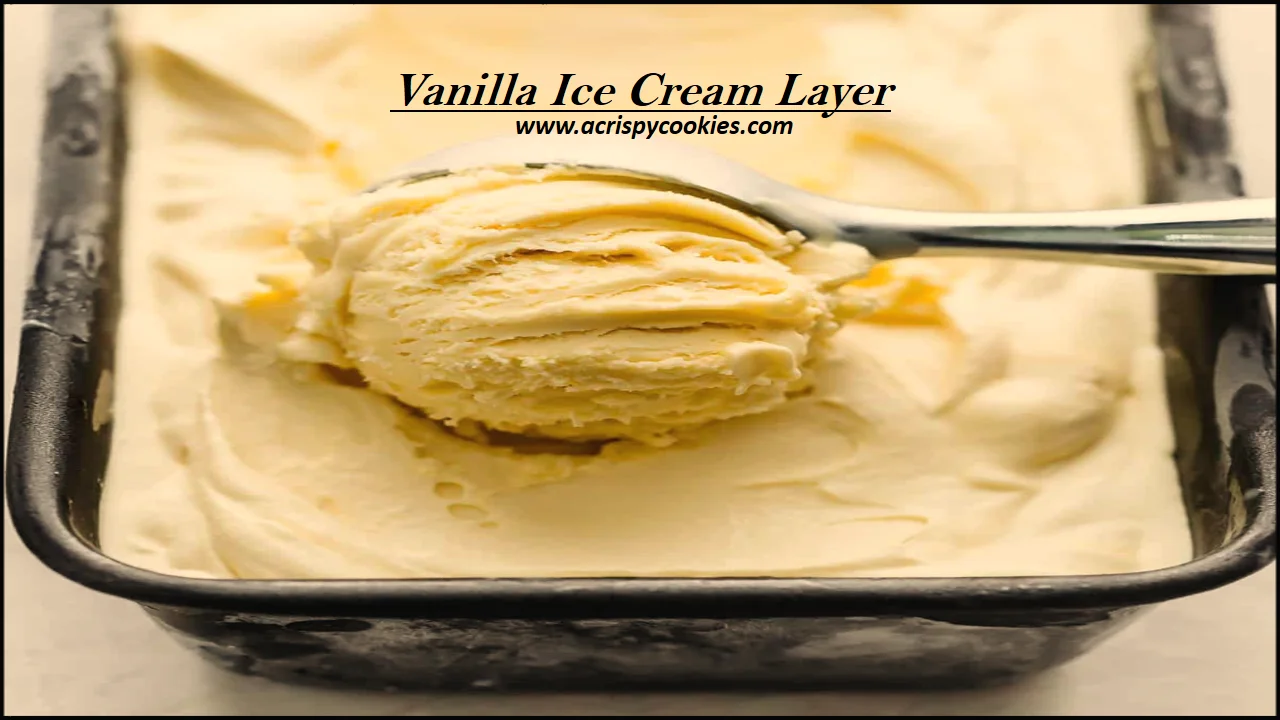
Step 2: Vanilla Ice Cream Layer
Ingredients
- 1/2 cup cottage cheese
- 1/4 cup heavy cream
- 1/4 cup THM Gentle Sweet (or your sweetener blend)
- 1 & 1/4 cups unsweetened cashew or almond milk
- 6 tablespoons of unflavored whey protein
- 1 teaspoon of vanilla extract
- 1/16 teaspoon salt
- 1/2 teaspoon Gluccie
Instructions
- In a blender, combine 1/2 cup cottage cheese, 1/4 cup heavy cream, 1/4 cup THM Gentle Sweet, 1 & 1/4 cups unsweetened cashew or almond milk, 6 tablespoons unflavored whey protein, 1 teaspoon vanilla extract, 1/16 teaspoon salt, and 1/2 teaspoon Gluccie.
- Blend until smooth.
- Pour the mixture into an ice cream maker and churn for about 20 minutes.
- Spread the vanilla ice cream in a container.
- Sprinkle the chocolate crunch layer evenly on top.
- Freeze for at least 1-2 hours until solid.
Step 3: Chocolate Ice Cream Layer
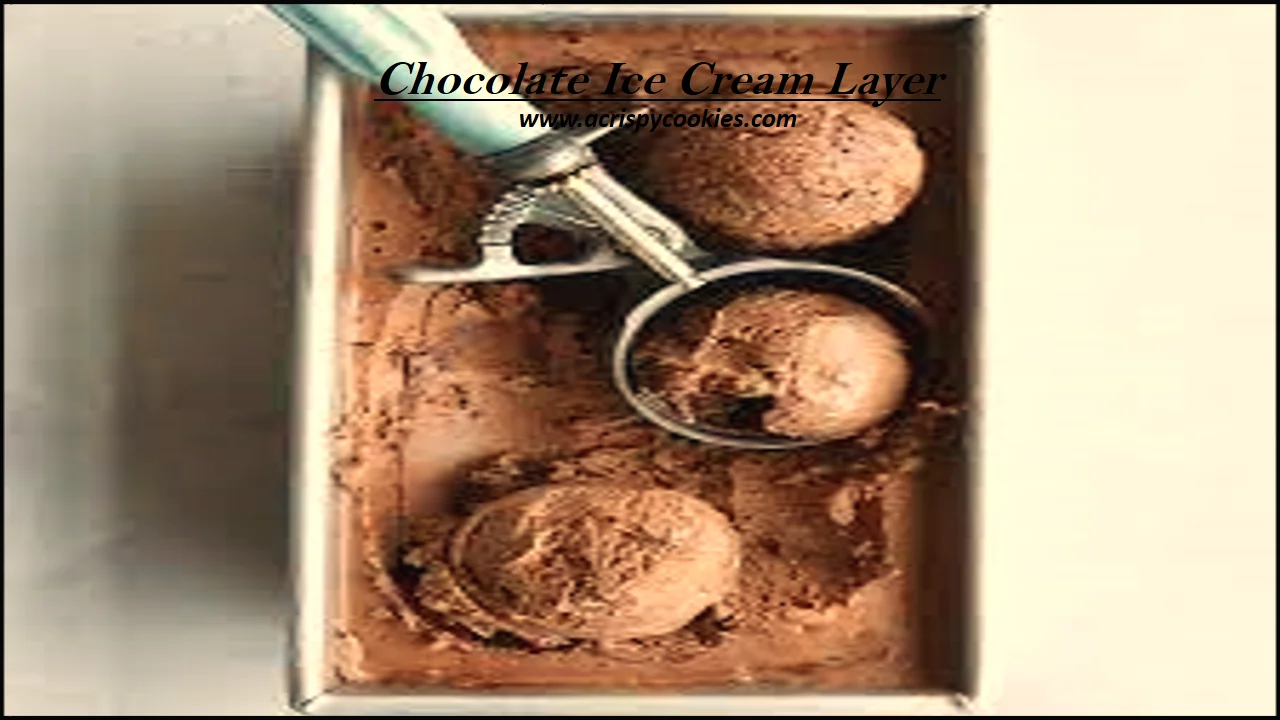
Ingredients
- 1/2 cup cottage cheese
- 1/4 cup heavy cream
- 1/4 cup THM Gentle Sweet (or your sweetener blend)
- 1 & 1/4 cups unsweetened cashew or almond milk
- 2 tablespoons of unflavored whey protein
- 3 tablespoons of cocoa powder
- 1 teaspoon of vanilla extract
- 1/16 teaspoon salt
- 1/2 teaspoon Gluccie
Instructions
- Repeat the blending process for the chocolate ice cream ingredients.
- Pour the chocolate ice cream over the frozen vanilla layer and spread evenly.
- Freeze for at least 2-3 hours until solid.
Step 4: Whipped Cream Frosting
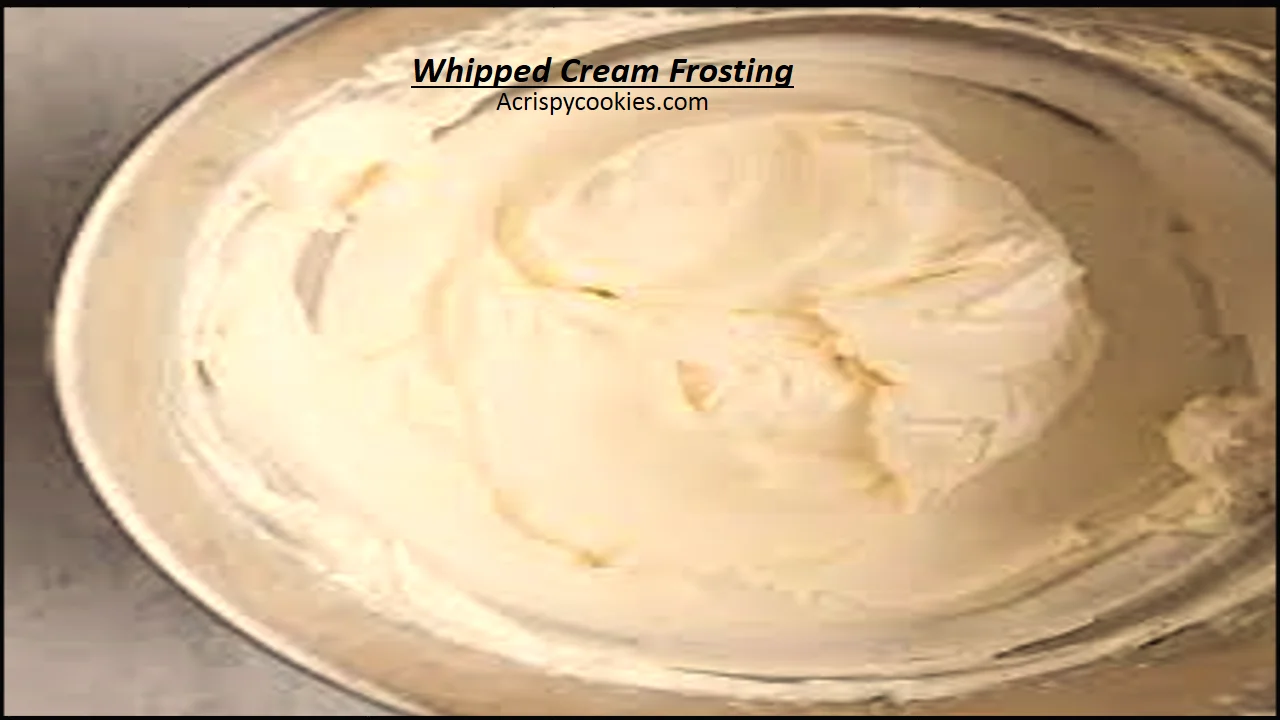
Ingredients
- 1 cup of whipping cream
- 1/2 cup powdered Swerve (or your sweetener blend)
- 1/2 teaspoon vanilla extract
- 1/4 teaspoon Gluccie
Instructions
- In a cold bowl, whip 1 cup of whipping cream until it starts to thicken.
- Gradually add 1/2 cup powdered Swerve, 1/2 teaspoon vanilla extract, and 1/4 teaspoon Gluccie.
- Continue whipping until stiff peaks form.
Step 5: Assembling the Cake
For Decorating
- Sugar-free sprinkles
Instructions
- Place the chocolate ice cream cake layers on a serving plate.
- Carefully remove the pan or ring to expose the layers.
- Ice the cake with the stabilized whipped cream, ensuring even coverage.
- Decorate with sugar-free sprinkles.
Step 6: Final Steps
- Return the decorated cake to the freezer to allow it to set.
- Before serving, let the cake thaw for 10-15 minutes.
Enjoy your homemade Carvel Ice Cream Cake Recipe.

Expert Tips for the best Carvel Ice Cream Cake Recipe
For a perfect Carvel Ice Cream Cake recipe, consider these expert tips:
- Get good ice cream and fresh stuff.
- Make the ice cream a bit soft for easy mixing.
- Spread each layer evenly and smooth it out.
- If using a special pan, line it with paper for easy cake removal.
- Pour lots of Magic Shell (chocolate sauce) on the crunchy layer.
- Add a bit of gelatin to the whipped cream so it stays fluffy.
- Freeze the cake between layers to keep them apart.
- Let the whole cake freeze well before adding decorations.
- Cut it with a sharp, warm knife for clean slices.
- Put fresh berries or chocolate shavings on just before serving.
- Serve on plates that were in the fridge to stop melting.
- Try different ice cream flavors and toppings.
- Plan how you’ll decorate before starting.
- Share your tasty cake with others to spread joy.
These tips will help you create a delicious and visually appealing Carvel Ice Cream Cake recipe.
FAQ’s about the Carvel Ice Cream Cake Recipe
What makes the crunchy layer in the Carvel ice cream cake recipe?
The crunchy stuff in Carvel ice cream cake recipe is often a layer of chocolate crunchies. It’s a mixture of chocolate cookie crumbs and Magic Shell chocolate sauce, providing a delicious and textural contrast to the smooth ice cream layers.
Does Carvel use whipped cream?
Carvel ice cream cakes typically use stabilized whipped cream, which is made by whipping heavy cream with sugar, vanilla, and sometimes gelatin to maintain its structure and texture.
Does Carvel use real milk?
Yes, Carvel ice cream is made with real milk. The use of dairy, including milk, is common in ice cream production to achieve a creamy and rich texture.
How does ice cream cake differ from regular cake?
The main difference lies in the primary ingredient. Ice cream cake incorporates layers of ice cream along with other components like cake layers, crunchies, and toppings. Traditional cakes are baked and usually don’t include ice cream as a primary ingredient. Ice cream cakes offer a unique combination of frozen and cake elements.
Is Carvel ice cream made with eggs?
Carvel ice cream may contain eggs, depending on the specific flavor and recipe. Traditional ice cream recipes often include eggs to create a smooth and creamy texture.
How long does carvel crunch ice cream cake last?
Carvel ice cream cakes can be stored in the freezer for an extended period. For the best quality, it’s recommended to consume the cake within a few weeks. Always check the expiration date or recommended storage duration provided by Carvel or the retailer.
Storage Tips for the Carvel Ice Cream Cake Recipe
Store your Carvel ice cream cake in the freezer to keep it fresh. Wrap it tightly with plastic wrap or foil to prevent freezer burns and odors. Consider using an airtight container for added protection against air exposure. Label the cake with the purchase date for easy tracking.
If storing different flavors, wrap each slice individually or use dividers to prevent flavors from blending. When ready to enjoy, thaw the cake in the refrigerator for a smoother texture, avoiding room-temperature thawing. Consume the stored cake within a few weeks for the best quality, and check the product label for specific storage recommendations.
More Delicious Cake Recipes
If you tried making this Carvel Ice Cream Cake Recipe, please share your thoughts with a 5-star rating and comment below. Your feedback helps others decide if they want to try it too. Share your baking success on social media and tag me at “acrispycookies” on Instagram, Facebook, Pinterest, and Twitter. I am excited to see your yummy creations.
Happy Baking! 🍰😊
Easy Copycat Carvel Ice Cream Cake Recipe
Equipment
- Mixing bowls
- Round Cake Pans
- Parchment paper
- Spatula
- Hand mixer or Stand mixer
- Whisk or Spoon
- Plastic Wrap
- Freezer Space
- Hot Water and Towel
- Decorating Tools (Optional)
- Crushing Tool (Optional)
Ingredients
Chocolate Crunch Layer:
- 2 tablespoons refined coconut oil
- ¼ teaspoon blackstrap molasses
- ½ cup almond flour
- ⅓ cup gentle sweet or your own sweetener blend
- Pinch of mineral salt
- 2 tablespoons unsweetened cocoa powder
Vanilla Ice Cream Layer:
- ½ cup cottage cheese
- ¼ cup heavy cream
- ¼ cup THM Gentle Sweet or your sweetener blend
- 1 & 1/4 cups unsweetened cashew or almond milk
- 6 tablespoons unflavored whey protein
- 1 teaspoon vanilla extract
- 1/16 teaspoon salt
- ½ teaspoon Gluccie
Chocolate Ice Cream Layer:
- ½ cup cottage cheese
- ¼ cup heavy cream
- ¼ cup THM Gentle Sweet or your sweetener blend
- 1 & 1/4 cups unsweetened cashew or almond milk
- 2 tablespoons unflavored whey protein
- 3 tablespoons cocoa powder
- 1 teaspoon vanilla extract
- 1/16 teaspoon salt
- ½ teaspoon Gluccie
Whipped Cream Frosting:
- 1 cup whipping cream
- ½ cup powdered Swerve or your sweetener blend
- ½ teaspoon vanilla extract
- ¼ teaspoon Gluccie
For Decorating:
- Sugar-free sprinkles
Instructions
Step 1: Chocolate Crunch Layer
- Melt 2 tablespoons of refined coconut oil.
- Stir in 1/4 teaspoon of blackstrap molasses.
- Add 1/2 cup almond flour, 1/3 cup gentle sweet, a pinch of mineral salt, and 2 tablespoons of unsweetened cocoa powder.
- Mix until you achieve a crumb-like texture.
- Set aside for later use as the chocolate crunch layer.
Step 2: Vanilla Ice Cream Layer
- In a blender, combine 1/2 cup cottage cheese, 1/4 cup heavy cream, 1/4 cup THM Gentle Sweet, 1 & 1/4 cups unsweetened cashew or almond milk, 6 tablespoons unflavored whey protein, 1 teaspoon vanilla extract, 1/16 teaspoon salt, and 1/2 teaspoon Gluccie.
- Blend until smooth.
- Pour the mixture into an ice cream maker and churn for about 20 minutes.
- Spread the vanilla ice cream in a container.
- Sprinkle the chocolate crunch layer evenly on top.
- Freeze for at least 1-2 hours until solid.
Step 3: Chocolate Ice Cream Layer
- Repeat the blending process for the chocolate ice cream ingredients.
- Pour the chocolate ice cream over the frozen vanilla layer and spread evenly.
- Freeze for at least 2-3 hours until solid.
Step 4: Whipped Cream Frosting
- In a cold bowl, whip 1 cup of whipping cream until it starts to thicken.
- Gradually add 1/2 cup powdered Swerve, 1/2 teaspoon vanilla extract, and 1/4 teaspoon Gluccie.
- Continue whipping until stiff peaks form.
Step 5: Assembling the Cake
- Place the chocolate ice cream cake layers on a serving plate.
- Carefully remove the pan or ring to expose the layers.
- Ice the cake with the stabilized whipped cream, ensuring even coverage.
- Decorate with sugar-free sprinkles.
Step 6: Final Steps
- Return the decorated cake to the freezer to allow it to set.
- Before serving, let the cake thaw for 10-15 minutes.
- Enjoy your homemade Carvel Ice Cream Cake recipe.
Notes