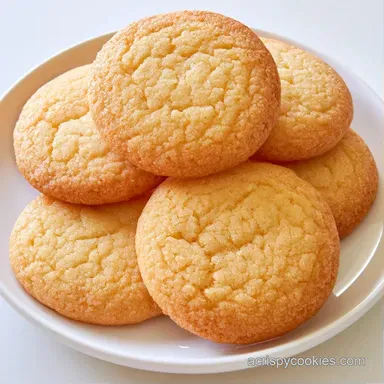
Glutenfree Drop Sugar Cookies: Soft and Pillowy
- Time: 20 min active + 10 min baking
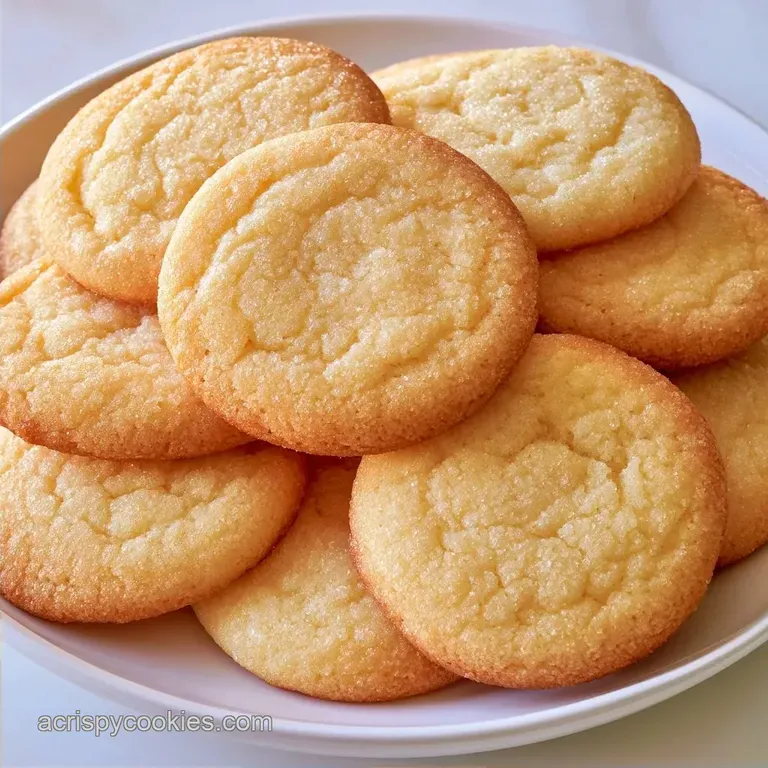
- Flavor/Texture Hook: Buttery, sugar-coated edges with a soft, pillowy center
- Perfect for: Spontaneous dessert cravings or baking with children
The scent of warm vanilla filling the kitchen is pure comfort. I remember wanting a batch of treats for movie night, but I was worn out, and the idea of messing with a rolling pin and cutters felt overwhelming. I just wanted a taste of childhood without the effort of shaping every piece.
After some experimentation, I realized the best approach was simply dropping the dough. When you stop worrying about the perfect circle, you get these lovely, rustic mounds that develop a wonderful sugar crust. These GlutenFree Drop Sugar Cookies are my favorite whenever I want a kitchen win without spending hours on preparation.
You can expect a treat that doesn't taste like a "substitute." They possess that traditional, rich sweetness and a consistency that stays intact. Trust me, your guests won't even realize they're gluten-free unless you mention it.
Quick Specs for GlutenFree Drop Sugar Cookies
The beauty of this recipe is the speed. You're looking at 20 minutes of prep and 10 minutes in the oven. Since we aren't chilling the dough for hours, you go from craving to eating in about 30 minutes flat.
I usually make a batch of 24, which is just the right amount to fill a platter. If you're baking for a crowd, you can easily double it, but just make sure you don't overcrowd your baking sheets. Give them space to breathe so the edges get that nice, golden crisp.
How the Texture Stays Soft
Flour Blend: Using a blend with xanthan gum provides the stretch that gluten usually handles. This stops the cookies from snapping like a cracker and keeps them chewy.
Butter Temperature: Room temperature butter traps air when beaten with sugar. This air creates tiny pockets that lift the dough, which is why they don't turn into flat pancakes. If you love a different vibe, you can pair these with my Classic Chocolate Chip Cookies recipe for a full dessert spread.
Sugar Coating: Rolling the balls in granulated sugar creates a barrier. This results in a crisp exterior that contrasts with the soft, almost fudgy interior.
Ingredient Deep Dive
The butter is the backbone here. I use unsalted butter so I can control the salt levels myself. If you use salted, just skip the extra pinch of sea salt in the dry mix.
The gluten-free flour blend is the most important part. Look for one that says "measure for measure" or "1 to-1." These already have the binders needed to keep the cookie from falling apart.
If your flour feels too gritty, letting the dough sit for 5 minutes before scooping can help the rice flour hydrate.
For the sugar, granulated white sugar is a must for that specific "sugar cookie" snap. I've tried brown sugar, but it makes them too chewy and changes the color too much. The vanilla extract is where the nostalgia lives, so don't be afraid to use a high-quality pure extract.
Gear You'll Need
While you don't need specialized equipment, certain tools are helpful. A stand mixer is excellent for creaming the butter, though a handheld mixer is perfectly adequate.
Make sure to have a baking tray and parchment paper ready. The parchment is essential for avoiding stuck cookies and making the cleanup process much faster. To stay organized, use a medium bowl for dry ingredients and a larger one for the wet mixture.
Finally, a tablespoon or a small cookie scoop ensures uniform portions for a consistent bake.
Key Steps for Baking
Prepping the Workspace
Preheat your oven to 350°F (175°C). Prepare your baking pans by lining them with silicone mats or parchment. Set aside a small bowl of extra sugar for coating the dough.
Creaming the Butter and Sugar
Combine the softened butter and 1 cup of sugar on medium high speed. Beat for 2-3 minutes until the texture becomes pale and fluffy to properly aerate the batter.
Adding Wet Ingredients
Stir in the egg and vanilla extract. Mix until the consistency is smooth and well combined.
Folding in Dry Ingredients
Reduce the mixer speed. Slowly incorporate the gluten-free flour, salt, and baking soda. Stir until the batter is uniform. Note: Overmixing can make GF cookies too dense.
Shaping the Dough
Scoop out rounded tablespoons of dough. Roll them into 1 inch spheres between your palms.
The Sugar Roll
Toss each ball in the additional granulated sugar. Ensure they are fully coated to achieve a sparkly finish.
Placing the Cookies
Arrange the balls on your prepared pans. Keep 2 inches of space between each cookie to allow for spreading.
The Bake
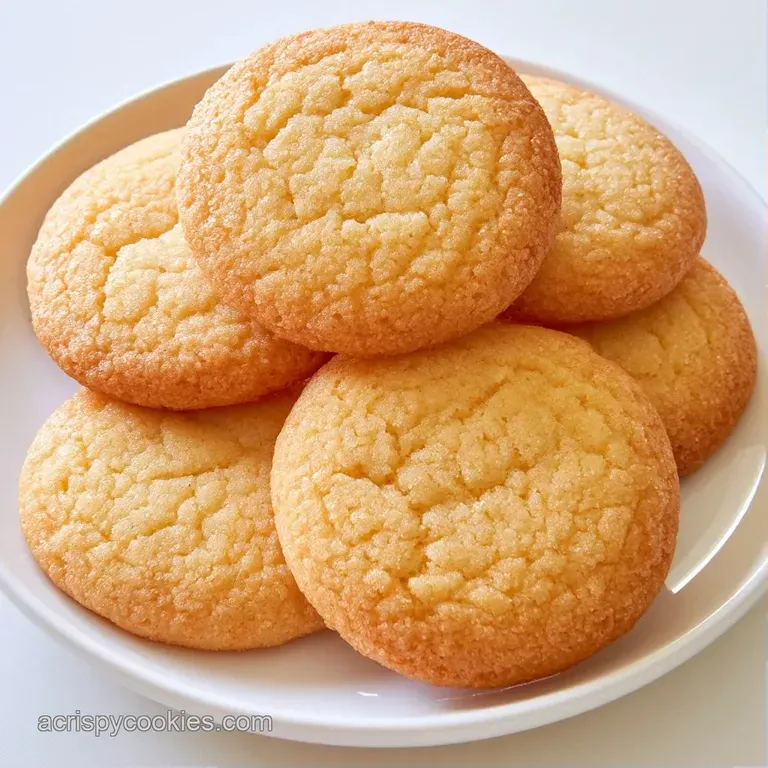
Bake for 9-11 minutes. Pull them from the oven as soon as the edges are barely golden. The centers should still look slightly soft.
Avoiding Kitchen Disasters
If your cookies turn into flat discs, your butter was likely too soft. When butter is close to melting, it loses the ability to maintain air pockets, causing the dough to spread. To solve this, simply place your scooped balls in the refrigerator for 15 minutes prior to baking.
A "gritty" texture is another frequent problem, often associated with certain rice based GF flours. To fix this, allow the dough to rest for several minutes after mixing so the flour can fully hydrate.
Fixing Common Issues
| Problem | Fix |
|---|---|
| Cookies spread too thin | Chill dough balls 15 mins before baking |
| Gritty texture | Let dough rest 5-10 mins before scooping |
| Bottoms are burnt | Use parchment paper or a double sheet pan |
| Cookies are too dry | Bake for 1 minute less; check centers |
Storage and Leftover Tips
Store these in a tight container on your kitchen counter for up to 5 days. In very humid climates, dusting the tops with a bit of powdered sugar prevents them from becoming sticky.
These also freeze well for longer keeping. Once baked, the cookies can stay in the freezer for up to 3 months inside a freezer friendly pouch. To enjoy them, let them thaw for an hour or warm them in a 300°F oven for 3 minutes to restore that oven fresh quality.
To minimize waste, bake any small amounts of leftover dough as a "tester" mini cookie. Additionally, keep any extra rolling sugar in a jar to use for your next batch.
Dietary Adaptations
To make these gluten free dairy free sugar cookies, swap the butter for a chilled vegan butter stick. Avoid using oil, as it will make the cookies spread too much and lose that signature structure.
If you want to use almond flour, replace about 1/2 cup of the GF blend with superfine almond flour. This adds a nutty depth and a more moist crumb. It's a great way to add a bit of protein to your treat. If you're on a baking streak, these pair nicely with a homemade cinnamon sugar sourdough bread for a cozy weekend.
Decision Shortcut:
- Extra zing? → fold in 1 tsp lemon zest
- More chew? → add 1 tbsp honey
- Festive look? → use colored sanding sugar
What to Serve This With
These are classic, so they go with almost anything. A cold glass of almond milk or a hot cup of Earl Grey tea balances the sweetness perfectly.
If you're serving these at a party, try adding some color balance to the platter. I love adding a few fresh raspberries or sliced strawberries around the cookies. The bright red pops against the pale gold of the cookies. You can also add a few mint leaves for a touch of green.
For a more indulgent treat, serve them with a small bowl of raspberry jam or a chocolate drizzle. The tartness of the berries cuts through the buttery richness of the dough.
Comparison: Baking Methods
| Feature | Traditional Oven | Air Fryer |
|---|---|---|
| Texture | Even golden edges | Crispier exterior |
| Time | 10 minutes | 7-8 minutes |
| Batch Size | Large (24 cookies) | Small (3-4 cookies) |
Right then, you've got everything you need. These GlutenFree Drop Sugar Cookies are all about simplicity and that satisfying sugar crunch. Give them a whirl and let me know how they turn out!
Recipe FAQs
How to bake these gluten-free cookies?
Preheat the oven to 350°F and line your baking sheets. Bake the sugar coated dough balls for 9 11 minutes until the edges are just golden.
Do gluten-free sugar cookies lack structure without wheat?
No, and here's why. The gluten-free flour blend provides the necessary framework to keep the cookies from spreading too much.
Why do these cookies stay rounded?
Rolling the dough into 1 inch balls between your palms prevents them from flattening. This simple step ensures the centers remain soft and plump.
Where should I store these once they cool?
Store these in a sealed jar on your counter. If you like this soft texture, see how similar results are achieved in our monster cookie bars.
Glutenfree Drop Sugar Cookies