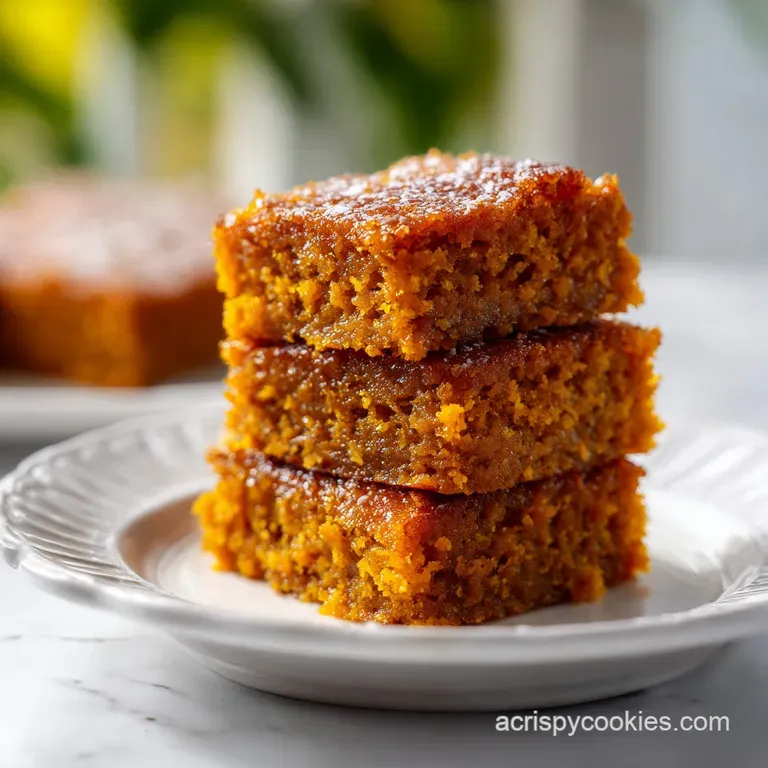
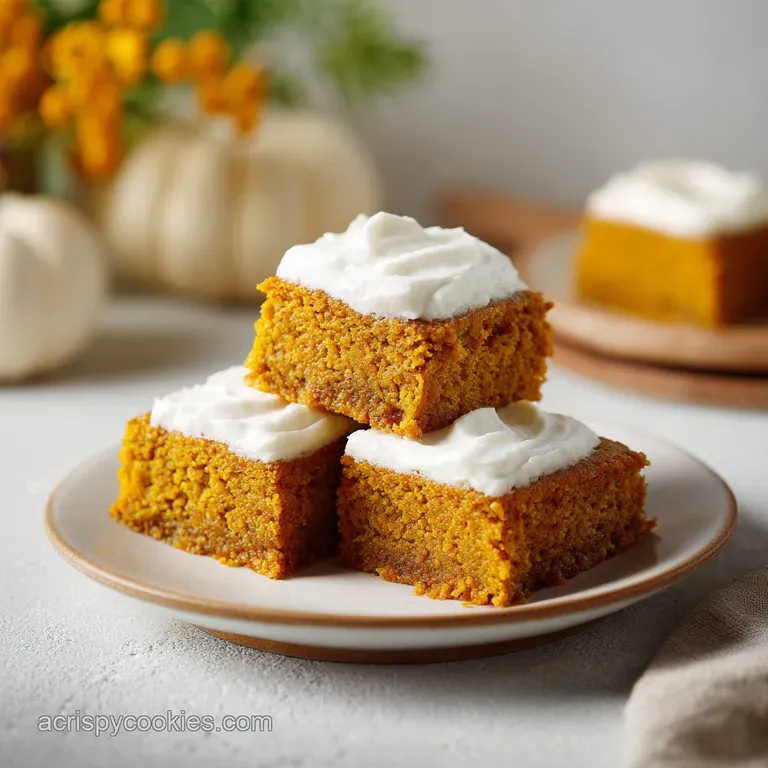
Healthy Pumpkin Bars: Chewy and Flourless
- Time: Active 10 minutes, Passive 25 minutes, Total 35 minutes
- Flavor/Texture Hook: Earthy, spiced, and chewy with pockets of velvety dark chocolate
- Perfect for: Rapid meal prep, healthy school snacks, or a low effort autumn dessert
- Why These Healthy Pumpkin Bars Actually Hold Together
- Why the Texture Stays Tender and Chewy
- Crucial Recipe Specifications and Timing Data
- Selecting Your Pantry Staples for Maximum Flavor
- Keeping It Simple with Basic Kitchen Tools
- The Step-By-Step Path to a Golden Bake
- Solving Common Baking Flubs and Texture Issues
- Scaling Your Batch for Parties or Meal Prep
- Flavor Variations to Suit Your Cravings
- Myths About Healthy Fall Baking Debunked
- How to Store and Repurpose Your Leftovers
- Pairing Ideas to Round Out the Snack
- Recipe FAQs
- 📝 Recipe Card
Why These Healthy Pumpkin Bars Actually Hold Together
Did you know that most "pumpkin" you buy in a can is actually a blend of various winter squashes like Dickinson pumpkins, which look more like butternut squash? It is a strange kitchen secret, but it matters because these squashes have a lower water content than the classic Jack o'-lantern, which gives us that concentrated flavor.
When I first started making pumpkin bars, I struggled with the texture. They were either too dry like a rock or so wet they felt like undercooked oatmeal. The secret I found was all about how we treat the oats.
We are skipping the expensive almond flour or the heavy all purpose flour today. Instead, we use rolled oats in two different ways to create a structure that is both hearty and soft.
It is a trick that makes these bars feel substantial enough for a breakfast on the go but sweet enough to satisfy that 3 PM chocolate craving. Plus, because we are using maple syrup and almond butter, the fat content is much more stable than butter heavy recipes, meaning these won't turn into a greasy mess if they sit out at room temperature for an hour.
You are going to love how the house smells when the pumpkin pie spice hits the heat of the oven. It is that classic, cozy aroma that makes everyone gravitate toward the kitchen. I usually make a double batch because these disappear faster than I can get them onto a cooling rack.
Trust me, once you see how easy it is to whip these up in one bowl, you will never go back to the boxed mixes or the complicated multi step recipes again.
Why the Texture Stays Tender and Chewy
- Oat Transformation: Pulsing half the oats into a coarse powder creates a "flour" that binds the wet ingredients, while the whole oats provide a satisfying chew.
- Almond Butter Stability: The natural fats in almond butter act as an emulsifier, holding the pumpkin moisture in place so the bars don't weep or become soggy.
- Osmotic Hydration: Letting the batter sit for 5 minutes allows the dry oats to pull moisture from the pumpkin and egg, which prevents a grainy or dry mouthfeel.
- Leavening Balance: Using both baking powder and soda reacts with the acidic maple syrup and pumpkin to create tiny air pockets, ensuring the bars aren't overly dense.
| Method | Time | Texture | Best For |
|---|---|---|---|
| Standard Oven | 25 minutes | Set center, golden edges | Maximum structural integrity for travel |
| Air Fryer | 18 minutes | Extra crispy top, soft middle | Small batches or quick cravings |
| Toaster Oven | 22 minutes | Evenly browned and toasted | Saving energy on hot days |
The standard oven remains my favorite for this recipe because the consistent surrounding heat allows the center to set perfectly without scorching the dark chocolate chips. If you use an air fryer, make sure to lower the temperature to 160°C to prevent the top from burning before the middle is fully cooked through.
Crucial Recipe Specifications and Timing Data
| Fast Prep Version | Classic Butter Version | Texture Difference |
|---|---|---|
| Maple Syrup & Almond Butter | Butter & White Sugar | Chewy and dense vs. cake like and light |
| Pulsed Rolled Oats | All Purpose Flour | Hearty and fiber rich vs. soft and airy |
| One Bowl Whisking | Creaming Butter/Sugar | 10 minutes prep vs. 20 minutes prep |
When we talk about a "fast" recipe, we aren't just cutting corners on flavor. We are using smarter ingredients that do double duty. Almond butter provides the fat and the protein needed for structure, while the maple syrup offers sweetness and liquid volume simultaneously.
This allows us to hit that 35 minutes total time mark without sacrificing the quality you expect from a homemade treat.
Selecting Your Pantry Staples for Maximum Flavor
| Ingredient | Science Role | Pro Secret |
|---|---|---|
| Pumpkin Puree | Provides moisture and pectin | Always use "pure" pumpkin, not spiced pie filling |
| Rolled Oats | Structural fiber and binder | Pulse half to create "flour" for better cohesion |
| Almond Butter | Healthy fat and emulsifier | Use the "drippy" kind for easier mixing |
| Maple Syrup | Liquid sweetener and acid | Grade A Dark has the most intense maple flavor |
The Wet Foundation
- 1 cup pumpkin puree: This is our base. It provides vitamins and that velvety texture we want in a bar. Why this? It replaces much of the oil or butter found in traditional bakes.
- 1/2 cup pure maple syrup: Our primary sweetener. Why this? It keeps the bars moist and adds a woody depth that sugar lacks.
- 1 large egg: The glue that holds it all together. Why this? Egg proteins set during baking to provide "lift" and structure.
- 1/4 cup creamy almond butter: Our healthy fat source. Why this? It adds a nutty richness and helps the bars stay soft for days.
- 1 tsp pure vanilla extract: The flavor enhancer. Why this? Vanilla rounds out the spices and makes the chocolate pop.
The Dry Structure
- 2 cups rolled oats: Our gluten-free friendly base. Why this? Oats absorb moisture slowly, creating a long lasting chewy texture.
- 1 tsp baking powder & 1/2 tsp baking soda: Our lifting agents. Why this? They ensure the bars aren't too heavy or leaden.
- 2 tsp pumpkin pie spice: The soul of the dish. Why this? A blend of cinnamon, ginger, cloves, and nutmeg for that autumn vibe.
- 1/2 tsp sea salt: The balancer. Why this? Salt cuts through the sweetness and enhances the dark chocolate.
- 1/3 cup dark chocolate chips: The indulgence. Why this? Dark chocolate pairs beautifully with the earthy notes of pumpkin.
| Original Ingredient | Substitute | Why It Works |
|---|---|---|
| Almond Butter (1/4 cup) | Peanut Butter (1/4 cup) | Similar fat content. Note: Adds a distinct peanut flavor to the bars |
| Maple Syrup (1/2 cup) | Honey (1/2 cup) | Same viscosity. Note: Makes the bars slightly sweeter and stickier |
| Large Egg (1) | Flax Egg (1 tbsp meal + 3 tbsp water) | Provides binding properties. Note: Result will be slightly denser |
Keeping It Simple with Basic Kitchen Tools
You really don't need a pantry full of gadgets to make these pumpkin bars. I am a huge fan of one pan or one bowl meals because who has time for dishes? For this recipe, a sturdy whisk is your best friend to get the wet ingredients emulsified.
If you don't have a blender for the oats, you can actually use a food processor or even just chop them finely with a large knife, though the blender is much faster.
The 8x8-inch (20x20 cm) baking pan is the standard here. I highly recommend using parchment paper. If you leave a little bit hanging over the edges, you can lift the entire block of bars out at once, which makes cutting them into clean squares so much easier. If you are a fan of more decadent treats, you might also like my Magic Cookie Bars which use similar simple tools but with a different flavor profile.
For the mixing bowl, go with something large enough to give you space to fold in the chocolate chips without splashing batter everywhere. A silicone spatula is also helpful for scraping every last bit of that pumpkin goodness into the pan. This is "minimal effort" baking at its finest.
The step-by-step Path to a Golden Bake
- Heat the oven. Set your oven to 350°F (180°C). Line your 8x8-inch pan with parchment paper. Note: Parchment prevents sticking and makes cleanup a breeze.
- Whisk the liquids. Combine the 1 cup pumpkin, 1/2 cup maple syrup, 1 egg, 1/4 cup almond butter, and 1 tsp vanilla in your bowl. Whisk until the mixture is glossy and uniform.
- Process the oats. Take 1 cup of your rolled oats and pulse them in a blender for exactly 5 seconds. Note: You want a coarse flour, not a fine powder.
- Combine ingredients. Add the pulsed oats, the remaining 1 cup of whole oats, 1 tsp baking powder, 1/2 tsp baking soda, 2 tsp spice, and 1/2 tsp salt to the bowl.
- Fold in chocolate. Gently stir in the 1/3 cup dark chocolate chips. Note: Reserve a few chips to sprinkle on top for a better visual.
- Hydration rest. Let the batter sit in the bowl for 5 minutes before transferring to the pan. Observe the batter thickening as the oats absorb the liquid.
- Spread and level. Pour the batter into the prepared pan and use a spatula to smooth the top.
- Bake for 25 minutes. Place in the center of the oven. Bake until the edges are golden brown and the center feels springy.
- The toothpick test. Insert a toothpick; it should come out clean or with a few moist crumbs, but no wet batter.
- Cool completely. Leave the bars in the pan for at least 15 minutes before lifting them out. Wait for them to cool to ensure clean, sharp edges when slicing.
Solving Common Baking Flubs and Texture Issues
One mistake I once made was rushing the cooling process. If you cut into these while they are still steaming hot, they will crumble into a delicious but messy pile of oats. Patience is the hardest part of the recipe, but it is necessary for that "bar" structure. Another thing to watch for is the "gummy" center.
This usually happens if your pumpkin puree was particularly watery or if your egg was cold, slowing down the baking process.
Why Your Center Stays Wet
If the middle of your bars feels soft or undercooked while the edges are getting dark, your oven might be running hot, or you didn't let the oats hydrate long enough before baking.
The 5 minute rest period is not a suggestion; it is a mechanical necessity for the oats to lock in the moisture so it doesn't just sit in the center of the pan.
If the Bars Crumble Too Easily
Crumbling usually means the "flour" wasn't fine enough or the almond butter was too dry. Make sure you use a drippy, natural almond butter. If yours is from the bottom of the jar and feels stiff, add a teaspoon of neutral oil to help it blend better.
| Problem | Root Cause | Solution |
|---|---|---|
| Gummy Texture | Cold ingredients or no rest time | Let batter sit 5 mins; use room temp egg |
| Burnt Edges | Pan too close to oven walls | Bake on middle rack; check at 20 mins |
| Dry Bars | Measured oats too loosely | Weigh ingredients or use level measuring cups |
Common Mistakes Checklist
- ✓ Never skip the 5 minute rest; this is when the oats do their heavy lifting.
- ✓ Avoid "Pumpkin Pie Filling" which contains extra sugar and water.
- ✓ Use parchment paper instead of just greasing the pan for easy removal.
- ✓ Let the bars cool fully in the pan to allow the starches to set.
- ✓ Don't over pulse the oats into a fine dust; you need that coarse texture for bite.
Scaling Your Batch for Parties or Meal Prep
If you are cooking for a crowd, you can easily double this recipe. Use a 9x13-inch (23x33 cm) pan instead of the 8x8. When doubling, keep the spices at 1.5x the original amount (3 tsp total) to ensure the flavor isn't overwhelming.
The baking time will likely increase by about 5 to 10 minutes, so start checking at the 30 minute mark.
For smaller households, you can half the recipe and bake it in a loaf pan. To half the egg, simply whisk it in a small bowl and use about 2 tablespoons of the liquid. Reduce the baking time to roughly 20 minutes.
It's brilliant for a quick fix when you don't want 16 bars sitting around the house tempting you.
| Servings | Ingredient Adjustments | Pan Size | Cook Time |
|---|---|---|---|
| 8 Bars | Half all ingredients (use 1/2 egg) | Loaf Pan | 20 minutes |
| 16 Bars | Standard recipe | 8x8-inch pan | 25 minutes |
| 32 Bars | Double ingredients (1.5x spices) | 9x13-inch pan | 35 minutes |
Flavor Variations to Suit Your Cravings
Honestly, don't even bother with low-fat options here; the fat from the almond butter is what gives these their velvety crumb. However, you can definitely play with the mix ins. I love swapping the chocolate chips for dried cranberries or toasted walnuts for a more traditional "fall harvest" feel. If you want something that feels more like a decadent dessert, you can try my Perfect Pumpkin Pie which hits those same flavor notes in a more classic format.
- If you want it sweeter
- Add 2 tablespoons of coconut sugar to the dry mix.
- If you want it crunchier
- Add 1/4 cup of chopped pecans or pepitas.
- If you want it zingier
- Add 1 teaspoon of orange zest to the wet ingredients.
Myths About Healthy Fall Baking Debunked
One common misconception is that gluten-free or "healthy" bars are always dry. That is simply not true if you understand hydration. Oats are incredibly thirsty. If you don't give them enough liquid (pumpkin and syrup) or time to absorb it, they will be dry.
But with the right ratios, they can be even moister than traditional flour bars because they don't develop tough gluten.
Another myth is that you must use butter for flavor. While butter is great, the combination of almond butter and maple syrup creates a complex, toasted flavor that complements pumpkin much better than dairy fat does.
The almond butter also provides a creamy mouthfeel that lingers, making the bars feel much more indulgent than their calorie count suggests.
Finally,, people often think you need a high powered blender to make oat flour. As we see in this recipe, a 5 second pulse in even a cheap blender or food processor is enough. We aren't looking for a silky pastry flour; we want a coarse meal that provides both binding and character.
How to Store and Repurpose Your Leftovers
Storage: These bars keep perfectly in an airtight container at room temperature for up to 3 days. If you want them to last longer, pop them in the fridge for up to a week. They actually get a bit fudgier when cold, which I personally love.
Freezing: Wrap individual bars in plastic wrap and store them in a freezer bag for up to 3 months. To reheat, just let them thaw on the counter for 20 minutes or give them a 15 second zap in the microwave. They hold their texture remarkably well after freezing.
Zero Waste: If you find yourself with a few stale bars, don't toss them! Crumble them up and use them as a topping for vanilla yogurt or even as a "crust" for a quick parfait.
You can also toast the crumbles in a pan with a little bit of coconut oil to make a pumpkin spiced granola for your morning cereal.
Pairing Ideas to Round Out the Snack
These bars are quite hearty, so they pair best with something that has a bit of acidity or bitterness to balance the sweetness. A sharp cup of black coffee or a spicy chai latte is the ultimate companion.
If you are serving these as a post dinner treat, a small dollop of Greek yogurt or a splash of cold coconut milk can add a refreshing contrast to the dense, chewy texture.
For those who enjoy a savory to sweet transition, these follow a meal like a Street Corn Chicken Bowl beautifully. The smoky, savory notes of the chicken prepare your palate for the earthy, spiced finish of the pumpkin. It's a great way to round out a meal prep Sunday with flavors that actually feel like they belong together.
If you are packing these for kids, pair them with an apple or some carrot sticks. The fiber in the oats and the protein in the almond butter will keep them full much longer than a standard sugary granola bar. It is a win win for everyone in the house.

Recipe FAQs
Is it true I need to use all-purpose flour for these bars to hold together?
No, this is a common misconception. You create a natural binder by pulsing one cup of rolled oats into a coarse flour, which provides structure without needing any traditional grain flours.
How to ensure the bars are not too wet or gummy?
Let the batter sit for 5 minutes before baking. This rest period allows the oats to fully hydrate, ensuring the bars set into a firm, chewy texture rather than a loose mixture.
Can I skip the parchment paper lining?
No, avoid skipping the liner. The parchment paper allows you to lift the finished bars out of the 8x8-inch pan easily, preventing the edges from sticking and breaking.
How to tell when the pumpkin bars are finished baking?
Check that the center is firm and the edges are golden brown. Follow the 25-minute bake time at 350°F to ensure they are cooked through while keeping the texture moist.
Is it necessary to use a hand mixer for this batter?
No, a simple whisk is sufficient. Because the ingredients like pumpkin puree and almond butter blend easily, you can combine everything by hand in a single mixing bowl.
How to store these bars so they stay fresh?
Keep them in an airtight container at room temperature. They remain soft and chewy for several days, making them an excellent option for meal prepped snacks.
Can I substitute the almond butter for something else?
No, stick to the listed ingredients. Almond butter is specifically chosen for this recipe to provide the necessary stable fat content that keeps the bars from becoming greasy.
Healthy Pumpkin Oat Bars

Ingredients:
Instructions:
Nutrition Facts:
| Calories | 120 kcal |
|---|---|
| Protein | 3.0 g |
| Fat | 4.6 g |
| Carbs | 17.7 g |
| Fiber | 2.0 g |
| Sugar | 6.8 g |
| Sodium | 108 mg |
