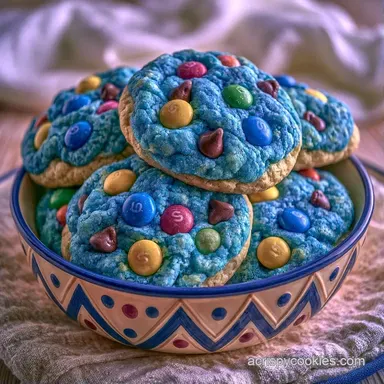
Sesame Street Cookie Monster Cookies in 22 Minutes
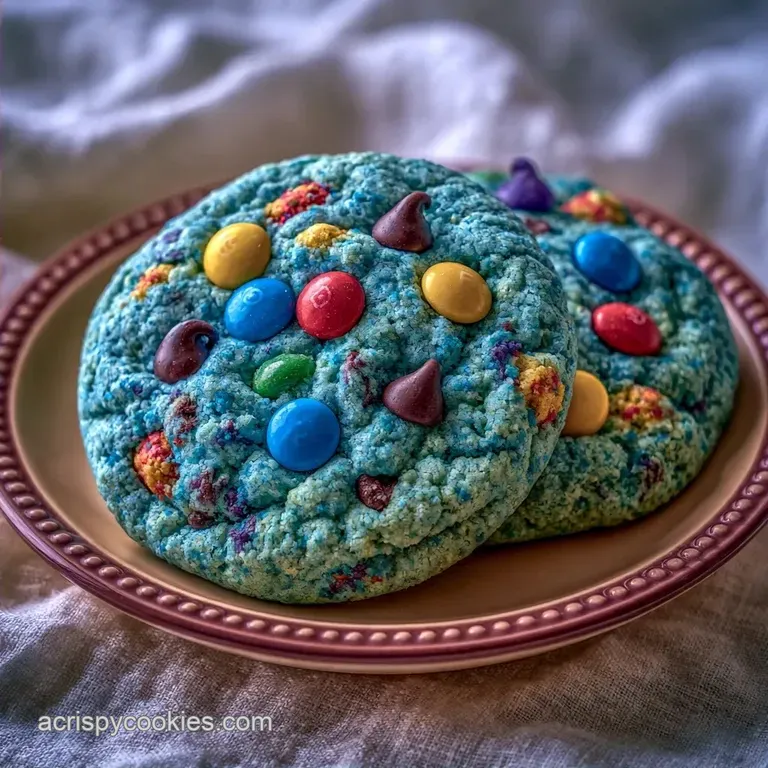
- Time: 10 minutes prep + 12 minutes in the oven
- What to Expect: Chewy, cobalt blue dough paired with crunchy chocolate pieces
- Perfect for: Kid's parties, bake sales, or viral dessert boards
- Sesame Street Cookie Monster Cookies Recipe
- Quick Recipe Specs
- The One Thing That Changes Everything
- The Building Blocks
- Gear For Baking
- Bringing It Together
- The One Thing That Changes Everything
- What Can Go Wrong (and How to Fix It)
- Adjusting Your Batch
- Busting Baking Myths
- Freezing and Reheating Guide
- Creative Twists and Swaps
- How to Serve and Enjoy
- Recipe FAQs
- 📝 Recipe Card
Sesame Street Cookie Monster Cookies Recipe
Imagine a tray of cobalt blue dough, dotted with jagged chunks of chocolate and dark Oreo crumbs, sliding out of the oven. The smell is heavy with brown sugar and vanilla, filling the kitchen with that classic bakery scent. When you pull them out, they look like something straight off a TV set, bright and bold.
I used to think any blue food coloring would work, but I learned the hard way. I once used a whole bottle of liquid dye and ended up with a blue soup that refused to set in the oven. It took me a few tries to realize that the dye type changes the whole structure of the cookie.
Now, these Sesame Street Cookie Monster Cookies are my go to when I need a "wow" factor. They are thick, loaded with mix ins, and have a color that actually stays vibrant after baking. You're getting a treat that tastes like a chocolate explosion but looks like a cartoon.
Quick Recipe Specs
These treats are built for maximum flavor. With a generous amount of mix-ins, the consistency resembles a chunky dessert bar rather than a delicate wafer. We've balanced the sugars specifically to maintain a chewy bite and prevent the cookies from flattening out on the pan.
The timing is impressive. Because there's no need to chill the dough for hours, the entire process takes about 22 minutes. Just ensure your butter is properly softened without being melted, otherwise the cookies won't hold their height.
| Feature | Fast Method | Classic Method |
|---|---|---|
| Prep Time | 10 minutes | 30+ minutes |
| Dough Rest | None | 2 hours chilling |
| Texture | Soft and chewy | Dense and fudgy |
| Best For | Quick parties | Formal events |
The One Thing That Changes Everything
Gel vs Liquid: Gel dyes are concentrated, so you use less. This prevents the dough from becoming too wet and spreading too thin.
Brown Sugar Ratio: Using more brown sugar than white sugar keeps the center soft. It adds a molasses note that balances the sweetness of the Oreo chunks.
Mix in Density: The combination of three different chocolates creates a variety of textures. You get a snap from the Oreo and a melt from the mini chips.
The Building Blocks
These ingredients are basic, but the quality of your blue coloring is what creates the effect. I recommend using a royal blue gel to achieve that signature vivid hue.
| Ingredient | Role | If You Don't Have It |
|---|---|---|
| Unsalted Butter | Base for fat and structure | Salted butter (decrease additional salt) |
| Brown Sugar | Adds a chewy texture and moisture | All white sugar (will result in crispier cookies) |
| Royal Blue Gel | Creates the vivid cobalt hue | Blue liquid coloring (use a small amount) |
| All Purpose Flour | Main structural component | 1:1 gluten-free flour blend |
The Full List
- 1/2 cup (115g) unsalted butter, softened Why this? It creams more efficiently with sugar
- 1/2 cup (100g) light brown sugar, packed Why this? Keeps the center moist and chewy
- 1/4 cup (50g) granulated white sugar Why this? Helps achieve those crisp edges
- 1 large egg, room temperature Why this? Binds the batter while maintaining the emulsion
- 1 tsp (5ml) vanilla extract Why this? Enhances and balances the sweet notes
- 1 1/2 cups (190g) all purpose flour Why this? The ideal protein content for a sturdy result
- 1/2 tsp (3g) baking soda Why this? Responsible for the cookies' rise
- 1/4 tsp (1.5g) salt Why this? Counteracts the sugar for better flavor
- 1-2 tsp (5-10ml) royal blue gel food coloring Why this? Concentrated color without adding excess liquid
- 3/4 cup (125g) mini semi sweet chocolate chips Why this? Provides a consistent chocolate flavor in every bite
- 8 oz (225g) Oreo cookies, roughly chopped Why this? Adds crunch and a dark visual contrast
- 1 cup (170g) mini chocolate chip cookies, roughly chopped Why this? Gives the bake a layered, double cookie feel
Gear For Baking
You don't need a professional setup, but a few tools make this easier. A hand mixer is great, but a stand mixer such as KitchenAid handles the heavy mix ins with less effort.
- Baking sheets (two are better than one)
- Parchment paper or silicone mats
- Large mixing bowl
- Small whisk for dry ingredients
- Rubber spatula for folding
- Measuring cups and a digital scale
Chef's Note: If you don't have a scale, spoon the flour into the cup and level it off. Packing the flour down leads to dry, cakey cookies.
Bringing It Together
Follow these steps closely to keep the color bright and the texture right.
- Cream the butter with both sugars on a medium high setting until the mixture looks pale and fluffy.
- Add the egg and vanilla extract, beating again until the texture is velvety and well combined.
- Stir in the royal blue gel food coloring. Mix on low speed until the dough is a uniform, vibrant cobalt blue with no streaks.
- In another bowl, combine the flour, baking soda, and salt.
- Slowly stir the dry ingredients into the blue butter mixture on low speed.
- Gently fold in the chopped Oreos, mini cookies, and chocolate chips using a spatula until just combined.
- Place rounded tablespoons of dough onto sheets lined with parchment, spacing them 2 inches apart.
- Bake at 350°F (175°C) for 10–12 minutes until the edges are set but the centers look slightly soft.
- Allow them to rest on the baking sheet for 5 minutes before transferring to a wire rack.
The One Thing That Changes Everything
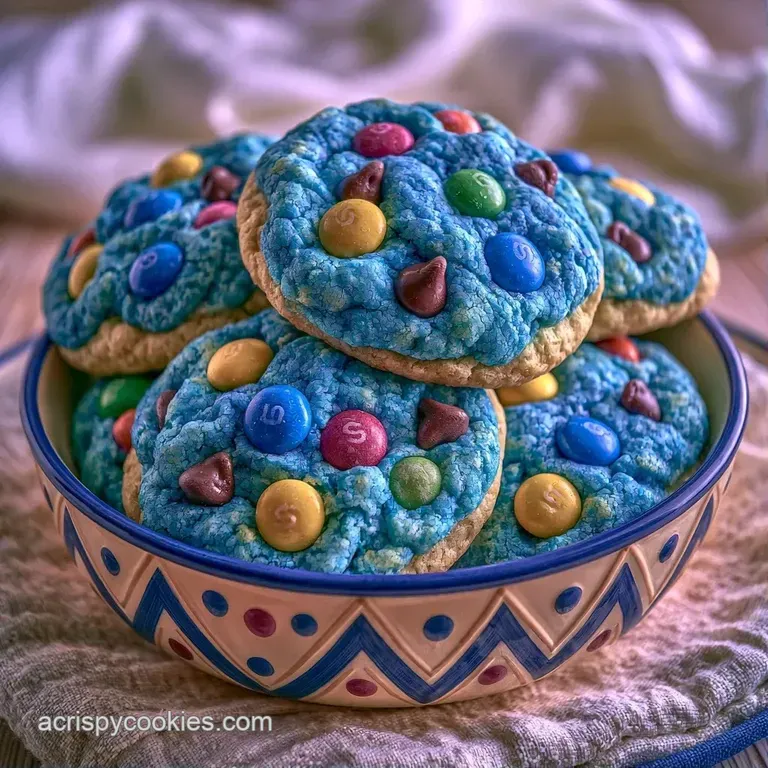
To get that ideal height, pay close attention to the creaming stage. Beating the butter and sugar incorporates tiny air bubbles that expand in the heat of the oven, lifting the cookies and preventing them from flattening.
The folding process is equally vital. Overmixing the dough once the flour is added develops too much gluten, leading to a tough texture rather than a tender one. Stir only until the white streaks of flour vanish, then stop.
For a different flavor, my chocolate chip cookies use a similar base but omit the colorful twist.
What Can Go Wrong (and How to Fix It)
Excessive Spreading
Warm butter or an oven that hasn't reached temperature are the likely causes. If the dough seems greasy, let it firm up.
Dull Coloration
Liquid food dyes frequently fade or shift toward a greyish blue when heated; gel dyes offer better stability. A pale appearance can also result from excess flour masking the pigment.
Cake like Texture
This is typically caused by adding too much flour. To avoid accidentally adding an extra handful, use a scale to measure the 190g of flour precisely.
| Problem | Root Cause | Solution |
|---|---|---|
| Flat Cookies | Butter too soft | Chill scooped dough for 30 mins |
| Pale Blue Color | Used liquid dye | Switch to gel food coloring |
| Dry/Crumbly | Over measured flour | Use a scale or spoon and level |
| Burnt Bottoms | Rack placed too low | Shift rack to the middle |
Adjusting Your Batch
You can easily change the amount of these Sesame Street Cookie Monster Cookies depending on your guest list.
Cutting the recipe in half: Use 57g of butter and 50g of brown sugar. For the egg, crack one into a bowl, whisk it, and use exactly 2 tablespoons. Reduce baking time by about 2 minutes.
Doubling the batch: Work in two separate batches if your mixer is small. Increase the flour and sugars linearly, but only increase the salt and baking soda by 1.5x to avoid a metallic taste.
Lower the oven temperature to 325°F (160°C) and add 2-3 minutes to the bake time to ensure the centers cook through.
Decision Shortcut:
- Extra crunch? → Add 1/4 cup extra chopped Oreos
- More sweetness? → Swap semi sweet chips for milk chocolate
- Thicker cookies? → Chill dough balls for 20 mins
Busting Baking Myths
You might hear that you need to chill cookie dough for 24 hours to get the best flavor. While it helps deepen the taste, these particular cookies rely on a soft texture. A long chill can actually make them too dense for this specific style.
Another myth is that "room temperature" eggs are just a suggestion. They are not. Cold eggs can seize the creamed butter, creating tiny lumps of fat that cause the cookies to spread unevenly.
Freezing and Reheating Guide
Store baked cookies in a single layer in a container with parchment paper between them. They stay fresh on the counter for 3 days or in the fridge for 5 days.
For the freezer, you have two options. You can freeze the baked cookies for up to 3 months. Just wrap them tightly in foil. Alternatively, scoop the raw dough into balls and freeze them on a tray before bagging them. This lets you bake a few fresh ones whenever a craving hits.
To reheat, pop a cookie in the microwave for 8-10 seconds. This softens the chocolate chips and brings back that "just out of the oven" chewiness.
To avoid waste, any broken cookie bits can be crushed and used as a topping for vanilla ice cream or stirred into a milkshake.
Creative Twists and Swaps
While the blue is iconic, you can tweak these to fit different themes. For Halloween Monster Cookies, use green gel coloring and add a few mini marshmallows on top to look like eyes.
If you want a different chocolate profile, try swapping the semi sweet chips for white chocolate. The white chunks pop against the blue dough and give it a creamier taste. You could also use dark chocolate for a more intense, bitter contrast to the sugar.
For a vegan version, use a plant based butter stick and a flax egg (1 tbsp ground flax + 3 tbsp water). Note that the spread may be slightly different, so keep a close eye on the oven.
How to Serve and Enjoy
These are visual treats, so presentation is everything. Arrange them on a large white platter to make the cobalt blue stand out. I love serving them with a side of cold milk or a glass of iced coffee to cut through the richness.
If you're hosting a party, pair these with some salted egg yolk cookies for a wild, colorful dessert spread that guests will definitely photograph.
For a professional look, place a single mini chocolate chip cookie on top of each blue cookie just before they go into the oven. It adds a cute, tiered effect that looks great on a dessert board.
Recipe FAQs
Can I use unsalted butter?
Yes, it is the preferred option. Use the 1/2 cup of unsalted butter listed to keep the salt levels perfectly balanced.
Is it true that liquid food coloring is a good substitute for gel?
Actually, no. Liquid dyes introduce extra moisture that can thin the batter and dilute the vibrant cobalt color during baking.
How to keep the cookies thick and chewy?
Beat the butter and sugars until pale and fluffy. This incorporates air, ensuring the cookies maintain height instead of spreading into flat puddles.
Could I use different mix-ins instead of mini cookies?
Yes, any small crunch works. If you enjoyed mastering the exterior crunch in our crispy sticky tofu, you can apply a similar focus on texture by using crushed pretzels or toasted nuts.
Why do the centers feel underbaked?
They finish setting during the cooling process. Pull them at 10 12 minutes and let them rest on the pan for 5 minutes to reach the ideal chew.
Sesame Street Cookie Monster Cookies