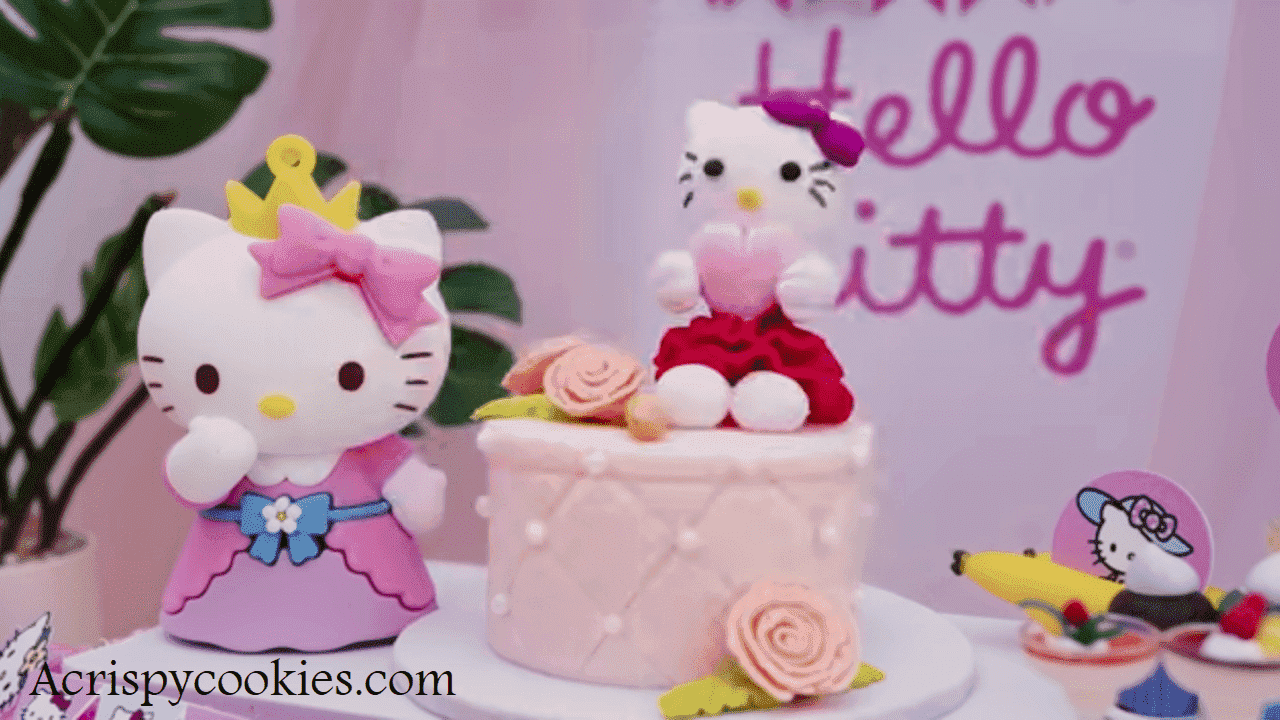
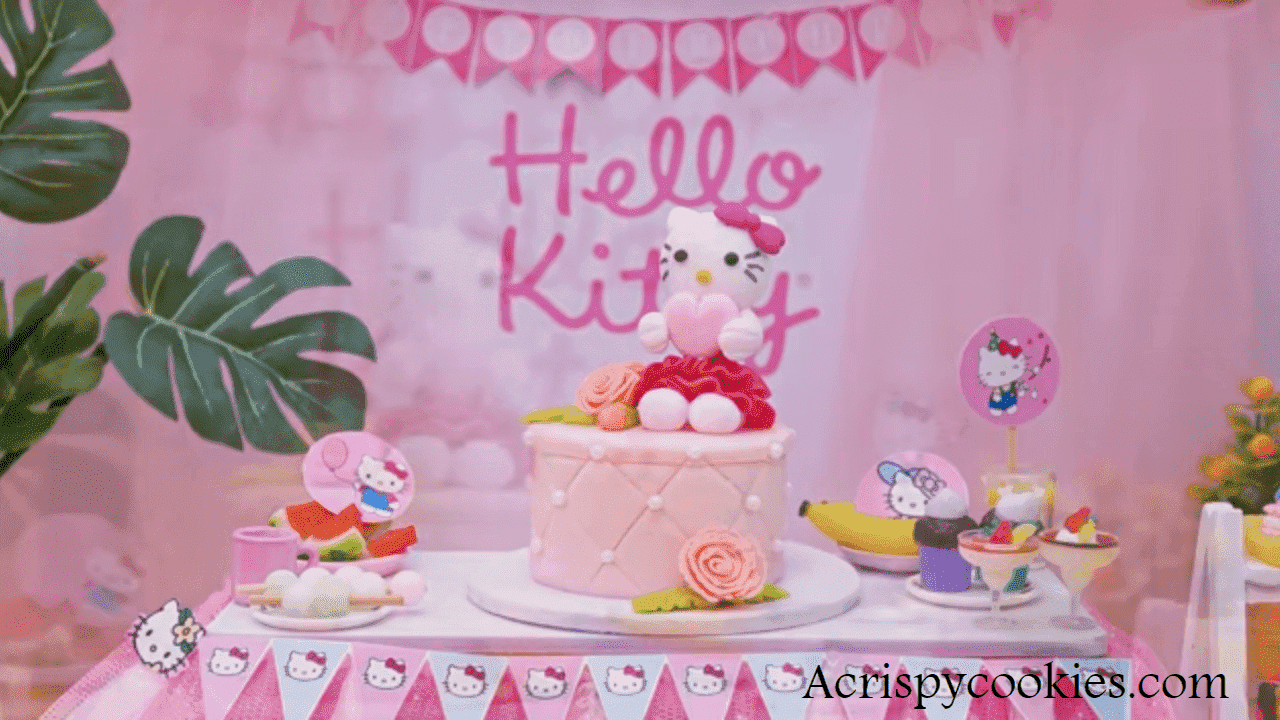
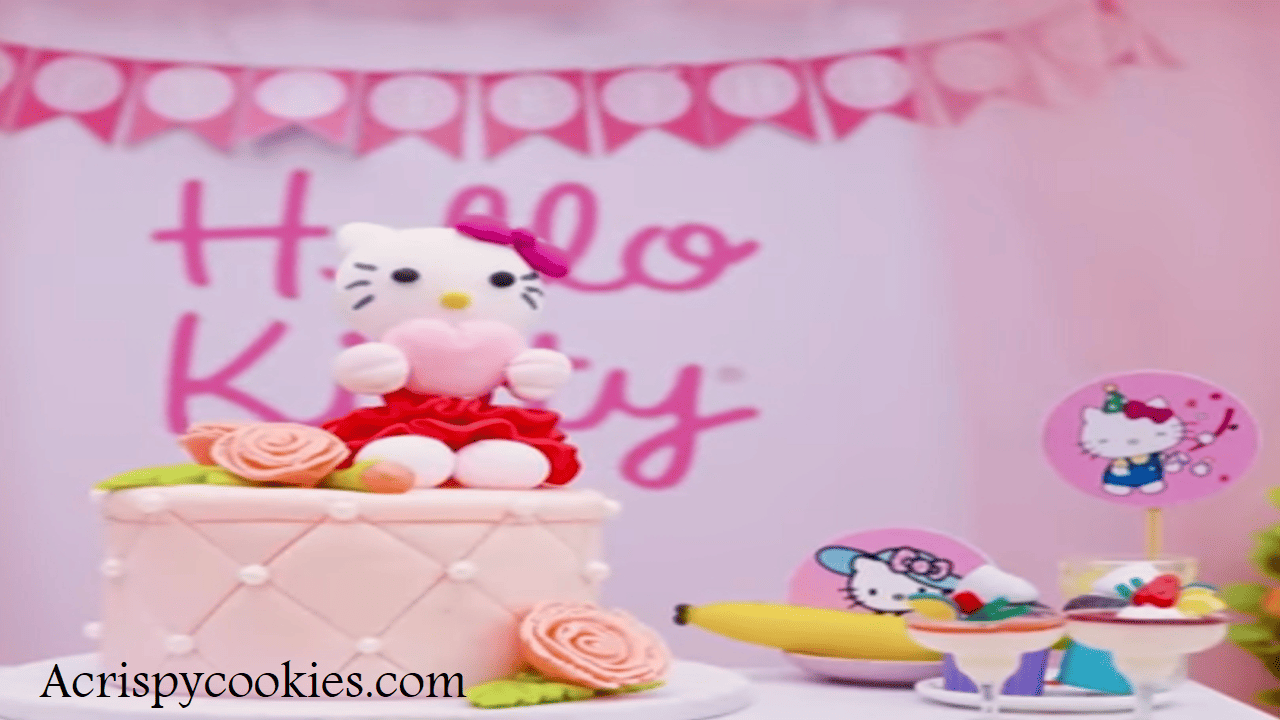
Hello Kitty Cake for Birthday
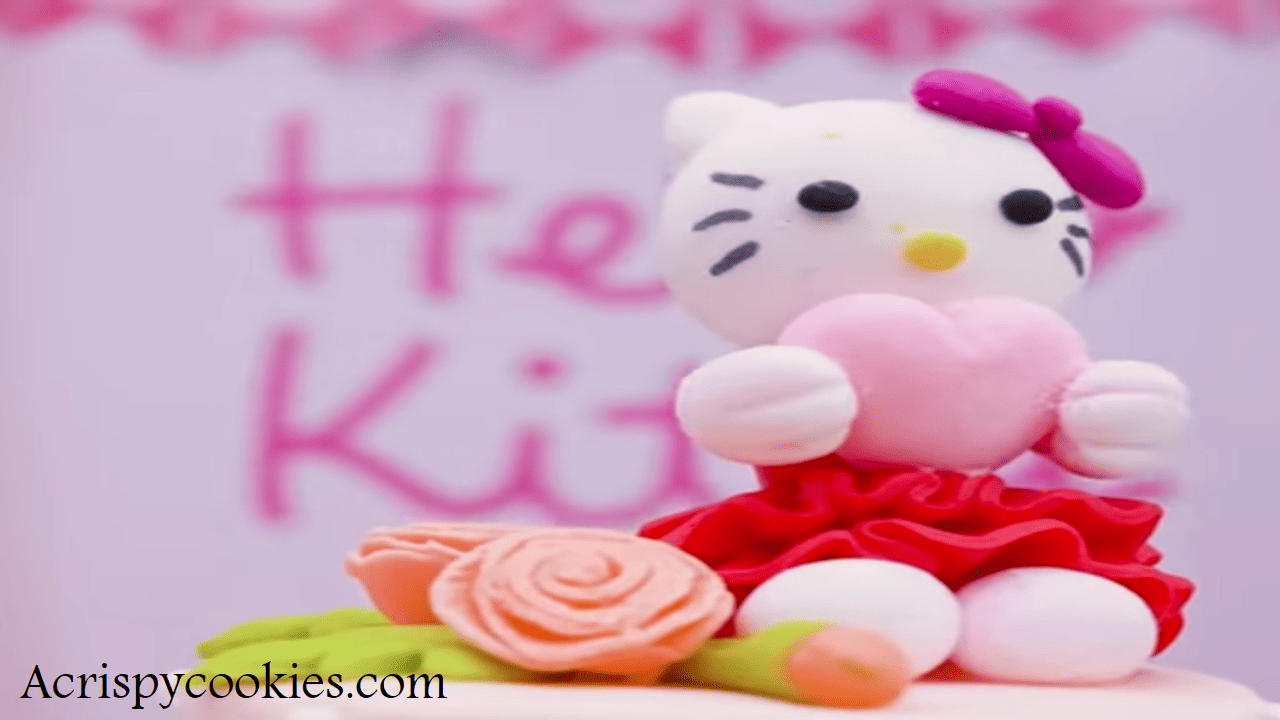
A Hello Kitty cake recipe is a delightful dessert themed around the popular character, Hello Kitty. It’s perfect for birthdays and special occasions. The cake often features a pink and white marble interior with strawberry bits for added flavor. The outside is usually decorated with buttercream, using a star-shaped piping tip to recreate Hello Kitty’s face. Getting the eyes and nose right is key to keeping it looking adorable. This cake is fun to make and brings joy with its cute appearance.
Patience is key, as the detailed piping takes time, but the result is worth it.
If you’re searching for a Hello Kitty cake near me, you might find options with themed decorations like bows or flowers. For added charm, some bakers like to use a Hello Kitty cake pan for a perfect shape. This cake can be a hit at Hello Kitty-themed parties, especially when paired with other themed treats like Hello Kitty ice cream cakes or hot chocolate. The process of creating this cake can also be a fun activity for kids and adults alike, making it a memorable part of any celebration.
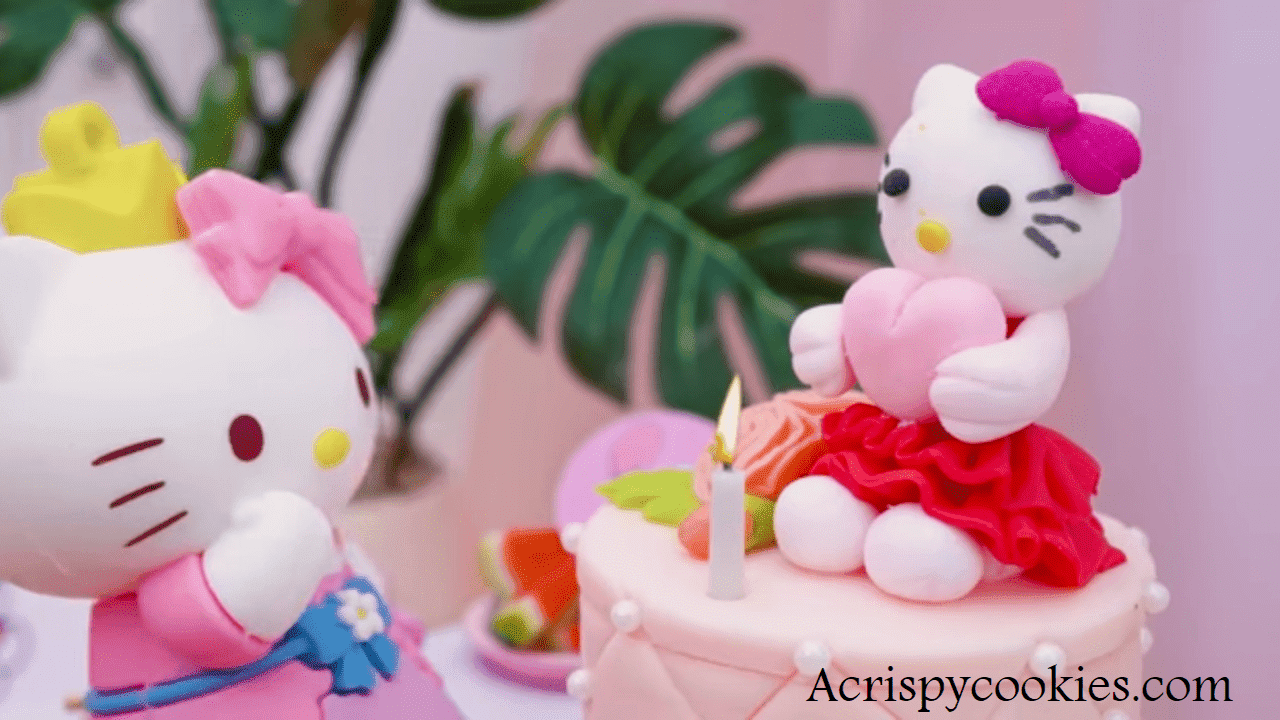
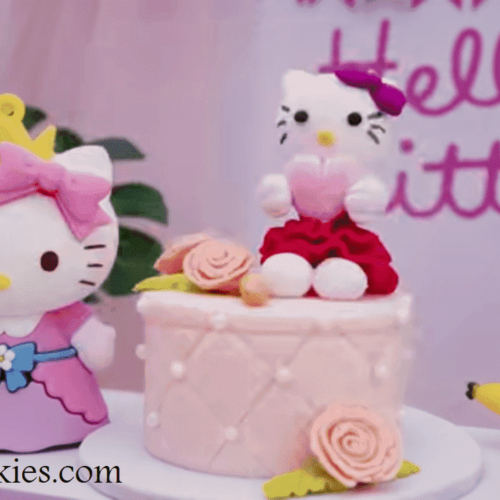
A Hello Kitty cake topper is a decorative cake designed to resemble the popular character Hello Kitty, featuring her signature bow, eyes, whiskers, and nose. This type of cake is often made for birthdays, themed parties, and special events.
For more delicious options, you might also enjoy trying an Italian hangover cake, a tuxedo cake, or a rich chocolate brick cake. Each recipe offers a unique twist and adds a special touch to any celebration.
Ingredients for Hello Kitty Cakes
For the Cake
- 2 ½ cups all-purpose flour
- 2 ½ tsp baking powder
- ½ tsp salt
- 1 cup unsalted butter (room temperature)
- 1 ½ cups granulated sugar
- 4 large eggs
- 1 cup milk
- 1 tsp vanilla extract
- ½ cup strawberry bits (optional)
For the Buttercream Frosting
- 1 cup unsalted butter (room temperature)
- 4 cups powdered sugar
- 2-4 tbsp milk or heavy cream
- 1 tsp vanilla extract
- Pink food coloring (optional)
For Decoration
- Hello Kitty cake pan or stencil
- Star-shaped piping tip
- Additional decorations like edible bows or flowers (optional)
Essential Tools Hello Kitty Designs for Cake
To ensure you have everything you need, gather these tools:
- Baking Pans: Round cake pans
- Rolling Equipment: Rolling pin
- Cutting Tools: Cake leveler or knife
- Decorating Tools: Piping bags and tips
- Guides: Hello Kitty face template (can be printed from the internet)
How to Make a Walmart Hello Kitty Cake
Step 1: Bake the Cake

- Preheat Oven: Preheat your oven to 350°F (175°C). Prepare two 8-inch round cake pans by greasing and flouring them, or by lining them with parchment paper.
- Mix Dry Ingredients: In a medium bowl, whisk together 2 ½ cups all-purpose flour, 2 ½ tsp baking powder, and ½ tsp salt. Set aside.
- Cream Butter and Sugar: In a large bowl, beat 1 cup unsalted butter and 1 ½ cups granulated sugar together until light and fluffy.
- Add Eggs: Add 4 large eggs one by one, mixing thoroughly after each addition.
- Combine Wet Ingredients: Mix in 1 cup milk and 1 tsp vanilla extract.
- Combine Dry and Wet Ingredients: Gradually add the dry ingredients to the wet mixture, mixing until just combined. If using, fold in ½ cup strawberry bits.
- Pour and Bake: Divide the batter evenly between the prepared cake pans. Bake in the preheated oven for 25-30 minutes, or until a toothpick inserted into the center comes out clean.
- Cool the Cakes: Allow the cakes to cool in the pans for 10 minutes before transferring them to a wire rack to cool completely.
Step 2: Prepare the Buttercream Frosting
- Cream Butter: In a large bowl, beat 1 cup unsalted butter until creamy.
- Add Powdered Sugar: Gradually add 4 cups powdered sugar, beating on low speed until combined.
- Adjust Consistency: Add 2-4 tbsp milk or heavy cream, one tablespoon at a time, until the frosting reaches your desired consistency.
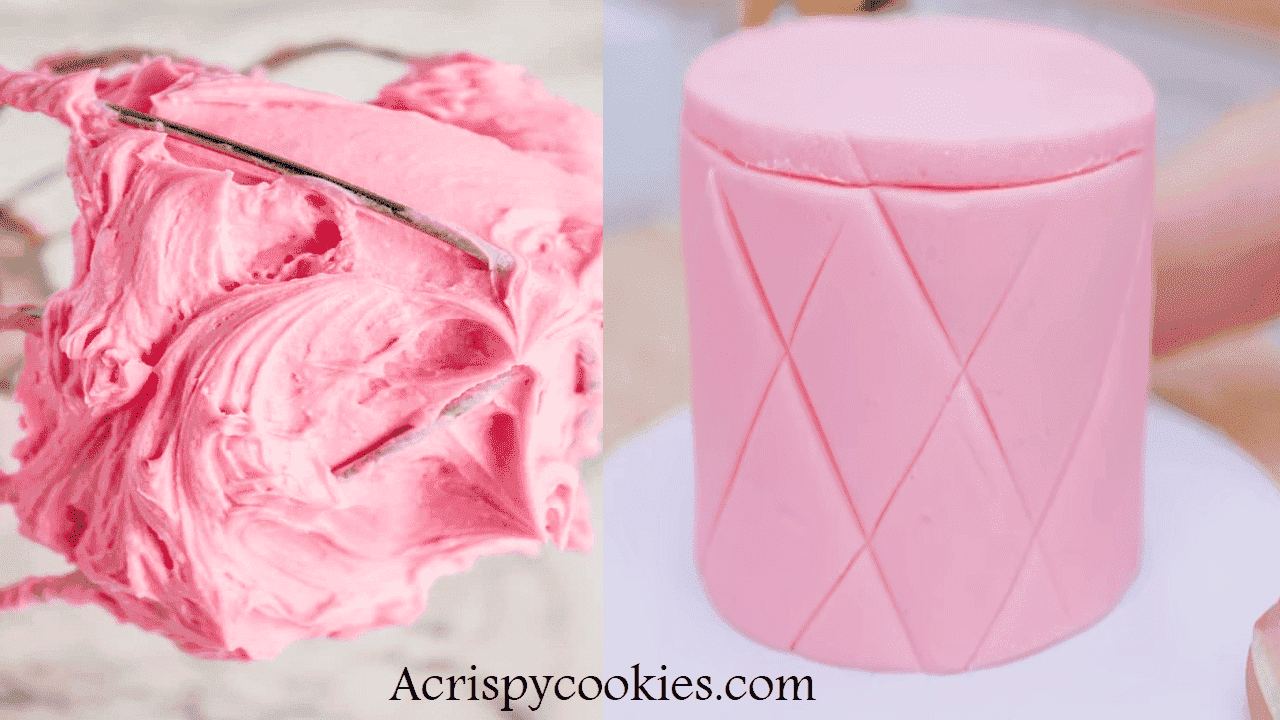
- Flavor and Color: Mix in 1 tsp vanilla extract and, if desired, a few drops of pink food coloring until the color is evenly distributed.
Step 3: Assemble the Cake
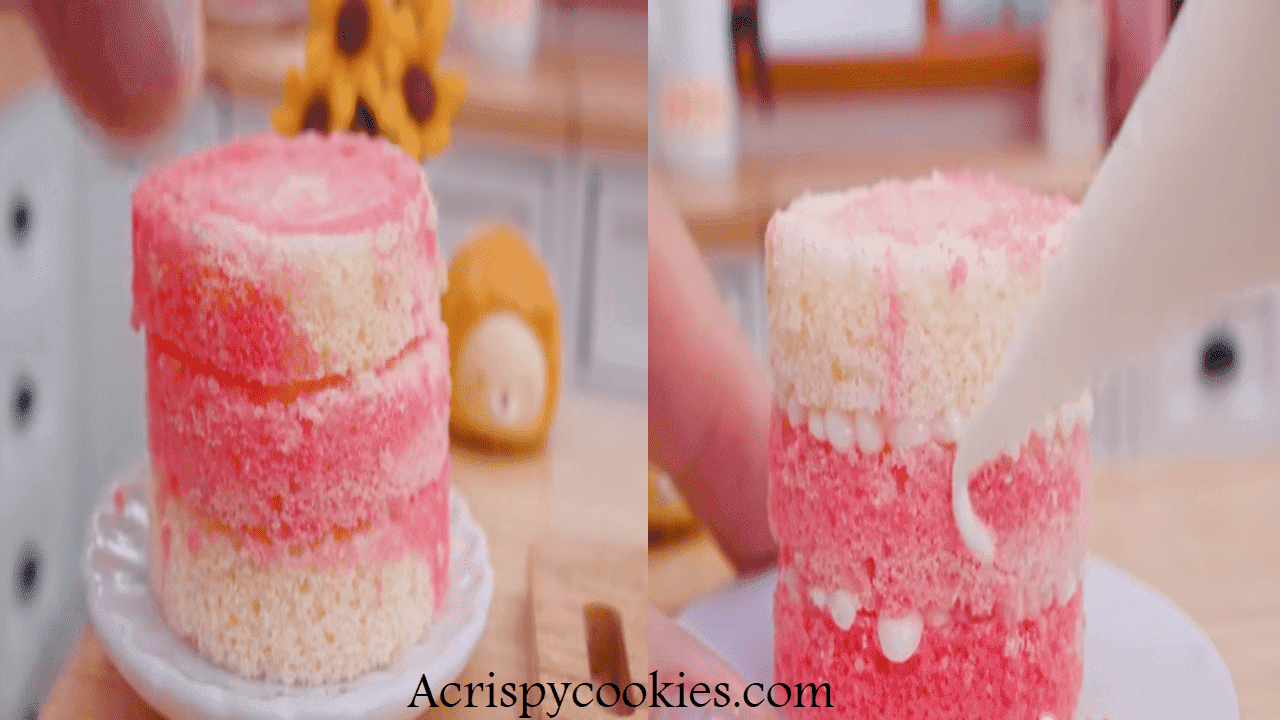
- Level the Cakes: Once completely cooled, level the tops of the cakes using a cake leveler or knife to ensure even layers.
- Stack the Layers: Place one cake layer on the cake board or serving plate. Spread a layer of buttercream on top. Place the second layer on top and press down gently to secure.
- Crumb Coat: Spread a thin layer of buttercream all over the cake to trap any crumbs. Chill the cake for about 30 minutes to let the crumb coat set.
Step 4: Decorate the Cake
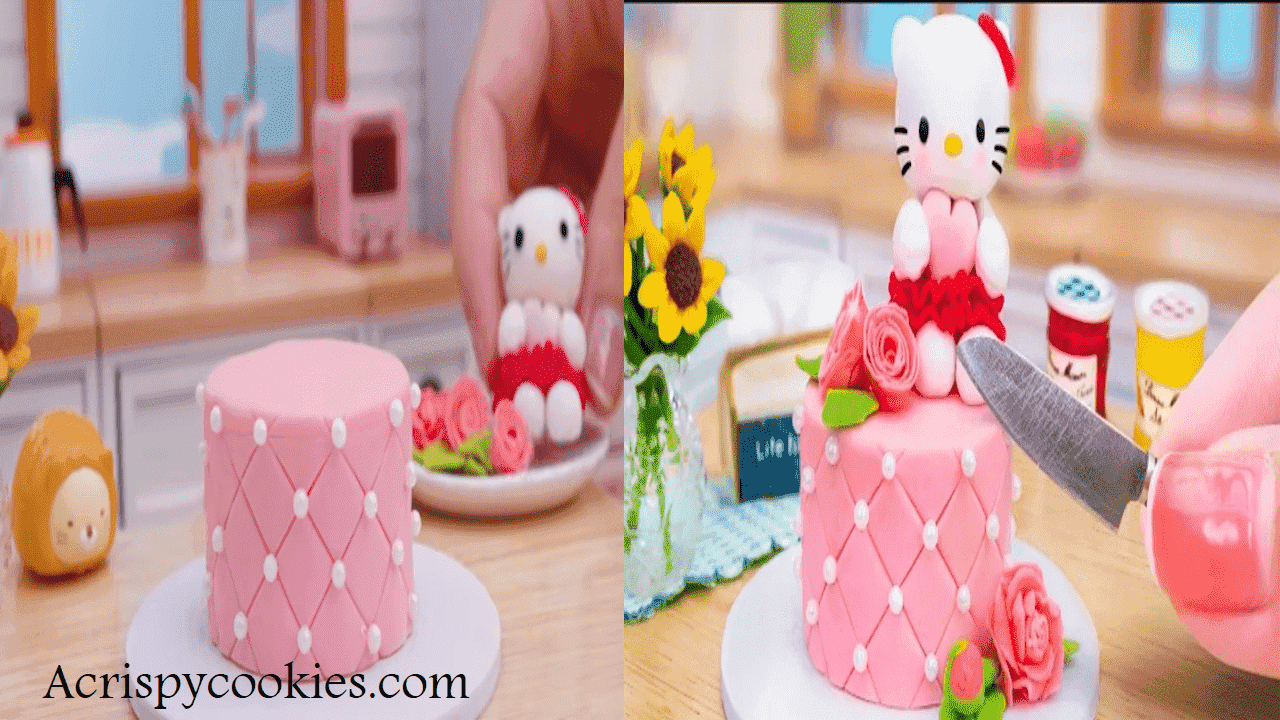
- Apply Final Coat: After the crumb coat has set, apply a smooth, even layer of buttercream over the entire cake.
- Use a Template: If using a Hello Kitty cake pan or stencil, follow the instructions for creating the Hello Kitty design.
- Pipe Decorations: Use a star-shaped piping tip to create decorative borders or patterns. Add any additional decorations like edible bows or flowers if desired.
- Detailing: For extra detail, use different colors of buttercream or fondant to add facial features like Hello Kitty’s eyes, whiskers, and bow.
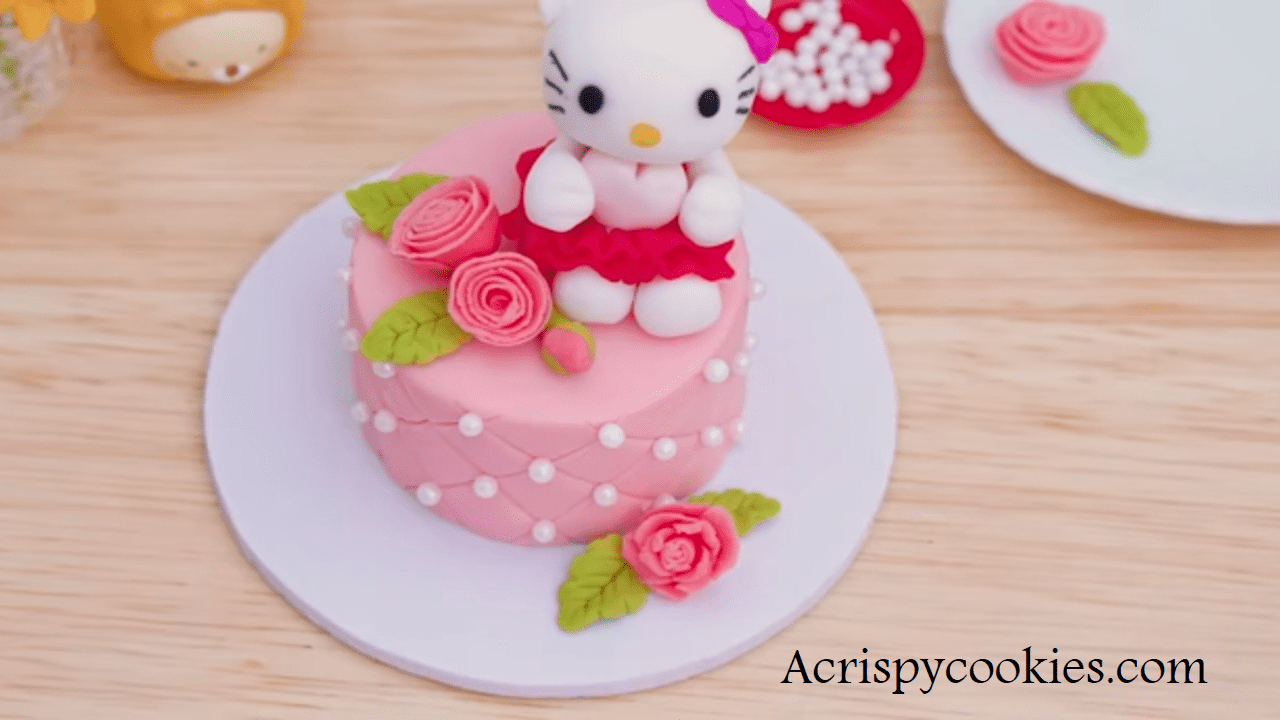
Hello Kitty Cake Designs
- Classic Hello Kitty Face: Create a simple design with Hello Kitty’s iconic face. Use a star-shaped piping tip to add her eyes, nose, and whiskers. You can add a pink bow on one ear for a touch of extra charm.
- Hello Kitty with Cherry Blossom: Decorate the cake with Hello Kitty’s face surrounded by cherry blossoms. This design is perfect for a spring or Japanese-themed party. Use pink and white buttercream to pipe flowers around the cake.
- Hello Kitty and Friends Cake: Include Hello Kitty with her friends, like Chococat or My Melody, on the cake. Use different colors and piping techniques to create a fun and festive design featuring multiple characters.
- Hello Kitty with Balloons: Decorate the cake with Hello Kitty holding or surrounded by colorful balloons. Use bright buttercream colors and pipe balloons of different sizes and shapes around the cake.
Recipe Tips
If you’re not confident with fondant, practice on a small piece first before applying it to the cake.
Gel food coloring is more vibrant and won’t alter the consistency of your buttercream or fondant.
Chilling the cake between decorating steps helps to keep it firm and easier to work with.
For a smooth buttercream finish, dip your spatula in hot water and wipe it dry before smoothing the cake.
Make your cake layers and decorations in advance to save time on the day of the event.
Experiment with different cake flavors like chocolate, vanilla, or strawberry to surprise your guests.
How to Store Leftover Cake
1. Short-Term Storage (Up to 3 Days)
- Room Temperature: If you plan to eat the leftover cake within a few days, you can store it at room temperature.
- Cover the Cake: Store the cake in an airtight container or wrap it tightly with plastic wrap to keep it from drying out.
- Cool, Dry Place: Keep the cake in a cool, dry place, away from direct sunlight and heat sources.
2. Medium-Term Storage (Up to 1 Week)
- Refrigeration: For longer storage, store the cake in the refrigerator.
- Cover Properly: Store the cake in an airtight container or wrap it in plastic wrap and aluminum foil to maintain freshness and prevent it from absorbing refrigerator odors.
- Chill before Wrapping: Allow the cake to cool to room temperature before wrapping it to avoid condensation inside the wrapping.
3. Long-Term Storage (Up to 1 Month)
- Freezing: To store the cake for an extended period, you can freeze it.
- Wrap Carefully: Wrap the cake tightly in plastic wrap. For added protection, wrap it again in aluminum foil or place it in a freezer-safe airtight container.
- Label and Date: Label the wrapping with the date of freezing so you can keep track of how long it’s been stored.
- Thawing: To enjoy the cake, let it thaw in the refrigerator overnight. If you need it sooner, you can thaw it at room temperature for a few hours.
Additional Tips
- Slice before Freezing: If you expect to eat the cake over time, consider slicing it before freezing. This way, you can remove individual slices without defrosting the entire cake.
- Avoid Freezer Burn: Ensure the cake is wrapped tightly to prevent freezer burn, which can affect the cake’s texture and taste.
- Reapply Frosting: If the frosting looks a bit uneven after thawing, you can touch it up with additional frosting or decorations.
IF YOU LIKE THIS HELLO KITTY CAKE RECIPE
- Connect with us on “Crispy Cookies” by tagging us.
- Stay updated on Facebook, Instagram, and Pinterestby following us.
- Spread the sweetness by sharing or pinning this recipe on Pinterest.
- Leave a comment down below!!
“Thanks for joining our baking family. We’re glad to have you here. Happy Baking! 🍰🎉.”
The Best Hello Kitty Cake for Celebration in 2024
Equipment
- Baking Pans
- Rolling Equipment
- Cutting Tools
- Decorating Tools
- Hello Kitty face template
Ingredients
For the Cake
- 2 ½ cups all-purpose flour
- 2 ½ tsp baking powder
- ½ tsp salt
- 1 cup unsalted butter room temperature
- 1 ½ cups granulated sugar
- 4 large eggs
- 1 cup milk
- 1 tsp vanilla extract
- ½ cup strawberry bits optional
For the Buttercream Frosting
- 1 cup unsalted butter room temperature
- 4 cups powdered sugar
- 2-4 tbsp milk or heavy cream
- 1 tsp vanilla extract
- Pink food coloring optional
For Decoration
- Hello Kitty cake pan or stencil
- Star-shaped piping tip
- Additional decorations like edible bows or flowers optional
Instructions
Step 1: Bake the Cake
- Preheat Oven: Preheat your oven to 350°F (175°C). Prepare two 8-inch round cake pans by greasing and flouring them, or by lining them with parchment paper.
- Mix Dry Ingredients: In a medium bowl, whisk together 2 ½ cups all-purpose flour, 2 ½ tsp baking powder, and ½ tsp salt. Set aside.
- Cream Butter and Sugar: In a large bowl, beat 1 cup unsalted butter and 1 ½ cups granulated sugar together until light and fluffy.
- Add Eggs: Add 4 large eggs one by one, mixing thoroughly after each addition.
- Combine Wet Ingredients: Mix in 1 cup milk and 1 tsp vanilla extract.
- Combine Dry and Wet Ingredients: Gradually add the dry ingredients to the wet mixture, mixing until just combined. If using, fold in ½ cup strawberry bits.
- Pour and Bake: Divide the batter evenly between the prepared cake pans. Bake in the preheated oven for 25-30 minutes, or until a toothpick inserted into the center comes out clean.
- Cool the Cakes: Allow the cakes to cool in the pans for 10 minutes before transferring them to a wire rack to cool completely.
Step 2: Prepare the Buttercream Frosting
- Cream Butter: In a large bowl, beat 1 cup unsalted butter until creamy.
- Add Powdered Sugar: Gradually add 4 cups powdered sugar, beating on low speed until combined.
- Adjust Consistency: Add 2-4 tbsp milk or heavy cream, one tablespoon at a time, until the frosting reaches your desired consistency.
- Flavor and Color: Mix in 1 tsp vanilla extract and, if desired, a few drops of pink food coloring until the color is evenly distributed.
Step 3: Assemble the Cake
- Level the Cakes: Once completely cooled, level the tops of the cakes using a cake leveler or knife to ensure even layers.
- Stack the Layers: Place one cake layer on the cake board or serving plate. Spread a layer of buttercream on top. Place the second layer on top and press down gently to secure.
- Crumb Coat: Spread a thin layer of buttercream all over the cake to trap any crumbs. Chill the cake for about 30 minutes to let the crumb coat set.
Step 4: Decorate the Cake
- Apply Final Coat: After the crumb coat has set, apply a smooth, even layer of buttercream over the entire cake.
- Use a Template: If using a Hello Kitty cake pan or stencil, follow the instructions for creating the Hello Kitty design.
- Pipe Decorations: Use a star-shaped piping tip to create decorative borders or patterns. Add any additional decorations like edible bows or flowers if desired.
- Detailing: For extra detail, use different colors of buttercream or fondant to add facial features like Hello Kitty’s eyes, whiskers, and bow.
Notes
- Connect with us on “Crispy Cookies” by tagging us.
- Stay updated on Facebook, Instagram, and Pinterestby following us.
- Spread the sweetness by sharing or pinning this recipe on Pinterest.
- Leave a comment down below!!