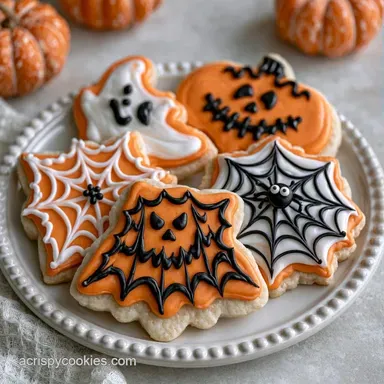
Party-Ready Halloween Sugar Cookies
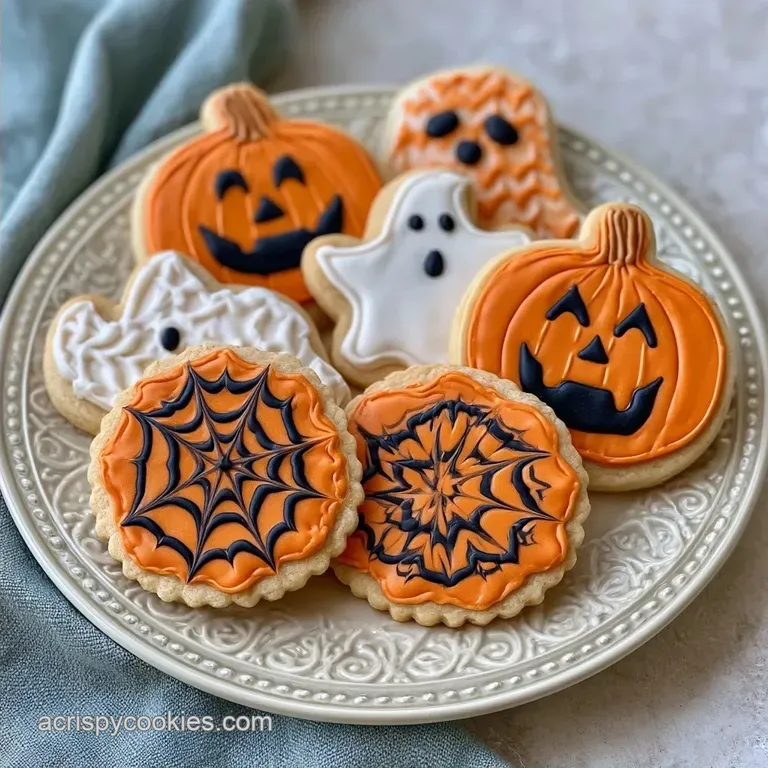
- Prep: 15 minutes | Chill time: 30 minutes
- Taste & Feel: Buttery and soft with a crisp edge
- Ideal for: Spooky treats, school parties, and baking with kids
You've likely heard that sugar cookie dough must chill for 24 hours to avoid spreading. Truthfully, that's a total myth. You don't have to wait a whole day to get cookies that actually look like pumpkins or ghosts.
The aroma of browned butter and vanilla fills the kitchen the moment these start baking. It's that classic, cozy scent that makes your home feel like October.
We're making Halloween Sugar Cookies that maintain their form. No more wondering if your bat shapes will withstand the heat or simply turn into orange puddles on the tray.
Making Easy Halloween Sugar Cookies
Cornstarch: It softens the proteins in the flour. This gives a tender bite without making the cookie collapse.
The Flash Chill: Putting the dough in the freezer for 30 minutes firms up the butter. This ensures the edges stay sharp when they bake.
Butter Ratio: We use just enough fat to keep it rich, but not so much that the cookies melt into each other.
| Plating Style | Frosting Method | Detail Level | Vibe |
|---|---|---|---|
| Simple | Spoon & Spread | Basic colors | Casual home snack |
| Polished | Piping Bag | Defined borders | Bake sale ready |
| Restaurant | Gradient Piping | Fine sprinkles | Viral trend look |
Essential Baking Tools
You'll need a stand mixer or a hand mixer. I usually use a KitchenAid to get the butter and sugar really fluffy. A rolling pin is a must, along with some parchment paper so nothing sticks to the pan.
Grab your favorite spooky cookie cutters. Whether they are pumpkins, ghosts, or hats, make sure they have sharp edges for the cleanest cut. A wire cooling rack is also key, since frosting warm cookies is a one way ticket to a melted mess.
Shopping List Breakdown
The butter needs to be softened but not oily. If it's too warm, your dough will feel like play dough and stick to everything. Granulated sugar provides the structure and the sweetness.
All purpose flour is the backbone here. The cornstarch is the real hero, though. It creates a silky texture that doesn't feel cakey. For the frosting, powdered sugar and heavy cream create a thick, spreadable base that doesn't run.
| Ingredient Type | Fresh Approach | Shortcut Option | Impact |
|---|---|---|---|
| Flour Base | All purpose + Cornstarch | Pre made mix | Fresh is softer |
| Fat Source | Softened Butter | Margarine | Butter tastes richer |
| Sweetener | Granulated Sugar | Honey/Syrup | Sugar keeps shape |
Recipe Specs
For the Cookie Dough
- 1 cup (225g) unsalted butter, softened The purpose: Provides a rich, classic buttery flavor
- 3/4 cup (150g) granulated sugar The purpose: Adds sweetness and encourages crisp edges
- 1 large (50g) egg The purpose: Acts as the binder for the mixture
- 2 tsp (10ml) vanilla extract The purpose: A standard aromatic foundation
- 2 3/4 cups (340g) all purpose flour The purpose: Builds the cookie's primary structure
- 2 tbsp (16g) cornstarch The purpose: Limits spread and creates a softer crumb
- 1/2 tsp (3g) salt The purpose: Cuts through the sweetness
For the Halloween Frosting
- 2 cups (250g) powdered sugar The purpose: Establishes the thick body of the frosting
- 2 tbsp (30ml) heavy cream The purpose: Smooths out the consistency
- 1 tsp (5ml) vanilla extract The purpose: Enhances the depth of flavor
- Food coloring The purpose: Ideal for those eerie orange and purple shades
- 2 tbsp (15g) sugar sprinkles The purpose: Gives a visual pop and a bit of crunch
Substitutions:
- Heavy Cream: Whole milk can be used (frosting will be a bit thinner)
- Cornstarch: Arrowroot powder works as a substitute
- Butter: Vegan butter sticks (do not use tub margarine)
Bringing It Together
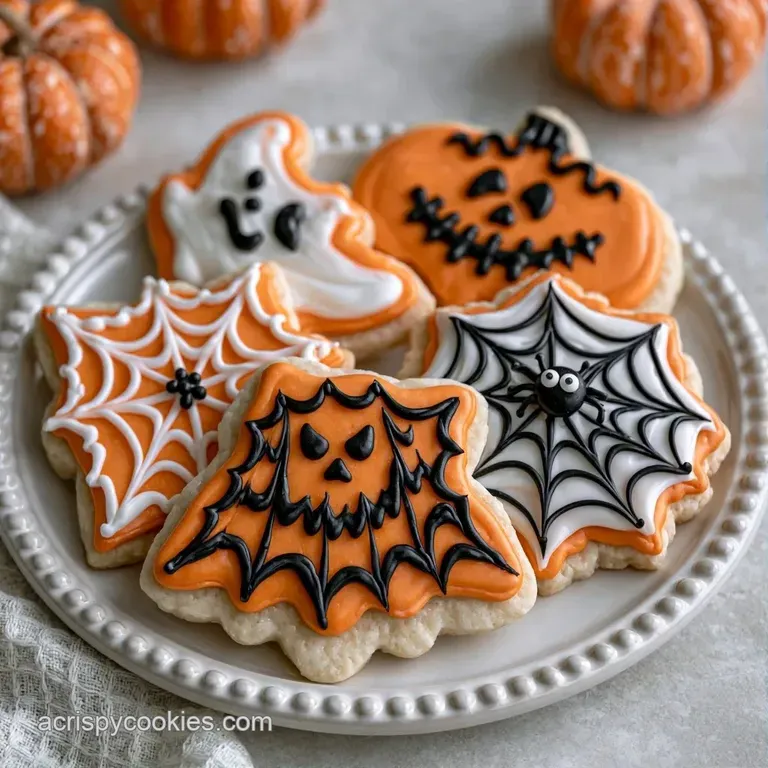
Phase 1: Creating the Base
- Cream together the softened butter and granulated sugar. Mix for 2-3 minutes until light and airy.
- Incorporate the egg and vanilla. Use a medium speed setting until well blended.
- In a separate bowl, whisk together the flour, cornstarch, and salt.
- Slowly add the dry components to the wet mix on low speed. Stop mixing once the flour is just combined. Note: Be careful not to overwork the dough, or the cookies will be tough.
Phase 2: The Chill & Cut
- Shape the dough into two flattened discs. Wrap in plastic and freeze for 30 minutes.
- Roll the cold dough on a floured surface to 1/4 inch thickness. Cut into shapes.
- Bake for 10 minutes until the edges turn a pale gold.
Phase 3: The Finish
- Let the cookies cool completely on a wire rack.
- Blend powdered sugar, heavy cream, and vanilla. Stir in food coloring.
- Pipe frosting onto the Halloween Sugar Cookies and add sprinkles.
Pro Tips & Pitfalls
If your dough feels too soft to roll, don't panic. Just pop it back in the freezer for 10 minutes. This happens if your kitchen is warm or the butter was slightly too soft.
For the frosting, consistency is everything. If it's too thick, add a drop more cream. If it's too runny, whisk in a tablespoon of powdered sugar. Trust me, it's easier to thicken it than to thin it out.
Dealing with Sticky Dough
The dough might stick to your counter if the humidity is high. Sprinkle a tiny bit of flour on your rolling pin and the surface.
Fixing Runny Frosting
Frosting that drips off the cookie usually has too much cream. Add more sugar until it holds a peak.
Preventing Quick Browning
Check your oven racks. If they are too high, the bottoms might burn before the centers set.
| Problem | Root Cause | Solution |
|---|---|---|
| Flat Shapes | Butter too warm | Freeze dough for 30 mins |
| Tough Texture | Overmixed flour | Mix until just combined |
| Frosting Bleeds | Colors too wet | Use gel colors instead of liquid |
Adjusting the Batch Size
For a half batch, use 1/2 cup butter and 1/3 cup sugar. To handle the egg, whisk one in a small dish and measure out exactly half. Use a smaller baking sheet and cut the baking time by about 2 minutes.
If you're doubling or tripling the batch, work in increments. Be careful not to overfill your mixer, or the butter won't cream properly. When making 2x the amount, drop the oven temperature by 25°F and add 2-3 minutes to the clock. This helps the center of the pan bake through.
Flavor Variations to Try
For a twist, fold in 1 tsp of cinnamon and a pinch of nutmeg for a pumpkin inspired flavor. You can also substitute the vanilla with almond extract to give these Halloween Sugar Cookies a more refined, nutty taste.
To make a chocolate version, replace 1/4 cup of the flour with cocoa powder. For a truly decadent alternative, try my Loaded Halloween Cookie Monster Cookies for a treat that's chunkier and more colorful.
Quick Choice Guide:
- Extra zing? → stir 1 tsp lemon zest into the dough
- Richer taste? → use cooled browned butter
- More crunch? → bake for an additional 2 mins
Storage & Reheating
Store your decorated cookies in a sealed container, keeping them side-by-side. They will remain fresh at room temperature for 3 to 5 days. If you need to stack them, separate the layers with parchment paper to prevent the frosting from sticking.
These cookies can be frozen for up to 3 months. You can freeze them either fully baked and cooled, or after they've been cut out but before baking. Simply leave them on the counter for an hour to thaw.
Instead of discarding any leftover frosting, use it as a dip for apple slices or mix it into some oatmeal. Gather any remaining dough scraps, re-roll them, and bake them once more.
Perfect Complements
These cookies are very sweet, so they pair best with something tart or bitter. A cold glass of milk is the classic choice, but a warm apple cider really hits the spot in October.
If you're putting together a full dessert spread, try serving these alongside some Cinnamon Sugar Sourdough Bread for a mix of sweet and savory. A pot of dark roast coffee also cuts through the richness of the frosting.
Final Checklist for Success:
- Butter is softened, not melted.
- Dough was frozen for 30 mins.
- Cookies are completely cool before frosting.
- Frosting is thick enough to hold its shape.
These Halloween Sugar Cookies are a blast to make. Once you get the chill time right, you'll never go back to the "wait 24 hours" method. Enjoy the decorating!
Recipe FAQs
How to make a Halloween cookie?
Beat softened butter and sugar until pale and fluffy before adding egg and vanilla.
Tip: use a wire rack for cooling to avoid soggy bottoms.
Is it true that sugar cookies always spread?
Actually, no. Using cornstarch and chilling the dough for 30 minutes prevents them from losing their shape.
Tip: keep the dough chilled if it gets too warm during rolling.
What makes these cookies kid-friendly?
The simple mixing process and fun shapes make this recipe perfect for children.
Tip: let kids help pipe the frosting once the cookies are completely cool. If you enjoyed working with shapes here, see how the same principle works in our Cookie Monster cookies.
Why freeze the dough before baking?
Freezing firms the butter to ensure the cookies maintain their Halloween shapes in the oven.
Tip: flatten the dough discs slightly before wrapping to ensure even freezing.
Could you suggest an easy DIY Halloween treat?
These decorated sugar cookies are a simple and customizable option for homemade party favors.
Tip: use different food coloring to create orange pumpkins or green ghosts.
Which ingredients create the crunchy texture?
The combination of cornstarch and all-purpose flour creates a crisp yet tender bite.
Tip: bake for exactly 10 minutes to avoid over browning.
Halloween Sugar Cookies