Loaded Candy Bar Cookies with Browned Butter
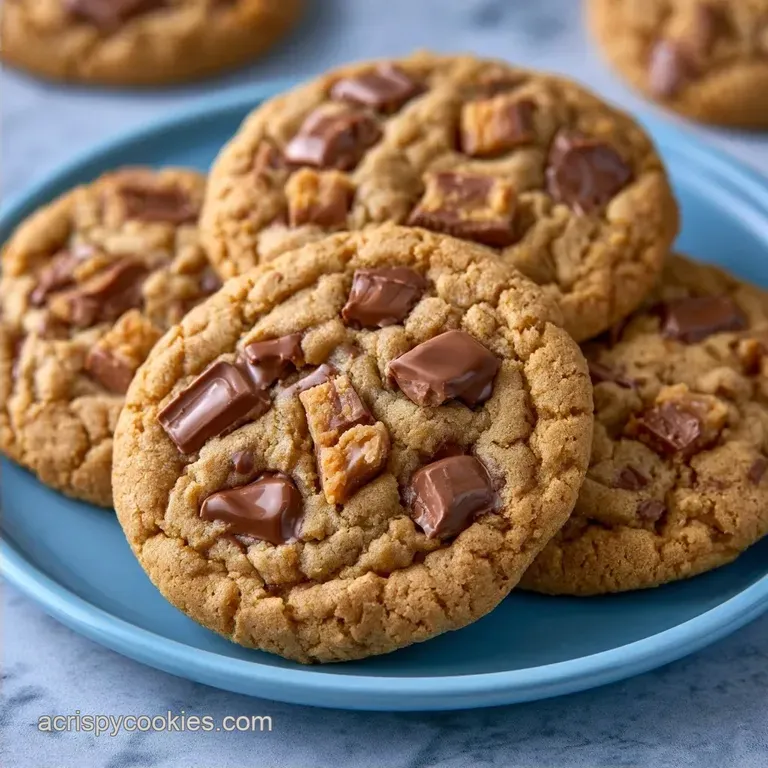
- Time: 20 minutes prep + 30 minutes in the fridge
- Key Appeal: Nutty, chewy, and packed with vibrant pieces
- Ideal for: Party platters or emptying the candy stash
Everything begins with the fragrance of browning butter in the pan. That toasted, nutty scent is a clear sign that these aren't your typical sugar cookies. Picture a soft, chewy cookie with a lightly cracked surface that unveils pools of melted chocolate and colorful candy bits.
In the past, simply adding candy to a basic dough resulted in cookies that were too thin or cloyingly sweet. I solved this by adjusting the ratio of fat to sugar to support the heavy mix-ins. These Cookies and Candy treats are a winner whether you use holiday leftovers or a variety of store-bought candy bars.
The result is a dense, thick cookie with a hint of salt to balance the sugar. It's wonderfully chaotic, as if a confectionery shop burst right into a batch of brown butter dough.
Cookies and Candy: Loaded Bakery Style
These cookies rely on a "heavy load" approach. Most recipes fail because the candy sinks or the dough spreads too much. We stop that by chilling the dough, which keeps the candy suspended in the batter.
Right then, let's look at how the prep differs depending on how you handle your butter. While the bake is always in the oven, the way you prep the fat on the stove changes everything.
| Method | Prep Time | Texture | Best For |
|---|---|---|---|
| Melted Butter | 5 mins | Thinner, softer | Quick cravings |
| Browned Butter | 20 mins | Chewy, nutty | Bakery style depth |
The Main Ingredients
The base is a classic brown sugar cookie, but the butter browning is what adds that professional edge. Brown sugar gives us the chew, while the granulated sugar helps the edges crisp up in about 12 minutes.
For the mix ins, don't be too precious. A mix of peanut butter cups, mints, and caramel bits works best. If you want something more focused, try making Heath Candy Bar Cookies for a toasted almond vibe.
Essential Baking Gear
While basic tools will work, a few specific items simplify the process. A heavy-bottomed saucepan is necessary for browning butter to prevent it from burning. A stand mixer like a KitchenAid helps with emulsification, though a hand whisk and some effort are perfectly fine alternatives.
Parchment paper is essential. Because the candy can leak sugar and caramelize against the pan, the paper prevents sticking and ensures cleanup is simple.
Making These Cookies
Phase 1: Prepping the Flavor Base
- Brown the butter. Melt butter in a saucepan over medium heat, whisking continuously until you see small brown flecks and smell a toasted aroma. Let it cool for 15 minutes. Note: Cooling ensures the eggs don't scramble.
- Cream the sugars. In a large mixing bowl, beat the cooled brown butter with the granulated and brown sugars on medium-high until the texture is similar to wet sand.
- Emulsify. Beat in the vanilla extract and egg for 2 minutes until the batter becomes light and airy.
Phase 2: Folding and Chilling
- Dry integration. In a separate container, whisk together the salt, baking soda, and flour. Gradually stir this into the wet ingredients using a spatula until no flour streaks remain.
- Add mix ins. Gently fold in the chocolate chips and chopped candy bars. Note: Avoid overmixing to prevent the candy colors from bleeding.
- Chill. Cover the bowl and refrigerate the dough for at least 30 minutes to ensure the cookies don't spread too much.
Phase 3: The Bake
- Prepare for baking. Set your oven to 350°F (175°C). Using a scoop, create rounded tablespoons (approx. 2 tbsp) of dough and arrange them on baking sheets lined with parchment, leaving a 2-inch gap between each.
- Bake. Cook for 10–12 minutes until the perimeter is set and golden, while the centers remain slightly soft.
- Finish. Remove from the oven, immediately sprinkle with flaky sea salt, and let them firm up on the baking sheet for 5 minutes before moving them to a cooling rack.
Solving Common Issues
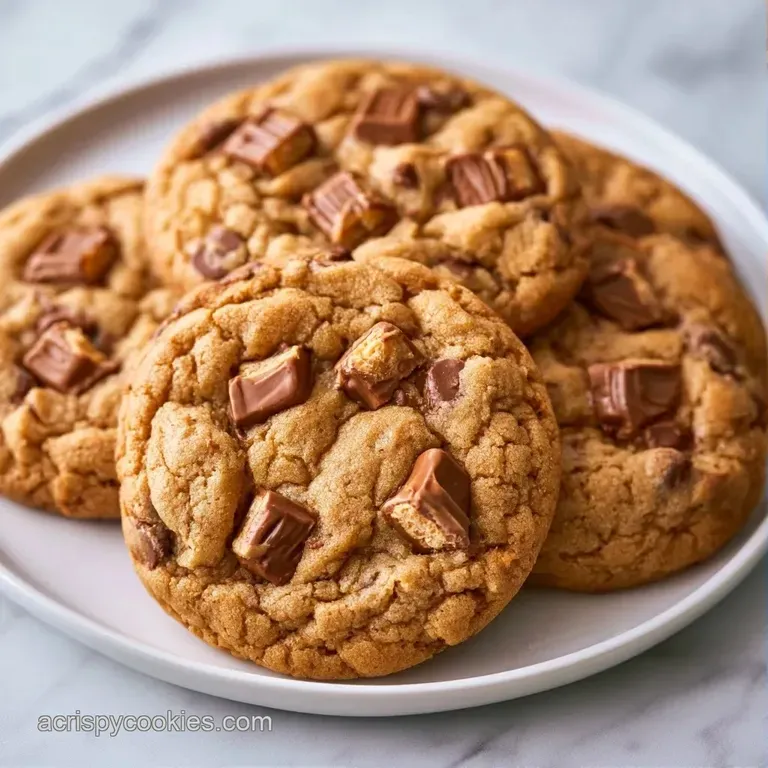
If your cookies spread too much, it's typically a temperature problem. The fat needs to stay firm to maintain the shape during the first few minutes of baking.
When the candy liquefies excessively, it can cause "sugar pockets" to burn. This usually happens if the candy bits are too small or the oven heat is too high.
Fixing Flat Cookies
If the mixture is too soft, the fats liquefy before the flour can set. Chill the tray in the refrigerator for 10 minutes before baking.
Preventing Candy Bleed
Overmixing breaks the coatings on the candy. Use a spatula to fold the ingredients gently, stopping once no white flour remains.
Handling Burnt Bottoms
If the bottoms brown too quickly, your baking pan might be too thin. Use a light-colored sheet or add an extra layer of parchment.
| Problem | Fix |
|---|---|
| Spreading too thin | Chill dough longer |
| Grainy texture | Cream sugars longer |
| Candy burning | Use larger candy chunks |
Different Ways to Bake
You can easily adapt these Cookies and Candy recipes to fit whatever you have in the pantry. For a festive look, try Chocolate Mint Candy Cookies which add a fresh, cool contrast to the rich butter.
For Halloween Candy Cookies
Use a mix of orange and purple candies. I like adding a handful of candy corn and crushed peanut butter cups. It makes them look like a bowl of treats.
For Christmas Cookies and Candy
Stick to reds and greens. Peppermints and white chocolate chunks work great here. These homemade cookies and candy combos are a hit at holiday swaps.
For a "Candy Bar Cookie Bar" Version
Press the dough into a 9x9 inch pan. Bake for 20-25 minutes at 325°F (160°C). This creates a denser, fudgier treat that's easier to slice.
Simple cookies and candy adjustments
If you're short on time, you can use melted butter, but you'll lose that nutty depth. For a chocolate chip cookies and candy twist, increase the chips to 1 cup and reduce the candy to 1 cup.
| Goal | What to change |
|---|---|
| Chewier center | Use more brown sugar |
| Crispier edge | Bake 2 minutes longer |
| More lift | Add 1/4 tsp extra soda |
Storage and Leftovers
Store these in a cool, dry place. They will remain fresh in a container for around 4 days. If the air is humid, place parchment paper between layers to prevent sticking.
For extended storage, freeze them for as long as 2 months. Simply let them thaw for 20 minutes or warm them in the microwave for 10 seconds to recreate that "freshly baked" experience.
Save your leftover candy pieces. Melt them with a splash of heavy cream to create a fast dipping sauce for the cookies, a perfect way to avoid waste.
Plating for the Wow Factor
Because these treats are a visual experience, how you serve them is important. While the colorful candy adds instant brightness, a few small details can provide a professional, artisan finish.
Simple: Mound them on a wooden board, scattering a few whole pieces of the candy used in the recipe for extra flair.
Polished: Set them in a circle on a white ceramic platter. Use twine ribbons to tie stacks of three together.
Restaurant: Center one cookie on a dark plate. Drizzle a small amount of melted dark chocolate over the top and garnish with a single piece of gold leaf or a mint leaf.
| Level | Tweak | Effect |
|---|---|---|
| Simple | Wooden board | Rustic and cozy |
| Polished | Ribbon stacks | Gift ready look |
| Restaurant | Chocolate drizzle | High end luxury |
Why You'll Love This Recipe
The success of these treats lies in the contrast of flavors. The saltiness and toasted notes of brown butter provide a necessary counterpoint to the sweetness of the candy.
The Brown Butter Trick: By toasting the butter, you eliminate excess water and introduce a nutty aroma. This intensifies the flavor and ensures the cookies avoid a cakey texture.
The Chill Factor: Allowing the dough to rest gives the flour time to hydrate completely. This step is key to maintaining thickness and preventing the cookies from flattening into thin wafers.
Stick with full-fat butter for the best results. The fat content is essential for achieving that characteristic rich, bakery-style snap. It transforms a standard biscuit into a crowd-pleasing dessert that will have everyone asking for your secret.
Recipe FAQs
What types of candy bars work best as mix-ins?
Stick to firm, chopped pieces. Use a variety of textures like nougat or caramel, ensuring they are cut into 1/4 inch pieces to distribute evenly.
How do I stop the dough from spreading?
Refrigerate the dough for at least 30 minutes. This firms up the browned butter, which helps the cookies maintain their thickness during baking.
Is it true that skipping the butter browning doesn't change the taste?
No, and here's why. Browning the butter adds a distinct nutty aroma and toasted flavor that balances the sweetness of the candy.
Why did my cookies come out too soft?
They were likely underbaked. Ensure you bake for 10–12 minutes until the edges are golden and set, even if the center still looks slightly soft.
Can I use a different mix-in for a lighter twist?
Yes, chopped dried fruits or nuts work well. For a version with less sugar, try the balanced flavors of our applesauce oatmeal cookies.
Cookies and Candy with Browned Butter