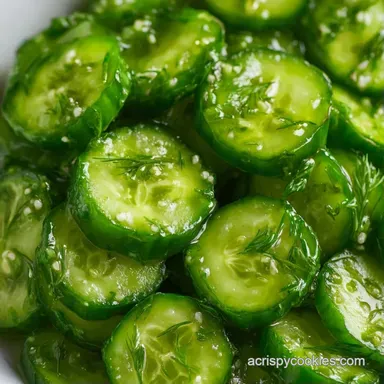
Quick Garlic Fridge Pickles: Shatter Crisp
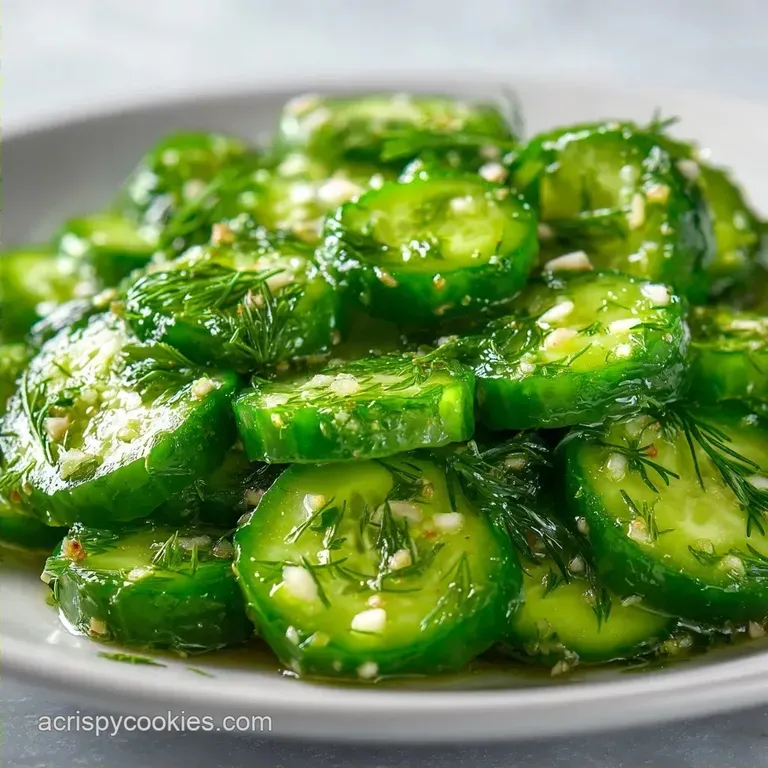
- Time: 10 min active + 24 hours chilling
- Flavor/Texture Hook: Sharp garlic punch with a snappy, cold crunch
- Perfect for: Burger nights, deli platters, or a salty midnight snack
- Quick Garlic Fridge Pickles
- Why the Brine Works
- Ingredient Deep Dive
- Essential Kitchen Gear
- Putting It All Together
- Fixing Pickle Problems
- Troubleshooting Common Issues
- Flavor Twist Options
- Scaling the Batch
- Truth About Pickling Myths
- Storage and Waste Tips
- Serving and Plating Ideas
- Critical Sodium Level
- Recipe FAQs
- 📝 Recipe Card
Quick Garlic Fridge Pickles
The smell of simmering white vinegar and smashed garlic hitting a hot pot always takes me back to my first attempt at pickling. I remember trying to make a huge batch for a family reunion, but I used these oversized, watery greenhouse cucumbers.
The result was a jar of soggy, limp spears that tasted more like vinegar soaked sponges than actual pickles. It was a total disaster, and I spent the whole weekend wondering why the store-bought ones always had that specific, loud snap when you bit into them.
That's when I realized the secret isn't just the brine, but the type of cucumber and the temperature of the liquid. I started hunting for Kirby cucumbers, the small, bumpy ones that are naturally denser. Once I paired those with a brine that's poured while hot, the flavors lock in almost instantly.
Now, I don't even bother with the complicated canning process unless I'm gifting jars for Christmas. For my own kitchen, these Quick Garlic Fridge Pickles are the only way to go.
You can expect a pickle that hits every note. There's the initial zing of the vinegar, followed by a deep, savory garlic warmth, and a finish that's just a tiny bit spicy from the red pepper flakes. It's a high contrast snack, balancing the bright acidity of the brine with the earthy, fresh scent of dill.
Trust me, once you have a jar of these in the door of your fridge, you'll never go back to the supermarket aisle.
Why the Brine Works
I've spent way too much time wondering why some pickles taste "flat" while others pop. It comes down to how the liquid interacts with the vegetable cells.
- Osmotic Pressure: The salt in the brine draws water out of the cucumber, creating space for the vinegar and garlic to move in.
- Heat Infusion: Pouring the brine while it's still hot helps the liquid penetrate the skin faster than a cold soak would.
- Acidic Preservation: The distilled white vinegar lowers the pH level, which stops spoilage and gives that classic sharp tang.
- Cellular Integrity: Keeping the pickles refrigerated after the initial heat shock prevents the pectin in the cucumber walls from breaking down, which is why they don't get mushy.
| Method | Prep Time | Texture | Best For |
|---|---|---|---|
| Traditional Canning | 2 hours | Softer | Long-term shelf storage |
| Quick Fridge | 15 minutes | Shatter crisp | Fresh eating/Short-term |
Ingredient Deep Dive
The magic here isn't in a long list of items, but in the specific role each one plays. If you swap out the salt for table salt, you'll get a cloudy brine and a weirdly metallic taste. Stick to kosher salt for a clean finish.
| Ingredient | Science Role | Pro Secret |
|---|---|---|
| Kirby Cucumber | Structural Base | Use the smallest ones for maximum crunch |
| Distilled Vinegar | Acidifier | Provides the "bright" punch; don't use cider vinegar here |
| Kosher Salt | Moisture Extractor | Prevents cloudiness in the brine |
| Fresh Garlic | Aromatic Base | Smashing the cloves releases more oils than slicing |
Essential Kitchen Gear
You don't need a fancy lab to get this right, but a few specific tools make it a lot smoother. I prefer using wide mouth pint jars because they make packing the cucumbers much easier. If you use narrow jars, you'll end up bruising the cucumbers just trying to get them to fit, which can lead to softer spots.
A small stainless steel saucepan is best for the brine. You want something that distributes heat evenly so the sugar doesn't scorch on the bottom. I also highly recommend a slotted spoon. When you're moving the garlic and dill into the jars, it's much easier than trying to fish them out with your fingers.
Right then, make sure your jars are scrubbed clean. Any leftover residue from a previous meal can mess with the pH of the brine and might cause the pickles to spoil faster than they should. A quick rinse with hot water is usually enough since we aren't doing a full sterilization process for canning.
Putting It All Together
Let's crack on. The goal here is to pack the jars as tightly as possible. If there's too much room, the cucumbers will float, and any piece that isn't submerged in the liquid will lose its crunch and potentially spoil.
- Wash the cucumbers thoroughly and slice them into spears or rounds. Note: Keep the slices uniform so they brine at the same rate.
- Divide the smashed garlic cloves, fresh dill sprigs, peppercorns, and mustard seeds evenly among four wide mouth pint jars, placing them at the bottom.
- Combine distilled white vinegar, filtered water, kosher salt, sugar, and red pepper flakes in a small saucepan.
- Bring the brine to a gentle simmer over medium heat, stirring until the salt and sugar have completely dissolved, then remove from heat immediately. Wait for the first few bubbles to break the surface before turning off the flame.
- Tightly pack the cucumber slices into the jars, leaving 1/2 inch of headspace at the top.
- Pour the hot brine over the cucumbers until fully submerged. Tap the jars on the counter to release air bubbles and seal the lids tightly.
- Refrigerate for 24 hours to allow flavors to infuse before serving.
Chef's Note: If you see a few air bubbles clinging to the side of the glass after pouring, just use a butter knife to gently poke them loose. This ensures every inch of the cucumber is touching the brine.
Fixing Pickle Problems
Even with a solid plan, things can go sideways. Usually, it's a result of the produce quality or a slight temperature mishap. If your pickles aren't hitting the mark, check the table below to see what happened.
Troubleshooting Common Issues
| Issue | Solution |
|---|---|
| Why Your Pickles Are Soft | This is the most common complaint. Usually, it happens because the cucumbers were too old or the brine was boiling rather than simmering. |
| Why Your Brine Is Cloudy | Cloudiness usually comes from using tap water with high mineral content or using iodized table salt. It doesn't affect the taste, but it doesn't look as clean as a professional jar. |
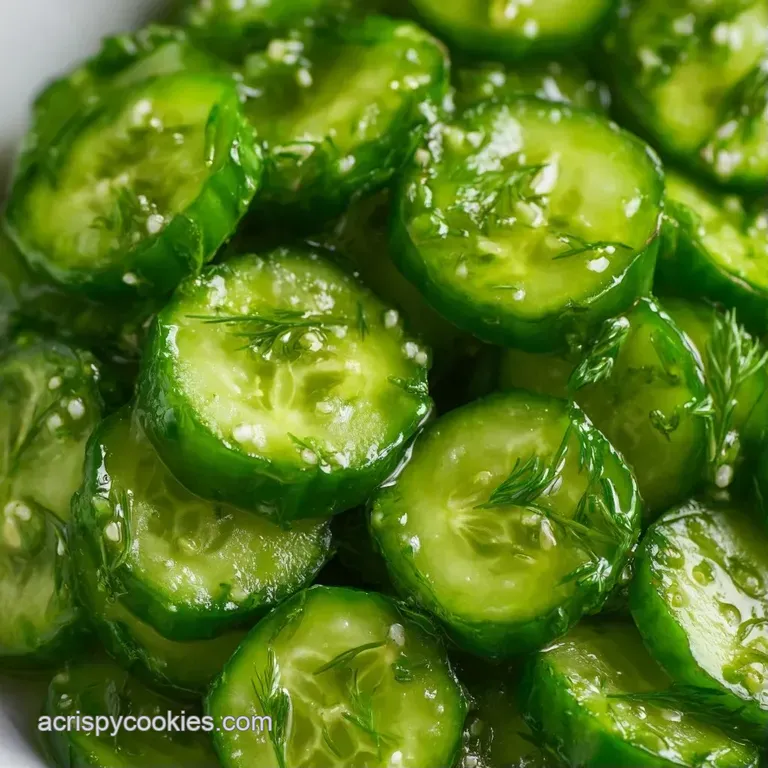
| Why Garlic Turns Blue | Don't panic if your garlic turns a weird bluish green color. This is a natural reaction between the sulfur in the garlic and the acid in the vinegar. It's totally safe to eat. |
Common Mistakes Checklist
- ✓ Using "slicing" cucumbers instead of "pickling" (Kirby) cucumbers.
- ✓ Boiling the brine too aggressively, which softens the vegetable.
- ✓ Not smashing the garlic, which limits the flavor release.
- ✓ Opening the jars too early, which lets the infusion process stall.
- ✓ Using a jar that is too large, leaving the cucumbers exposed to air.
Flavor Twist Options
Once you've nailed the basic Quick Garlic Fridge Pickles, you can start playing with the ratios. If you want something with more of a kick, I suggest adding a sliced jalapeño or a teaspoon of crushed red pepper flakes. For those who like a more traditional approach, you can look into my Homemade Garlic Dill Pickles for a slightly different snap.
If you prefer a sweet and sour vibe, increase the granulated sugar to 2 tablespoons. This doesn't make them "candy" pickles, but it softens the edge of the white vinegar. I've also tried adding a few grains of mustard seed or a bay leaf to the bottom of the jar for a more complex, earthy undertone.
For a low sodium version, you can cut the salt by half, but be warned: the pickles will be slightly softer and won't last as long in the fridge. Salt isn't just for flavor; it's what keeps the cucumber skin tight. If you're avoiding salt, definitely eat these within a week.
Scaling the Batch
If you're prepping for a party, scaling up is easy, but don't just multiply everything blindly. Spices and aromatics don't always scale linearly.
Scaling Down (Half Batch) Use 1 lb of cucumbers and 2 pint jars. Reduce the brine ingredients by exactly half. Since the volume of liquid is smaller, it will reach a simmer much faster, so watch the pot closely to avoid boiling.
Scaling Up (Double or Triple Batch) When doubling the recipe to 4 lbs of cucumbers, only increase the garlic and red pepper flakes to 1.5x the original amount. Too much garlic in a large batch can actually overpower the dill and make the brine taste bitter.
For the liquids and salt, you can stick to a strict 2x multiplier. I recommend working in batches of 4-6 jars to ensure you can pack them tightly enough.
| Option | Cucumber Amount | Brine Adjustment | Expected Yield |
|---|---|---|---|
| Small Batch | 1 lb | 50% reduction | 2 Pints |
| Standard Batch | 2 lbs | As written | 4 Pints |
| Party Batch | 4 lbs | 2x liquid, 1.5x garlic | 8 Pints |
Truth About Pickling Myths
There's a lot of old school advice floating around that just isn't true for refrigerator pickles.
Myth: You must boil the jars to make them safe. Truth: This is only for shelf stable canning. Since these stay in the fridge, the cold temperature and the acidity of the vinegar handle the preservation. A clean jar is plenty.
Myth: Sugar is only for sweet pickles. Truth: A small amount of sugar, like the tablespoon we use here, doesn't make the pickle "sweet." It acts as a flavor balancer that cuts through the harshness of the distilled vinegar.
Myth: You can't use fresh dill. Truth: Some people use dried dill for convenience, but fresh dill sprigs provide a bright, grassy note that dried herbs just can't replicate. Always go fresh if you can.
Storage and Waste Tips
These Quick Garlic Fridge Pickles will stay crisp and tasty in the refrigerator for about 3 to 4 weeks. Just make sure you always use a clean fork to pull them out of the jar. Introducing bacteria from your fingers can make the brine cloudy and shorten the shelf life.
If you notice the brine starting to look thick or the cucumbers getting a bit soft after a month, it's time to toss them. Because we didn't use a canning sealer, they aren't permanent.
To keep things zero waste, don't throw away the leftover brine! It's basically a seasoned vinegar. I love using it as a marinade for grilled chicken or whisking it into a homemade vinaigrette for a summer salad. If you have cucumber ends that were too small to slice into spears, toss them into the jar anyway.
They'll soak up the flavor and make for great snacks.
Serving and Plating Ideas
While these are great straight out of the jar, they really shine when paired with rich, fatty foods. The acidity cuts right through the grease of a burger or a piece of fried chicken. I love serving them alongside some Classic Mashed Potatoes and a seared steak to balance out the heavy flavors of the meal.
For a platter, slice the spears lengthwise and lay them out with some sharp cheddar cheese, slices of salami, and a few cornichons. If you're feeling fancy, sprinkle a little smoked paprika over the top of the pickles before serving.
Another trick is to chop them into tiny dice and fold them into a tuna or chicken salad. Instead of using store-bought relish, which is often way too sweet, these homemade pickles add a sharp, garlicky crunch that makes the whole sandwich taste like it came from a high end deli.
Critical Sodium Level
2322 mg 2322 mg of sodium per serving (101% 101% of daily value)
The American Heart Association recommends a limit of 2,300mg of sodium per day for most adults, and ideally less than 1,500mg for those with hypertension.
Ways to Lower Sodium in Your Pickles
-
Reduce Kosher Salt-30%
Cut the kosher salt in half; the distilled white vinegar will still provide the necessary acidity for preservation and tang.
-
Use Salt Substitutes-25%
Replace a portion of the salt with a potassium-based salt substitute to maintain a salty profile with significantly less sodium.
-
Boost Acidity-15%
Add a squeeze of fresh lemon juice or a pinch of citric acid to heighten the brightness, which mimics the perception of saltiness.
-
Increase Aromatics
Double the amount of fresh dill and garlic to provide a deeper, more complex flavor profile without adding any extra sodium.
Recipe FAQs
Do homemade dill pickles in vinegar need to be refrigerated?
Yes, these must stay chilled. Because they aren't processed in a canning bath, they rely on refrigeration to stay safe and crisp.
How to make simple dill pickles?
Slice cucumbers and pack them into jars with garlic, dill, peppercorns, and mustard seeds. Pour over a simmered brine of vinegar, water, salt, sugar, and red pepper flakes, then chill for 24 hours.
How to make homemade dill pickle juice?
Simmer distilled white vinegar, filtered water, kosher salt, sugar, and red pepper flakes. Stir until the salt and sugar dissolve, then remove from heat immediately to avoid over-boiling.
Is it true that blue garlic in pickles means they are spoiled?
No, this is a common misconception. The color change is a natural reaction between sulfur in the garlic and the acid in the vinegar.
Why did my homemade pickles turn out soft?
Use fresh cucumbers and avoid boiling the brine. Softness usually occurs if the cucumbers were too old or the brine reached a full boil rather than a gentle simmer.
How to make sweet pickles without canning?
Increase the granulated sugar in the brine. Following the same refrigeration method used in our pickle chips, you can adjust the sugar ratio for a sweeter profile.
How long can I store these pickles in the fridge?
Keep them for 3 to 4 weeks. Use a clean fork to remove pickles to prevent bacteria from clouding the brine and shortening the shelf life.
Quick Garlic Fridge Pickles: 15 Mins