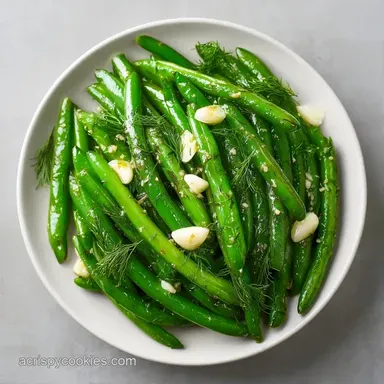
Quick Pickled Green Beans: Shatter Crisp
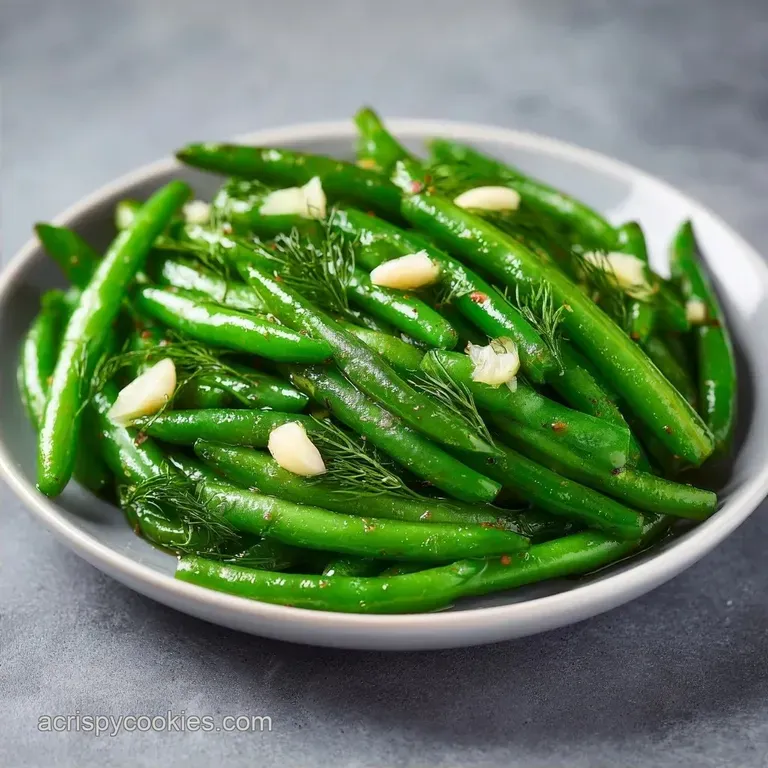
- Time: 15 min active + 24 hours chilling
- Flavor/Texture Hook: Tangy, garlic heavy, and shatter crisp
- Perfect for: Charcuterie boards, summer BBQs, or a salty snack
- Quick Pickled Green Beans for Snacks
- What Makes These Snap
- The Quick Recipe Specs
- Getting the Right Ingredients
- Tools for the Job
- Steps to the Perfect Snap
- Fixing Common Pickle Problems
- Troubleshooting Common Issues
- Switching Up the Flavors
- Making Ahead and Leftover Tips
- Best Ways to Serve
- Recipe FAQs
- 📝 Recipe Card
Quick Pickled Green Beans for Snacks
That sharp, vinegary scent hits you the second you pop the lid. It is that specific, pungent aroma of dill and garlic that tells you these aren't just vegetables, they're an addiction. I remember bringing a jar of these to a family reunion a few years back.
While the potato salad was getting warm in the sun, these stayed ice cold and bright. They were the first thing to disappear from the table, mostly because they cut right through the richness of the grilled meats.
You don't need a fancy canning setup or a pressure cooker to get this result. We're doing a refrigerator style, which means the beans stay firmer and the flavor stays fresher. If you've ever had those store-bought pickles that feel like mush in your mouth, this is the antidote.
You get a loud, satisfying snap with every bite.
This recipe is about balance. We use just enough sugar to take the edge off the vinegar without making it taste like a dessert. The result is a bright, zingy snack that works as a palate cleanser or a standalone treat. Let's crack on with how to make it happen.
What Makes These Snap
I used to think you had to blanch beans first, but that actually softens them too much for a quick pickle. By pouring the brine while it's still bubbling, we create a flash heat effect that preserves the cell walls of the bean.
Acid Penetration: The vinegar lowers the pH quickly, which prevents the beans from softening too fast. According to Serious Eats, maintaining a specific acidity level is what keeps the vegetable structure intact.
Osmotic Balance: The salt pulls moisture out of the beans while pushing the brine in. This exchange happens faster when the brine is hot.
Sugar Buffer: A small amount of sugar doesn't just add sweetness. It rounds out the harshness of the distilled vinegar, creating a smoother taste.
Cold Set: The 24 hour chill is where the magic happens. It slows down any remaining cooking from the hot brine and allows the garlic and dill to seep into the center of the bean.
| Feature | Fresh Green Beans | Quick Pickled Green Beans |
|---|---|---|
| Texture | Soft/Crunchy | Shatter Crisp |
| Shelf Life | 3-5 Days | 3-4 Weeks |
| Flavor | Earthy/Mild | Tangy/Pungent |
| Preparation | Raw or Steamed | Brined and Chilled |
The Quick Recipe Specs
Before we get into the weeds, here is the technical breakdown of the process. This isn't a "set it and forget it" meal, but the active work is minimal.
The prep takes 15 minutes, mostly spent trimming the ends. The cook time is a quick 5 minutes just to get the brine boiling. However, the total time is 24 hours and 50 minutes because you absolutely cannot skip the chilling phase.
If you try to eat these after two hours, the flavor will be mostly vinegar and the garlic won't have woken up yet.
This makes about 8 servings, split between two pint jars. It's a small batch, but it's the right amount to ensure every bean is fully submerged in the liquid.
Getting the Right Ingredients
The quality of your produce determines the final snap. I always look for beans that are thin and firm. If they feel bendy or rubbery in the store, they'll be mushy in the jar.
The Produce
You need 1 lb of fresh green beans. Trim them to 3 inch lengths so they fit snugly in the jar. Use 4 cloves of garlic, smashed. Smashing them instead of slicing releases more oils and gives you a deeper, more pungent flavor. 3 sprigs of fresh dill are mandatory.
Dried dill just doesn't have the same bright, grassy note.
The Brine Base
I use 1 cup of white distilled vinegar. It's the cleanest acid and doesn't compete with the dill. Combine this with 1 cup of filtered water. If you use hard tap water, you might see some cloudy sediment in your jars. Use 1 tbsp of kosher salt and 1 tbsp of granulated sugar.
The Flavor Boosters
Add 1 tsp of black peppercorns and 1/2 tsp of red pepper flakes. The flakes don't make it "hot," they just provide a back end warmth. Finally, 1 tsp of mustard seeds adds a subtle, nutty bitterness that balances the sugar.
| Ingredient | Science Role | Pro Secret |
|---|---|---|
| White Vinegar | Acidifier | Use 5% acidity for consistent results |
| Kosher Salt | Flavor/Tension | Avoid table salt to prevent cloudiness |
| Fresh Dill | Aromatic | Keep the stems on for more flavor |
| Garlic | Pungency | Smash with the side of a knife |
Tools for the Job
You don't need a professional kitchen for this. A few basic items will do.
First, grab two wide mouth pint jars. Wide mouths are easier to pack tightly. You'll also need a small saucepan to heat the brine. A sharp knife or kitchen shears for trimming the beans is a must. Finally, make sure your jars are clean.
You don't need to sterilize them like you would for long-term canning, but a quick wash with hot soapy water is necessary.
Chef Note: If you don't have pint jars, any airtight glass container works. Just make sure the beans are completely covered by the liquid, or they might develop a film.
Steps to the Perfect Snap
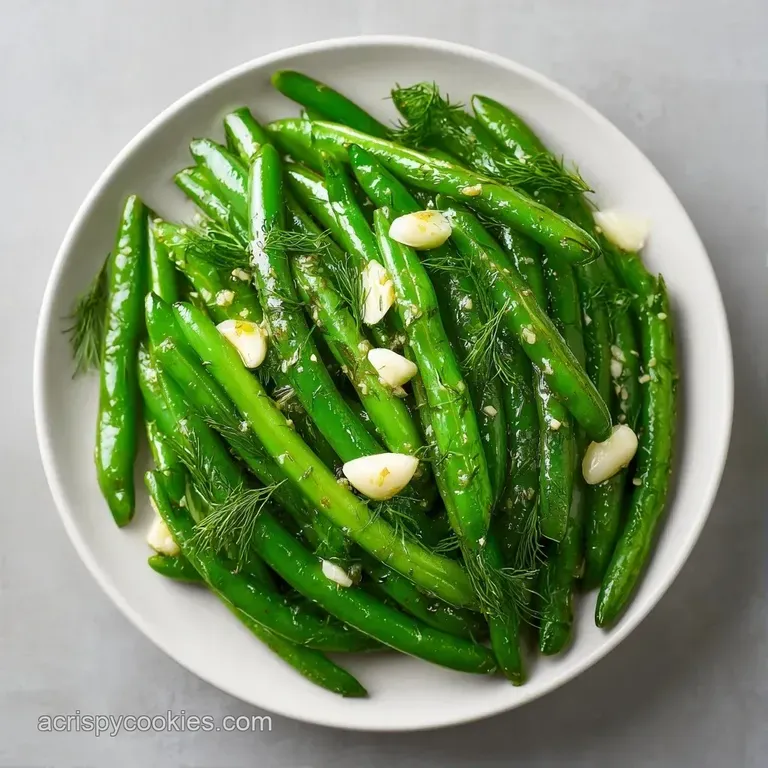
Right then, let's get into the actual process. Follow these steps closely to ensure you get that restaurant quality crunch.
- Wash the green beans thoroughly and trim the stem ends. Cut the beans into uniform 3 inch pieces and pack them tightly into two clean wide mouth pint jars. Note: Packing them tight prevents them from floating.
- In a small saucepan over medium high heat, combine the white distilled vinegar, filtered water, kosher salt, and granulated sugar.
- Stir constantly until the salt and sugar are completely dissolved and the brine reaches a rolling boil, then remove from heat immediately. Listen for the liquid to bubble aggressively.
- Divide the smashed garlic, fresh dill sprigs, black peppercorns, and mustard seeds evenly between the two jars of beans.
- Carefully pour the boiling brine over the beans, leaving approximately 1/2 inch of headspace at the top of each jar. You'll smell the vinegar steam rise instantly.
- Seal the lids tightly and allow the jars to cool on the counter for 30 minutes.
- Transfer the jars to the refrigerator and chill for 24 hours to allow flavors to penetrate and maintain crispness.
Fixing Common Pickle Problems
Even with a simple recipe, things can go sideways. Most issues come down to temperature or ingredient ratios.
Troubleshooting Common Issues
| Issue | Solution |
|---|---|
| Why Your Beans Are Soft | This usually happens if the beans were overcooked by the brine or if you didn't chill them long enough. If the brine is too hot for too long without the fridge, the beans "cook" through. |
| Why Your Brine Is Cloudy | Cloudy brine is often caused by using tap water with high mineral content or using iodized table salt. The iodine reacts with the vinegar. |
| Why the Flavor Is Weak | If they taste bland, you likely didn't let them sit for the full 24 hours. The garlic and dill take time to migrate from the outside of the bean to the center. |
- ✓ Use the freshest beans possible (avoid those with "bendy" stems).
- ✓ Don't over pack the jars to the point where the brine can't reach the bottom.
- ✓ Ensure the brine reaches a full boil before pouring.
- ✓ Keep the jars in the coldest part of the fridge, not the door.
- ✓ Use a non reactive pot (stainless steel) to avoid a metallic taste.
Switching Up the Flavors
Once you've nailed the basic Quick Pickled Green Beans, you can start playing with the aromatics.
If you want Spicy Pickled Green Beans, double the red pepper flakes or add a sliced habanero to each jar. For a "Deli Style" vibe, add a pinch of celery seed and a slice of lemon. You can also swap the white vinegar for apple cider vinegar. It works, but it adds a fruitier, softer tone to the pickle.
If you're looking for a sugar-free version, you can omit the granulated sugar entirely. The beans will be more aggressive and sour, but the snap remains the same. Just be aware that the sugar helps the brine cling to the beans.
Decision Shortcut:
- If you want more heat → Add 1 sliced jalapeño per jar.
- If you want a softer taste → Use Apple Cider Vinegar.
- If you want an herbal punch → Add fresh peppercorns and a bay leaf.
Making Ahead and Leftover Tips
These are the ultimate meal prep snack. Since we aren't canning them, they won't last forever, but they stay good for a surprisingly long time in the fridge.
Store them in the refrigerator for up to 4 weeks. Keep the lid tight to prevent the vinegar scent from taking over your entire fridge. Do not freeze these. Freezing destroys the cellular structure of the bean, and they will turn into mush the moment they thaw.
As for zero waste, don't throw away the leftover brine. It's basically a seasoned vinegar. You can use it as a marinade for grilled chicken or drizzle it over a cold potato salad. If you have leftover bean ends from the trimming phase, toss them into a veggie stock pot for extra flavor.
Best Ways to Serve
I love these as a side for anything heavy. They provide a sharp contrast to rich foods. For example, they pair beautifully with Homemade Roast Potatoes, where the acidity of the beans cuts through the starch and butter.
You can also serve them on a charcuterie board with sharp cheddar, salami, and some cornichons. If you're feeling adventurous, try them as a topping for a burger. The crunch replaces the need for traditional lettuce and adds a punch of flavor.
For a weird but satisfying treat, try eating them alongside something sweet. I've found that the salty, tangy profile of these beans actually complements the richness of Classic Chocolate Chip Cookies recipe if you're doing a "sweet and salty" tasting platter.
Right then, you've got the blueprint. Just remember: trim the beans, boil the brine, and for the love of all things tasty, leave them in the fridge for the full 24 hours. You'll be rewarded with the best Homemade Pickled Green Beans you've ever had.
Recipe FAQs
Can I quick pickle green beans?
Yes, it is a fast way to get a tangy snack. Just pack them in jars, add boiling brine, and refrigerate for 24 hours to ensure they stay crisp.
Is it true that I must blanch green beans before pickling them?
No, this is a common misconception. The boiling brine used in this recipe provides enough heat to soften the beans while maintaining their signature snap.
How to make homemade vegetable pickles?
Pack trimmed vegetables tightly into clean jars. Pour over a boiling brine of vinegar, water, salt, and sugar, then chill for at least a day. These zesty beans pair perfectly with a hearty crack chicken chili.
Are green beans okay for diabetics?
Yes, green beans are naturally low-glycemic. Just be mindful of the granulated sugar used in the brine to fit your specific dietary requirements.
Why are my pickled beans soft?
Overcooking by the brine is the likely cause. This happens if the jars stay too hot for too long or aren't moved to the refrigerator after the initial cooling period.
Why is my brine cloudy?
Use filtered water and kosher salt. Cloudy brine typically occurs when minerals in tap water or iodine in table salt react with the white distilled vinegar.
Can you use store-bought pickle juice to make more pickles?
No, stick to a fresh brine. store-bought juices often lack the precise salt and sugar balance required to maintain the crunch of fresh green beans.
Quick Pickled Green Beans: Shatter Crisp