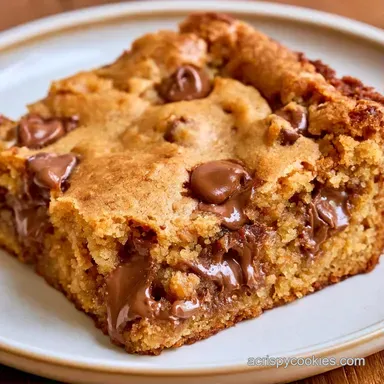
Chocolate Chip Cookie Dough Bars in 40 Minutes
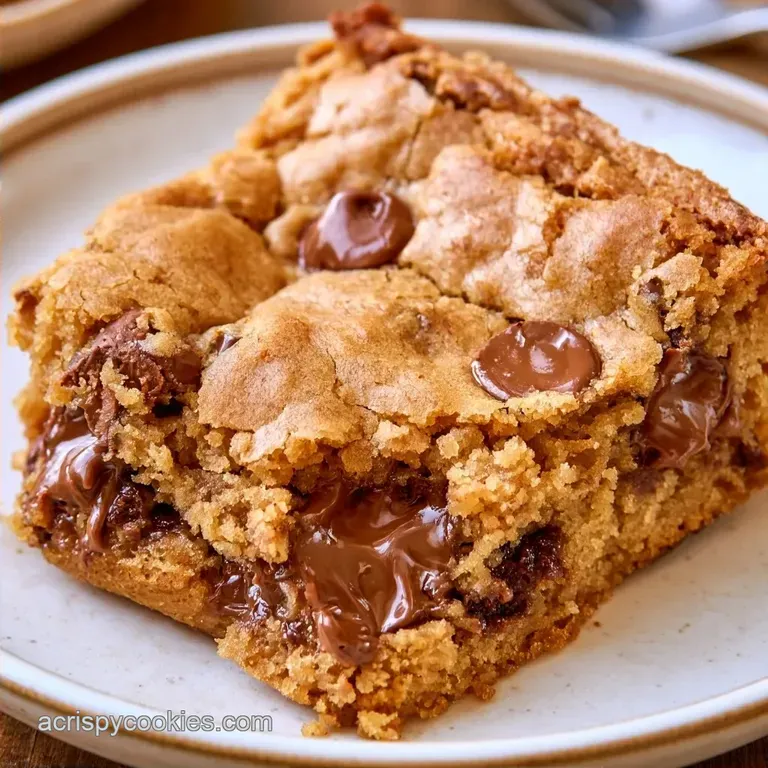
- Time: 15 min active + 25 min bake + 1 hr cooling
- Flavor/Texture Hook: Dense, buttery center with a salty, crisp edge
- Perfect for: Busy weekends or party platters
Easy Chocolate Chip Cookie Dough Bars
Have you ever wondered why we spend half our lives scooping tiny balls of dough onto trays? It’s a tedious process that usually results in three different batches of cookies because the tray is too small. I used to do the same thing until I realized that baking the dough as one giant slab solves everything.
The smell of brown sugar and vanilla filling the kitchen is the same, but the effort is half. You get those mahogany colored edges and a center that stays soft, almost like a fudge. It’s a quick fix for when you want a homemade treat but don't have the patience for a multi tray marathon.
This recipe focuses on a minimal cleanup approach. One bowl, one pan, and very little fuss. You'll end up with thick, chewy bars that satisfy that cookie craving without the stress of timing ten different batches.
Why These Bars Stay Soft
- Pan Volume: Baking in a 9x13 pan traps moisture in the middle, which stops the center from drying out like a standalone cookie.
- Sugar Ratio: Using a mix of white and brown sugars creates a denser, chewier crumb that doesn't spread too thin.
The high volume of dough in a single pan slows down the evaporation of water from the center. This results in a velvety texture that feels like underbaked dough but is completely safe to eat.
| Method | Time | Texture | Best For |
|---|---|---|---|
| Pan Bake | 25 mins | Dense & Gooey | Large crowds |
| Individual | 10-12 mins | Crispy Edge | Individual portions |
Recipe Specs
If you're planning your day, here is how the timing actually breaks down. The active work is fast, but the waiting is where most people trip up.
- Prep Phase: 15 minutes to cream butter and mix dough.
- Bake Phase: 25 minutes in the oven.
- Cooling Phase: 60 minutes. Do not skip this, or the bars will fall apart when you slice them.
For those who like to plan, I usually mix the dough in the morning and bake it right before guests arrive. It's a simple flow that keeps the kitchen clean.
Gathering Your Essentials
I find that a stand mixer is best for making the butter light and airy, but you can certainly use a hand mixer. Just ensure the butter is truly softened not melted since melted butter creates a flat, oily result.
| Ingredient | Role | If You Don't Have It |
|---|---|---|
| Unsalted Butter | Fat and flavor base | Salted butter (reduce added salt) |
| Brown Sugar | Moisture and chew | All white sugar (will be crispier) |
| All Purpose Flour | Structure | 1:1 gluten-free blend |
| Baking Soda | Lift and browning | Baking powder (use 3x the amount) |
For the Dough Base
- 1 cup (225g) unsalted butter, softened Note: Gives the bars their signature buttery taste.
- 3/4 cup (150g) granulated white sugar Note: Encourages the edges to crisp up.
- 3/4 cup (165g) packed brown sugar Note: Provides moisture and a hint of molasses.
- 2 large eggs Note: Binds ingredients and helps the batter rise.
- 1 tsp (5ml) vanilla extract Note: Enhances the overall fragrance.
For the Mix ins & Finish
- 2 1/4 cups (280g) all purpose flour Note: The ideal protein level for a stable bar.
- 1 tsp (5g) baking soda Note: Works with brown sugar to create color.
- 1/2 tsp (3g) salt Note: Offsets the sweetness.
- 2 cups (340g) semi sweet chocolate chips Note: Bitterness from the cocoa cuts the sugar.
- 1/2 tsp (3g) flaky sea salt Note: Provides a sophisticated, salty contrast.
| Original Ingredient | Substitute | Why It Works |
|---|---|---|
| Semi sweet Chips | Dark Chocolate Chunks | More intense cocoa. Note: Less sweet than chips |
| All Purpose Flour | Almond Flour | Adds a nutty taste. Note: Much softer, fragile crumb |
| Unsalted Butter | Coconut Oil (solid) | Vegan option. Note: Slight coconut taste |
Gear For The Job
No specialized equipment is necessary for this recipe; standard kitchen tools are more than enough. The critical factor is using the correct pan size, as a smaller dish will create bars that are too thick and likely to remain raw in the center.
- 9x13 inch baking pan
- Parchment paper
- Large mixing bowl
- Electric mixer (hand or stand)
- Rubber spatula
- Sifter or fine mesh strainer
Chef Note: Make sure the parchment paper extends over the sides of the pan. This creates a handle to lift the entire slab out, making it much easier to slice.
Step by step Process
Phase 1: Preparing the Foundation
Set your oven to 350°F (180°C). Line a 9x13 inch baking pan with parchment paper, ensuring the paper covers the base and extends up the sides.
Phase 2: Creating the Emulsion
In a large bowl, cream together the softened butter, white sugar, and brown sugar. Beat on medium speed until the mixture is light and airy. Incorporate the eggs one by one, beating after each addition, then stir in the vanilla extract.
Phase 3: Incorporating Dry Ingredients
Sift the flour, baking soda, and salt directly into the wet mixture. Mix on low speed until just combined and no flour streaks are visible. Stop immediately to prevent overmixing. Gently stir in the chocolate chips with a spatula.
Phase 4: The Pan Bake
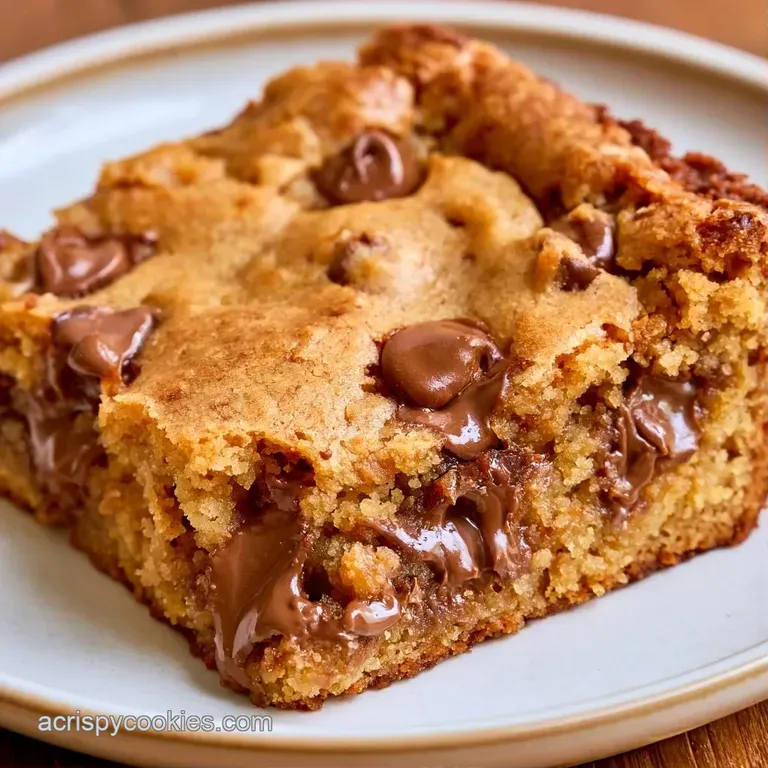
Spread the dough evenly into the prepared pan, smoothing the surface with your fingers or the back of a spoon. Bake for 22–25 minutes until the edges turn golden brown and the center still jiggles slightly.
Phase 5: The Finishing Touch
Take the pan out of the oven and immediately dust the top with flaky sea salt. Allow the bars to cool completely in the pan for at least 1 hour.
Fixing Common Baking Issues
If your bars come out too thin, it usually means your butter was too warm before you started. This causes the dough to lose its structure quickly in the oven. Another common issue is overbaking. If the center doesn't jiggle, you've gone too far and they'll be cakey instead of doughy.
For those who prefer a different style, you might enjoy my Chocolate Chip Cookies if you want something with a more defined crisp edge.
Dealing with Greasy Bars
This happens when the butter separates from the sugars during the creaming process. It usually occurs if the eggs are ice cold.
Preventing Burnt Edges
If your oven runs hot, the edges might darken before the middle is set. Moving the pan to the center rack usually fixes this.
Solving a Crumbly Texture
Overmixing the flour develops too much gluten, which can lead to a tough or crumbly bar. Always mix the dry ingredients on the lowest setting.
| Problem | Root Cause | Solution |
|---|---|---|
| Bars are too flat | Butter was melted/too soft | Chill dough 20 mins before baking |
| Center is raw | Pan was too small | Use exactly a 9x13 inch pan |
| Tough texture | Overmixed the flour | Stop mixing as soon as flour disappears |
Swaps And Mix Ins
You can easily customize these Homemade Chocolate Chip Cookie Dough Bars without affecting the chemistry. Just ensure the total weight of your mix-ins remains similar so the dough can still support them.
For an "Adult" Flavor Profile: Mix 1 tsp of espresso powder into the flour. Rather than imparting a coffee flavor, this simply enhances the depth and richness of the chocolate.
For Added Crunch: Replace 1 cup of chocolate chips with toasted pecans or walnuts. Toast the nuts in a dry pan for 3 minutes before folding them in.
For a Healthy Alternative: Substitute coconut sugar for brown sugar. This option provides a similar caramel taste and a lower glycemic index, although the texture will be slightly more granular.
Decision Shortcut
| Goal | What to change |
|---|---|
| More Gooey | Bake for 22 mins |
| Extra Chewy | Increase brown sugar by 2 tbsp |
| Less Sweet | Use 70% dark chocolate |
Keeping Them Fresh
These bars keep well, though their consistency evolves over time. They are softest and most "doughy" right away, but they become denser and more like fudge after a day in the refrigerator.
Room Temperature: Keep them in a sealed container for 3 days. Ensure they are away from direct sunlight to prevent the chocolate from blooming.
Fridge: They stay fresh for about a week when refrigerated. I actually enjoy them cold, as it creates a more authentic "cookie dough" experience.
Freezer: Wrap each bar in parchment and keep them in a freezer safe bag for 3 months. Thaw in the fridge overnight or microwave for 10 seconds for a warm snack.
Zero Waste: Don't let any leftover dough in the bowl go to waste. Bake it in a small ramekin to make a single serve "cookie cake" for breakfast.
Ways To Serve Them
Since these are quite decadent, they go well with flavors that balance out the sweetness. While a chilled glass of milk is a traditional choice, there are plenty of other ways to serve them.
The Classic Afternoon Treat: Enjoy a bar at room temperature alongside a cup of black coffee. The coffee's natural bitterness offsets the rich, buttery sugar.
The Ultimate Comfort Pairing: Microwave a bar for 15 seconds and top it with a dollop of vanilla bean ice cream. This creates a gooey center reminiscent of a gourmet dessert. For an extra indulgence, serve it with some Homemade Hot Chocolate.
For a Party Platter: Cut the bars into bite sized 1 inch squares. Place them on a serving board with fresh raspberries and strawberries to provide a bright, acidic contrast.
Common Baking Beliefs
"Butter must be melted for easy mixing." Actually, melted butter changes the aeration. Creaming softened butter traps air bubbles, which gives the bars a lift. Melted butter makes them dense and oily.
"Adding more flour fixes a runny dough." Adding too much flour makes the bars dry and cakey. If the dough is too soft, chill it in the fridge for 20 minutes instead of adding more flour.
"You must bake until the center is firm." In the case of cookie bars, a firm center means they are overbaked. You want a slight jiggle; the residual heat from the pan finishes the cooking as they cool.
Recipe FAQs
Can you turn standard cookie dough into bars?
Yes, you simply press the dough into a lined 9x13 inch pan. This method saves time since you don't have to scoop individual portions.
Is it true that cookie bars need a higher temperature than cookies?
Surprisingly, no. These bars bake at 350°F (175°C) just like traditional cookies to ensure the center sets without burning the edges.
What is the best way to get clean slices?
Let the pan cool completely for at least 1 hour before cutting. Lifting the entire block out with the parchment paper allows for precise, sharp cuts.
Which ingredients provide the lift in this recipe?
Baking soda creates the rise by reacting with the brown sugar. This keeps the bars from becoming too dense.
Could I make these without butter?
No, since the butter provides the essential fat and structure. Check our gluten free graham cookies to see a similar approach to fat ratios.
How to avoid an overbaked center?
Remove the pan when the edges are golden brown but the center still has a slight jiggle. The bars continue to set as they cool.
Does adding sea salt change the taste?
It enhances the sweetness of the chocolate chips by adding a sharp contrast. Sprinkle it over the surface immediately after baking for the best effect.
Chocolate Chip Cookie Dough Bars