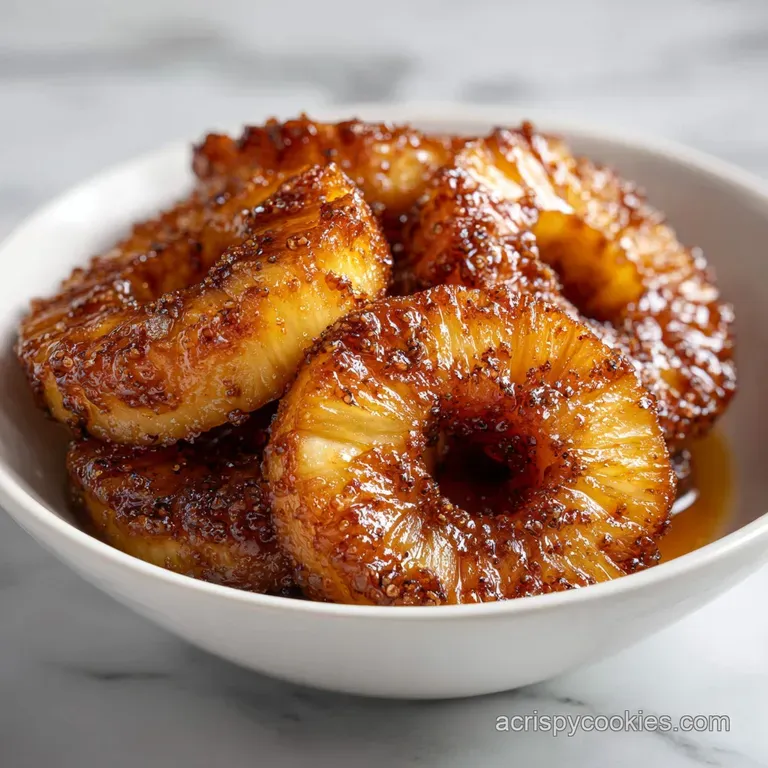
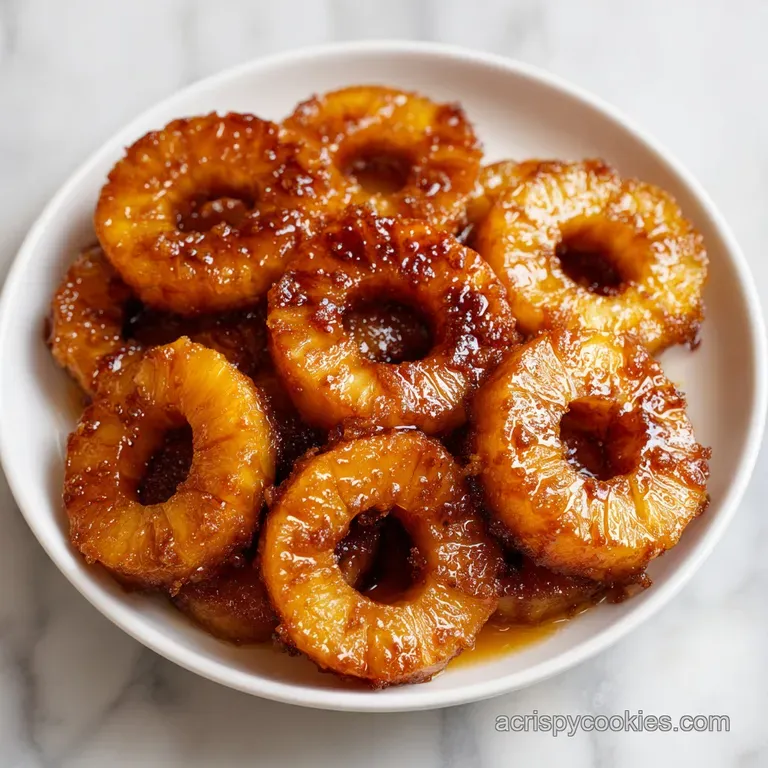
Easiest Pineapple Bake: Buttery and Caramelized
- Time:10 minutes active + 60 minutes baking + 10 minutes resting = Total 80 minutes
- Flavor/Texture Hook: Deep amber syrup with tender, buttery fruit
- Perfect for: budget-friendly dinner parties, Sunday brunch, or a quick craving
- Make This Easiest Pineapple Bake Today
- Quick Bake Details
- The Secret To The Glaze
- Ingredient Deep Dive
- The Ingredient List
- Essential Baking Tools
- The Step by Step Guide
- Fix Common Glaze Issues
- Troubleshooting Common Issues
- Adjusting the Yield
- Creative Flavor Twists
- Storage and Freshness
- Best Serving Ideas
- Recipe FAQs
- 📝 Recipe Card
Make This Easiest Pineapple Bake Today
I can still smell the scent of bubbling brown sugar and cinnamon wafting through my aunt's kitchen every Thanksgiving. For as long as I can remember, this dish was the "secret weapon" of every church potluck in my hometown.
It's one of those classic American comfort treats that doesn't try too hard, yet it always disappears first. People grew up with this because it's honest, sweet, and uses things you already have in the cupboard.
It's not a fancy pastry or a complex cake, but that's the beauty of it. It represents a time when "dessert" meant taking a can of fruit, adding some butter and sugar, and letting the oven do the heavy lifting. When you pull this out of the oven, the sizzle of the syrup is practically a dinner bell.
You can expect a dessert that hits that sweet spot between a fruit compote and a candy coating. The pineapple rings get tender, almost melting in your mouth, while the glaze thickens into a rich, velvety sauce. Trust me, it's a total crowd pleaser that costs almost nothing to make.
Quick Bake Details
The magic here is in the patience. While it's the easiest pineapple bake you'll ever find, the 60 minute bake time is non negotiable. This is where the water in the canned fruit evaporates and the sugars concentrate, turning a simple syrup into something thick and glossy.
If you're in a rush, you might be tempted to turn up the heat, but don't do it. High heat will burn the butter and make the sugar taste bitter. Stick to the 350°F setting, and you'll get that consistent, deep amber color across every single ring.
But what about the texture? We're aiming for a syrup that clings to the fruit rather than a soup that pools at the bottom. The resting period at the end is just as important as the baking, as it allows the glaze to set and intensify.
DIVTABLE_0
Right then, let's look at what actually happens inside your baking dish to make this work.
The Secret To The Glaze
Sugar Concentration: As the bake progresses, water evaporates from the pineapple, allowing the brown sugar to concentrate and thicken into a syrup.
Fat Suspension: The softened butter holds the cinnamon and salt in a stable emulsion, ensuring the spices are spread evenly rather than clumping.
Fruit Softening: Long, slow heat breaks down the cellulose in the pineapple rings, changing the texture from fibrous to tender.
The Set: During the resting phase, the sugars cool slightly and bind together, creating that signature velvety coating.
DIVTABLE_1
It's a simple process, but the details matter. Let's dive into the components.
Ingredient Deep Dive
| Ingredient | Science Role | Pro Secret |
|---|---|---|
| Canned Pineapple | Base & Moisture | Pat them bone dry to prevent a watery glaze |
| Brown Sugar | Caramelization | Use light brown for a cleaner, buttery taste |
| Unsalted Butter | Fat & Mouthfeel | Cream it well with sugar for a smoother finish |
| Cinnamon | Aromatic Depth | Freshly ground gives a sharper, warmer scent |
The Ingredient List
For this budget friendly treat, you don't need premium organic fruit. Store brand canned pineapple works perfectly because the syrup is consistent.
- 2 cans (20 oz / 567g each) pineapple rings in juice, drained and patted dry Why this? Consistent sweetness and shape for even baking
- 1 tbsp (14g) melted unsalted butter Why this? Creates a non stick barrier on the pan
- 1/2 cup (100g) packed light brown sugar Why this? Molasses notes add a caramel like flavor
- 4 tbsp (56g) unsalted butter, softened Why this? Essential for the creamy glaze texture
- 1 tsp (2g) ground cinnamon Why this? Cuts through the sweetness with warmth
- 1/4 tsp (1.5g) salt Why this? Balances the sugar and enhances the fruit
- 1/2 tsp (2.5ml) pure vanilla extract Why this? Adds a floral, rounded finish
Budget Smart Substitutions
| Original Ingredient | Substitute | Why It Works |
|---|---|---|
| Light Brown Sugar | Dark Brown Sugar | More molasses. Note: Makes the bake taste "toastier" |
| Unsalted Butter | Salted Butter | Same fat content. Note: Reduce added salt to a pinch |
| Vanilla Extract | Maple Syrup | Similar sweetness. Note: Adds a distinct woody flavor |
Between the ingredients and the oven, you only need a few basic tools.
Essential Baking Tools
You don't need a fancy kitchen for this. A simple set of bowls and a standard baking dish will do the trick.
- 9x13 inch baking dish: Ceramic or glass works best for heat distribution.
- Small mixing bowl: For creaming the glaze.
- Hand mixer or fork: A fork works if you're patient, but a mixer makes the glaze silkier.
- Paper towels: Absolutely mandatory for drying the pineapple.
- Rubber spatula: To get every bit of that brown sugar paste out of the bowl.
The step by step Guide
Right then, let's crack on. Follow these steps exactly to ensure your syrup doesn't turn into a watery mess.
- Preheat your oven to 350°F (175°C).
- Grease a 9x13 inch baking dish with 1 tbsp melted unsalted butter. Note: This prevents the sugar from bonding to the ceramic and making cleanup a nightmare.
- Drain the pineapple rings and pat them completely dry with paper towels. Note: Excess juice will dilute your glaze.
- Arrange the pineapple rings in a single, slightly overlapping layer in the prepared baking dish.
- In a small mixing bowl, cream together the softened butter and brown sugar until smooth.
- Fold in the cinnamon, salt, and vanilla extract until the mixture resembles a thick, fragrant paste.
- Spoon the glaze evenly across the top of each pineapple ring.
- Bake for 60 minutes until the edges of the pineapple turn a deep amber and the syrup bubbles vigorously.
- Remove from the oven and let the dish rest for 5–10 minutes until the glaze thickens into a velvety coating.
Chef's Tip: If you want an extra bit of crunch, sprinkle a handful of crushed Ritz crackers over the top during the last 10 minutes of baking. It adds a salty shatter that contrasts the soft fruit.
Fix Common Glaze Issues
Even the simplest recipes can go sideways if the oven is acting up or the fruit is too wet.
Troubleshooting Common Issues
| Issue | Solution | |||
|---|---|---|---|---|
| Why Your Glaze Is Too Runny | This usually happens if the pineapple wasn't patted dry enough. The extra juice mixes with the melted butter and sugar, preventing the syrup from thickening. Next time, spend an extra minute with the | |||
| Why Your Edges Are Burning | If the edges are black but the center is pale, your oven might have a hot spot or the temperature is too high. You can loosely cover the dish with foil for the last 15 minutes to protect the edges. | |||
| Why Your Pineapple Is Too Tart | Some canned brands are more acidic than others. If the final result is too sharp, a tiny pinch of extra brown sugar during the mixing phase can mellow out the acidity. | Problem | Root Cause | Solutio |
Adjusting the Yield
Whether you're feeding a crowd or just yourself, you can scale this easily.
Scaling Down (Half Batch) Use a 8x8 inch pan. Reduce the baking time by about 15-20 minutes, but keep an eye on the bubble action. If you're using a single egg in a variation, beat it first and use half.
Scaling Up (Double Batch) Don't try to put double the ingredients into one 9x13 pan, or the pineapple will be too deep to caramelize. Use two separate baking dishes. When doubling spices, only increase the cinnamon and salt to 1.5x to avoid an overpowering taste.
Baking Adjustments If you're using a convection oven, lower the temperature to 325°F. The fan circulates heat faster, which can burn the sugar glaze before the fruit is tender.
Creative Flavor Twists
Once you've nailed the basic version, you can start playing with the flavors. This is where it gets fun.
The Tropical Twist Add a tablespoon of shredded coconut to the glaze. The coconut toasts in the oven, adding a nutty aroma that pairs perfectly with the pineapple. If you love this vibe, you might also enjoy a Classic Pineapple Upside Down Cake for something more substantial.
The Spiced Version Swap half of the cinnamon for ground ginger or a pinch of nutmeg. This gives the dish a more "autumnal" feel and works great during the holidays.
Diet Friendly Swaps For a dairy-free version, use a vegan butter substitute. The fat content is similar, so the texture remains velvety. If you're looking for other healthier treats, my Healthy Pumpkin Bars are a great way to satisfy a sweet tooth without the sugar crash.
Decision Shortcut Want it sweeter? Use dark brown sugar instead of light. Want it tangier? Add a squeeze of fresh lime juice after baking. Want it crunchier? Top with crushed Ritz crackers or toasted pecans.
Storage and Freshness
This bake is best served warm, but it keeps surprisingly well.
Fridge Storage Store leftovers in an airtight container for up to 4 days. The glaze will solidify in the fridge, which is normal.
Freezing Guidelines You can freeze this for up to 2 months. Wrap the dish tightly in foil and plastic wrap. Thaw in the fridge overnight before reheating.
Zero Waste Tips Don't toss the leftover pineapple juice from the cans! Use it as a base for a tropical smoothie or mix it into a marinade for grilled chicken. The acidity in the juice helps tenderize meat beautifully.
Best Serving Ideas
To make this feel like a restaurant dessert, the presentation is key.
The Classic Pair A scoop of high-quality vanilla bean ice cream is the gold standard here. The cold creaminess cuts through the hot, sticky syrup.
The Modern Twist Serve a couple of rings over a dollop of thick Greek yogurt. The tanginess of the yogurt balances the sweetness of the brown sugar.
The Garnish A sprig of fresh mint or a single maraschino cherry in the center of each ring adds a pop of color that makes the deep amber glaze look even more inviting.
- 1. Oven Temp
- Exactly 350°F.
- 2. Bake Time
- Full 60 minutes.
- 3. Rest Time
- 10 minutes minimum.
Recipe FAQs
Why is my pineapple bake glaze too runny?
Pat the pineapple rings dry more thoroughly. Excess juice from the cans mixes with the melted butter and sugar, preventing the syrup from thickening properly.
How to prevent the edges from burning?
Cover the dish loosely with foil. Do this during the last 15 minutes of baking if you notice the edges turning black while the center is still pale.
Is it true that I need to boil the glaze on the stove first?
No, this is a common misconception. The glaze is applied as a raw paste and thickens into a velvety coating during the 60 minutes of oven time.
How to store leftovers?
Place them in an airtight container in the fridge. The bake remains fresh for up to 4 days, though the glaze will naturally solidify when chilled.
Can I freeze this bake?
Yes, it freezes for up to 2 months. Wrap the dish tightly in plastic wrap and foil, then thaw it in the refrigerator overnight before reheating.
How to prepare the pineapple rings before adding the glaze?
Drain the rings and pat them dry. Removing excess moisture ensures the glaze adheres to the fruit rather than sliding off.
What is the best way to serve this dessert?
Serve it warm. Let the dish rest for 5 10 minutes after baking so the syrup can thicken. If you enjoy using fruit in simple bakes, you might also like these peach cobbler muffins.
Easiest Pineapple Bake

