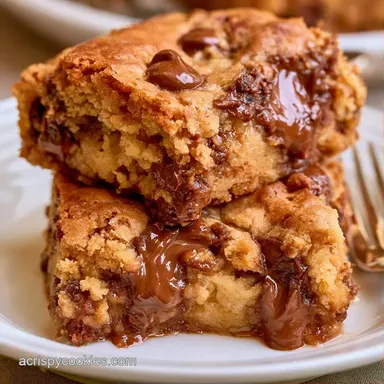
Glutenfree Chocolate Chip Cookie Bars in 55 Minutes
- Time: 10 min active + 30 min baking (includes 15 min rest)
- Flavor/Texture Hook: Chewy, buttery center with a slight salt crunch
- Perfect for: Quick dessert fixes, school snacks, or GF guests
The aroma of brown sugar and melted butter hitting a hot pan is an absolute dream. Yet, for a long time, that scent was misleading when it came to gluten-free treats. You'd pull a tray from the oven, take a bite, and encounter that unpleasant, sandy grit on your tongue.
It felt less like a cookie and more like damp cornmeal.
Ever wonder why some GF bakes taste like cardboard while others have a genuine cookie like chew? It usually comes down to how the flour interacts with moisture. I wasted plenty of time making bars that crumbled the moment I touched them, simply because I was rushing the process.
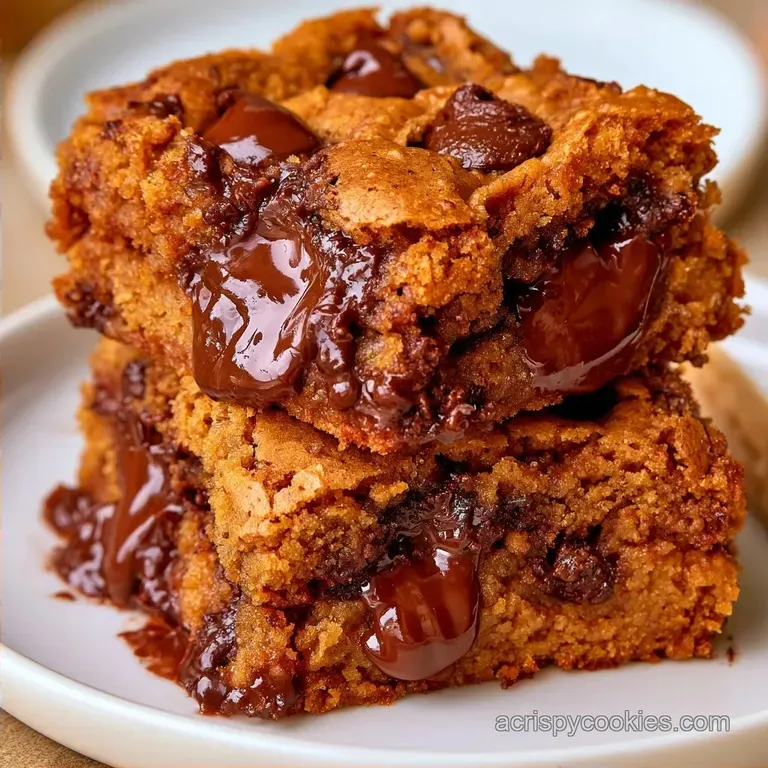
These GlutenFree Chocolate Chip Cookie Bars solve that. We're using a brief resting period that allows the rice flours to fully absorb the liquids. This creates a rich, mahogany crust and a center that stays tender for days. Once you try this technique, you'll never go back to the "mix and bake" method.
Easy GlutenFree Chocolate Chip Cookie Bars
Flour Hydration: gluten-free blends need time to soak up moisture, which stops the sandy grit. Resting the dough for 15 minutes makes the bars chew like Classic Chocolate Chip Cookies recipe instead of crumbling.
Low Temp Baking: Baking at 325°F prevents the edges from burning before the middle sets. This keeps the bars from getting that hard, overbaked rim.
Fat Ratio: Using melted butter instead of softened butter creates a denser, fudgier bar. It stops the dough from puffing up like a cake.
| Style | Prep Time | Texture | Best For |
|---|---|---|---|
| Fast Bake | 10 min | Slightly Gritty | Last minute cravings |
| Hydrated (This) | 25 min | Chewy & Smooth | Crowds and GF guests |
The Ingredient Breakdown
| Ingredient | Purpose | Substitutions |
|---|---|---|
| GF Flour Blend | Structure | Almond flour (will be denser) |
| Brown Sugar | Chewiness & Color | All white sugar (less chew) |
| Melted Butter | Richness | Coconut oil (adds a nutty note) |
| Baking Soda | Leavening | Baking powder (use 2x amount) |
For the Cookie Base
- 3/4 cup (170g) unsalted butter, melted Why this? Provides a rich, salty foundation that binds the GF flour.
- 1 cup (200g) brown sugar, packed Why this? The molasses in brown sugar is key for a chewy texture.
- 1/2 cup (100g) white granulated sugar
- 2 large eggs, room temperature Why this? Eggs at room temp emulsify more easily with the fats.
- 2 tsp (10ml) vanilla extract
- 2 1/4 cups (315g) gluten-free all purpose flour blend (with xanthan gum) Why this? Xanthan gum mimics gluten to provide necessary structure.
- 1 tsp (5g) baking soda
- 1/2 tsp (3g) sea salt
For the Mix ins
- 2 cups (340g) semi sweet chocolate chips
- 1 pinch flaky sea salt
Recipe Specs
I've found that using a 9x13 pan is the only way to go for these. It gives you that perfect ratio of edge pieces to center pieces. If you use a smaller pan, the center stays raw while the sides turn into charcoal.
For the best results, stick to these precision checkpoints: - Oven temp must be exactly 325°F (163°C). - The dough should feel like a thick, sticky paste, not a stiff ball. - Bake time should hit 25-30 minutes, but check them at 22.
Essential Baking Tools
Simple equipment is all you need. A few bowls and a spatula will work perfectly. While I like using an electric mixer to cream the butter and sugar, a hand whisk is fine if you don't mind a bit of manual effort.
The one non-negotiable item is the parchment paper. gluten-free baked goods tend to cling to the pan. If you're out of parchment, you can grease the pan with butter and flour, though the paper ensures the entire block lifts out effortlessly.
From Prep to Plate
Readying the Pan
Set your oven to 325°F (163°C). Line a 9x13 inch pan with parchment, making sure it extends over the edges so you can easily lift the bars out later.
Mixing the Base
Whisk the melted butter and both types of sugar in a large bowl until well combined. Beat in the eggs individually, then mix in the vanilla extract until the batter is glossy and smooth.
Adding the Dry Ingredients
Sift in the salt, baking soda, and gluten-free flour. Stir on low speed just until combined; overmixing may result in a cakey consistency. Use a spatula to gently stir in the chocolate chips.
The Hydration Rest
Spread the dough evenly across the prepared pan. Let it sit for 15 minutes. This essential step allows the flour to fully hydrate, getting rid of any "sandy" texture.
Baking
Bake for 25-30 minutes until the edges are golden brown and the center has a slight jiggle. Avoid overbaking, as GF flour tends to dry out quickly.
Finishing Touches
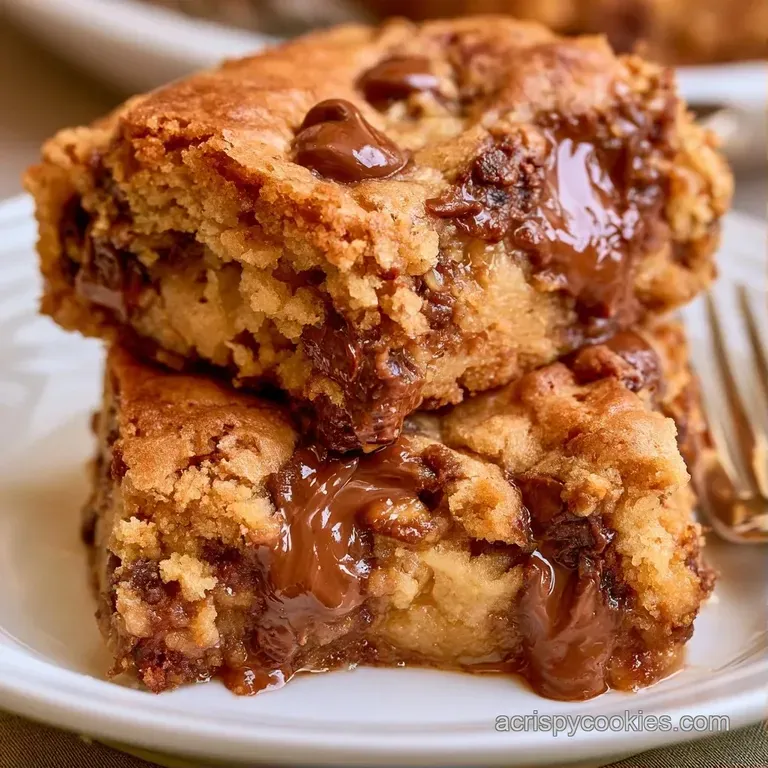
Take the pan out of the oven and immediately sprinkle flaky sea salt over the melted chocolate. Allow the bars to cool completely in the pan before you slice them.
Avoiding Kitchen Disasters
I once learned the hard way not to slice these while they are still warm. Since gluten-free bars are quite delicate when hot, they must set completely to maintain their structure; otherwise, you'll end up with a heap of delicious crumbs.
Avoiding a "Sandy" Texture
If your bars feel gritty, you probably skipped the resting step. This prevents the rice flour from fully absorbing the eggs and butter. Always allow the dough to sit for 15 minutes before baking.
Solving Flat or Greasy Bars
This issue often stems from melted butter or eggs that are too cold. To create a stable emulsion that holds the fat, make sure your eggs are at room temperature.
How to Stop Burnt Edges
If the center is still raw but the edges are dark, your oven might be running hot. Try lowering the temperature by 10 degrees or shifting your rack to the center position next time.
| Problem | Fix |
|---|---|
| Gritty Mouthfeel | Rest dough for 15 mins before baking |
| Crumbling Bars | Allow to cool fully before slicing |
| Greasy Top | Use room temperature eggs |
| Raw Center | Bake 5 mins longer at 325°F |
Storage and Freshness Tips
Keep these in a sealed container. They stay fresh at room temperature for about 3 days, though they become chewier if you store them in the fridge. I personally prefer them chilled.
These also freeze beautifully for longer storage. Wrap each bar in parchment paper and place them inside a freezer bag. They will stay good for 3 months. To enjoy, simply microwave one for 15 seconds to recreate that "fresh from the oven" feel.
Don't throw away any leftover chocolate chips or bits of dough left in the bowl. Mix those scraps with a little melted butter and bake them as mini "cookie bites" for a fast snack.
Serving and Enjoying
These are great on their own, but they're even better when you play with temperatures. Try heating a bar for 10 seconds and topping it with a scoop of cold vanilla bean ice cream. The contrast is brilliant.
For a budget friendly party platter, slice these into small 2 inch squares. It makes the batch stretch further and looks more professional. A cold glass of almond milk is the best pairing for these.
| Serving Size | Yield | Best Occasion |
|---|---|---|
| Large Bars | 12 pieces | Dessert Plate |
| Small Squares | 24 pieces | Party Platter |
| Mini Bites | 48 pieces | Kids' Snacks |
Fun Flavor Variations
If you want to change things up, you can easily tweak this recipe. For a deeper cocoa hit, try these GF double chocolate cookies as a reference for adding cocoa powder to the flour mix.
Adding Nutty Crunch
Fold in 1/2 cup of chopped walnuts or pecans with the chocolate chips. The earthiness of the nuts balances the sweetness of the brown sugar perfectly.
Creating Vegan gluten free Chocolate Chip Cookie Bars
Swap the butter for refined coconut oil (solidified) and replace the 2 eggs with 2 flax eggs (2 tbsp ground flaxseed mixed with 6 tbsp water). Note: These will be slightly softer and won't brown as deeply.
Swirling in Peanut Butter
Warm up 1/4 cup of creamy peanut butter and drizzle it over the raw dough in the pan. Use a knife to swirl it into a marble pattern before baking.
Upgrading the Chocolate
Instead of standard chips, use a chopped dark chocolate bar with at least 70% cocoa. The irregular chunks create pockets of melted chocolate that are much better than uniform chips.
Recipe FAQs
How to prepare these gluten-free bars correctly?
Preheat the oven to 325°F and line your pan with parchment. Mix the wet ingredients, sift in the dry ones, and let the dough hydrate for 15 minutes before baking.
Which other treats are gluten-free?
Many almond based desserts work well. You might enjoy trying these almond flour cookies for a different texture.
Is it true that GF flour requires resting?
No, and here's why. Letting the dough sit for 15 minutes prevents a gritty texture by allowing the flour to fully hydrate.
Do I need to use a specific GF blend?
Use a blend that already contains xanthan gum. This ingredient mimics gluten to provide the necessary structure and bind.
Why are my bars too crumbly?
Overbaking is the most likely cause. Pull the pan from the oven when the center still has a slight jiggle to keep them chewy.
gluten free Chocolate Chip Cookie Bars