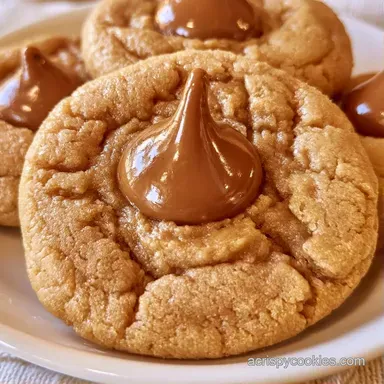
Gluten Free Peanut Butter Blossoms with Almond Flour
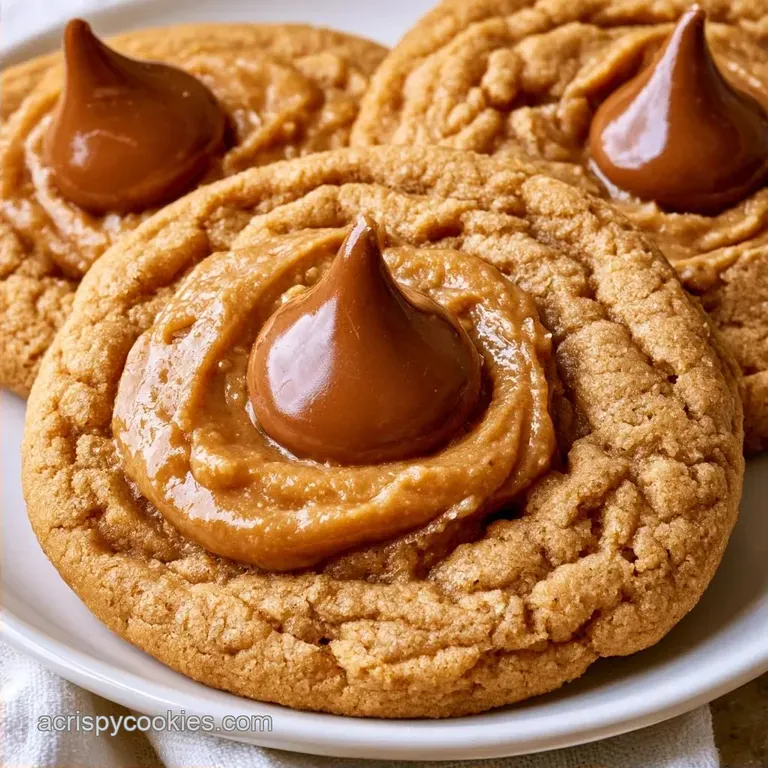
- Time: 20 minutes prep + 10 minutes in the oven
- Taste Profile: Salty-sweet with a soft, chewy middle
- Perfect for: Holiday platters or a quick sweet craving
Ever wonder why some peanut butter cookies spread into thin discs while others remain thick and chewy? I used to believe it was luck, but it really comes down to the ratio of sugars and fats. If your butter is too soft or the flour lacks structure, you'll get a peanut butter pancake rather than a cookie.
I remember a holiday party where I attempted a shortcut and the chocolate kisses slid right off the cookies before they were even served. It was a disaster. By refining the timing and the flour choice, I found a way to ensure they stay secure.
These Peanut Butter Blossoms are made with almond flour, which makes them naturally gluten-free. They have a deep, mahogany-colored crumb that remains moist without the gritty feel often found in flourless baking.
Recipe Specs
This recipe is all about precision. To get the right lift and spread, you need to hit a few specific numbers. First, your oven must be exactly 350°F. Second, the dough balls should be exactly 1 inch to ensure they all finish at the same time.
Third, let the cookies rest for 5 minutes on the hot pan, which helps the base set before you move them.
If you want to change the outcome, use this guide:
| Goal | What to change |
|---|---|
| Chewier center | Increase brown sugar by 1 tbsp |
| Less sweet | Add a pinch more salt |
| Thicker cookies | Chill dough balls 10 mins |
Shopping List Breakdown
The key here is using superfine almond flour. Coarse almond meal will make the cookies feel grainy. For the peanut butter, stick to a standard creamy brand. The overly "natural" kinds that separate can change the fat ratio and cause the cookies to spread too much.
| Ingredient | What It Does | Best Swap |
|---|---|---|
| Almond Flour | Provides structure and moisture | Oat flour (will be denser) |
| Brown Sugar | Adds chew and caramel notes | Coconut sugar (less caramel) |
| Peanut Butter | Primary flavor and fat | Cashew butter (milder taste) |
| Baking Soda | Makes the cookies rise | Baking powder (use 2 tsp) |
The Flour Choice
Using almond flour means these are flourless peanut butter blossoms. The oils in the almonds prevent the cookies from drying out in the oven, keeping them soft for days.
The Sugar Mix
We use a combination of brown and white sugar. The brown sugar keeps them chewy, while the white sugar helps the edges crisp up just a bit.
The Chocolate Topping
Hershey's Kisses are the standard because they have a high cocoa butter content. This allows them to soften slightly without turning into a liquid puddle.
Full Ingredient List
- 1 cup creamy peanut butter (250g) Why this? Provides the base flavor and essential fats
- 1/2 cup unsalted butter, softened (115g) Why this? Creates a tender, melt in-your mouth crumb
- 3/4 cup brown sugar, packed (150g) Why this? Adds moisture and a deep caramel flavor
- 1/4 cup granulated white sugar (50g) Why this? Helps with edge browning and structure
- 1 large egg, room temperature (50g) Why this? Binds the dough and provides lift
- 2 cups almond flour, superfine (200g) Why this? Keeps it gluten free and moist
- 1 tsp baking soda (5g) Why this? Reacts with sugar to create air pockets
- 1/2 tsp salt (3g) Why this? Cuts through the sweetness of the chocolate
- 42 pieces Hershey's Kisses (189g) Why this? The classic topping for this look
Equipment Needed
Standard kitchen tools are plenty for this recipe. A hand mixer and any mixing bowl will get the job done. If you own a stand mixer, like a KitchenAid, it can speed up the process of creaming the butter and sugar.
I highly recommend using a cookie scoop. It ensures consistent sizing for every piece of dough, so you don't end up with some cookies burnt and others underdone. You will also need a baking sheet and parchment paper. Definitely use the parchment, or you'll be scrubbing the pan for an hour.
The Cooking Process
Let's dive in. We're aiming for a tender center paired with a firm edge.
Phase 1: Prepping the Dough
- In a large bowl, cream together the softened butter, peanut butter, brown sugar, and white sugar. Mix until the consistency is pale and velvety. Note: This whips in air to create a lighter cookie.
- Add the room temperature egg. Beat on medium speed until smooth and fully integrated.
- Stir in the almond flour, baking soda, and salt. Mix only until the flour is incorporated. Note: Over mixing may result in an overly oily dough.
Phase 2: Baking to Perfection
- Using a scoop, shape the dough into 1 inch balls.
- On a baking sheet lined with parchment, space the balls 2 inches apart.
- Slide them into a preheated oven set to 350°F (175°C) and bake for 8–10 minutes. Take them out when the edges are set and lightly golden but the centers remain soft.
- Immediately after removing from the oven, press one chocolate kiss firmly into the center of every cookie.
- Let the cookies sit on the hot pan for 5 minutes. Note: This helps both the chocolate and the base set.
Why This Works
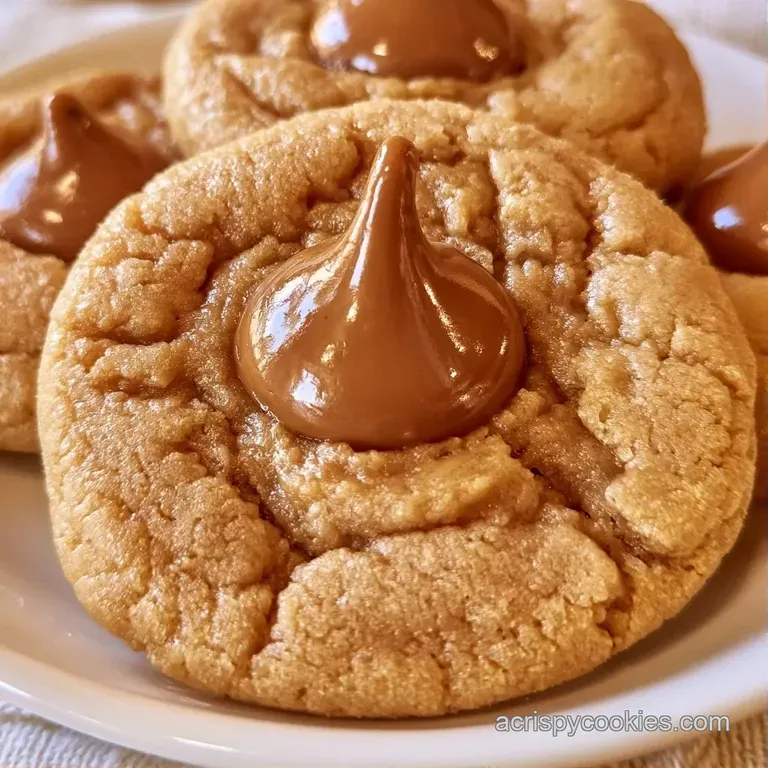
The high fat content from combining almond flour and peanut butter stops these gluten-free treats from spreading too much. Additionally, you don't need to worry about over-kneading since there is no gluten to develop.
The Fat Ratio: Mixing almond oil with butter keeps the crumb tender. The Temperature Window: Applying chocolate while the cookie is still hot allows it to stick to the surface without fully melting.
If you like this flavor profile, you might enjoy these sugar free peanut butter treats for a lower sugar option.
Fixing Common Issues
Most problems with Peanut Butter Blossoms come down to temperature. If your kitchen is too hot, the dough becomes too soft to hold its shape. If the oven is too cool, the cookies will spread before they set.
Flat Cookie Fix
When cookies flatten, it's usually because the butter was too warm or the peanut butter was too oily. If the dough feels greasy, pop the rolled balls in the freezer for 10 minutes before baking. This firms up the fats and gives the baking soda time to work before the dough collapses.
Stopping Chocolate Slide
If the chocolate kiss slides off, you waited too long to press it in. The cookie needs to be hot enough to slightly melt the bottom of the chocolate, creating a seal. Press firmly but don't smash the kiss.
Fixing Grainy Texture
A grainy cookie usually happens when you use almond meal instead of superfine almond flour. You can't fix this after baking, but for the next batch, pulse your almond meal in a food processor for 30 seconds to get a finer powder.
| Problem | Root Cause | Solution |
|---|---|---|
| Cookies spread too much | Butter too soft / Oven too low | Chill dough balls 10 mins |
| Chocolate doesn't stick | Cookie cooled too fast | Press kiss in immediately |
| Centers are raw | Oven temp too high | Lower temp 25°F and bake longer |
| Grainy crumb | Used coarse almond meal | Use superfine almond flour |
Storage and Waste Tips
Store your cookies in an airtight jar at room temperature for up to 5 days; the almond flour helps them stay soft. For long-term storage, place them in a freezer-safe bag for up to 3 months. To enjoy one, leave it at room temperature for 20 minutes or heat it in the microwave for 5 seconds.
If you have a small bit of dough left over that isn't quite enough for a full cookie, simply roll it into a tiny ball and bake it as a "chef's snack." Any remaining almond flour is great for thickening smoothies or stirring into pancake batter.
Creative Twists
You can customize these treats with a few simple substitutions. For a deeper chocolate flavor, use dark chocolate chips or press a piece of 70% cocoa chocolate into the center instead of a Kiss.
For a twist, stir a pinch of cinnamon into the dry ingredients to give these Peanut Butter Blossoms a cozy, autumnal quality. They also make a great addition to a dessert platter alongside chewy chocolate chip cookies.
The Nut-Free Alternative
Substitute the peanut butter for sunflower seed butter and the almond flour for a gluten-free 1:1 flour blend. The texture will be slightly more cake-like, but the flavor remains delicious.
A Saltier Touch
Add a pinch of coarse sea salt to the chocolate kiss immediately after pressing it in. This accentuates the chocolate and balances the richness of the butter.
Oven vs No Bake Comparison
Some people prefer a no bake version of this treat. Here is how they differ.
| Feature | Baked Blossoms | No Bake Balls |
|---|---|---|
| Texture | Chewy and set | Fudgy and soft |
| Prep Time | 30 minutes | 15 minutes |
| Flavor | Toasted and caramelized | Raw and nutty |
Pairing Ideas
These cookies are very rich, so you want something to cut through the fat. A cold glass of unsweetened almond milk or a sharp cup of black coffee is the way to go. The bitterness of the coffee balances the sugar in the brown sugar and chocolate.
If you're serving these at a party, arrange them on a wooden board with some fresh raspberries or sliced green apples. The acidity of the fruit cleanses the palate between bites of the dense peanut butter. For a more indulgent pairing, serve them warm with a scoop of vanilla bean ice cream.
Recipe FAQs
Are these peanut butter blossoms gluten-free?
Yes, these use superfine almond flour instead of wheat flour. This ensures the cookies are gluten-free while remaining soft and rich.
How to make these without eggs?
Substitute the egg with a commercial egg replacer or a flax meal slurry. Ensure the substitute is room temperature to maintain the velvety batter consistency.
Is it true that you must use wheat flour for a better set?
That's a myth. Almond flour provides a tender crumb that actually improves the mouthfeel. If you liked mastering this texture, you'll appreciate the crumb in our pineapple upside down cake.
Which storage method works best?
Keep the cookies in a sealed jar on the counter for up to 5 days. For longer storage, use a freezer safe bag for up to 3 months.
Peanut Butter Blossoms in 30 Minutes