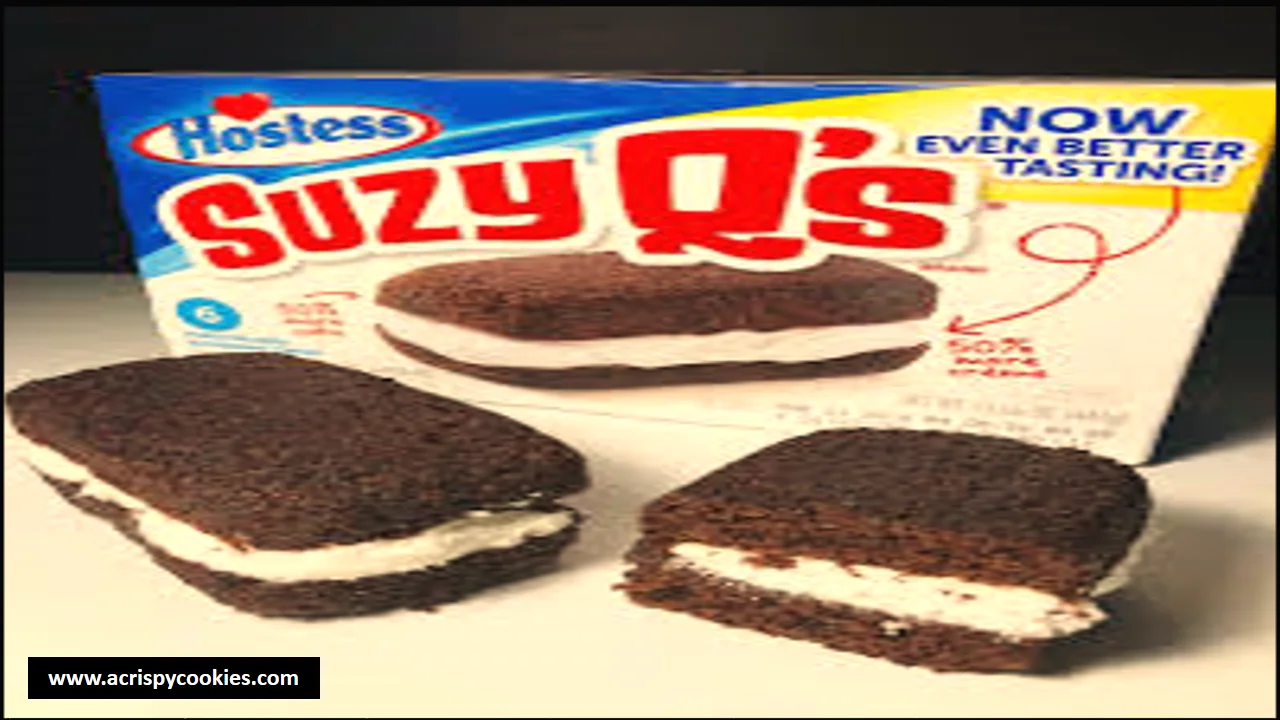
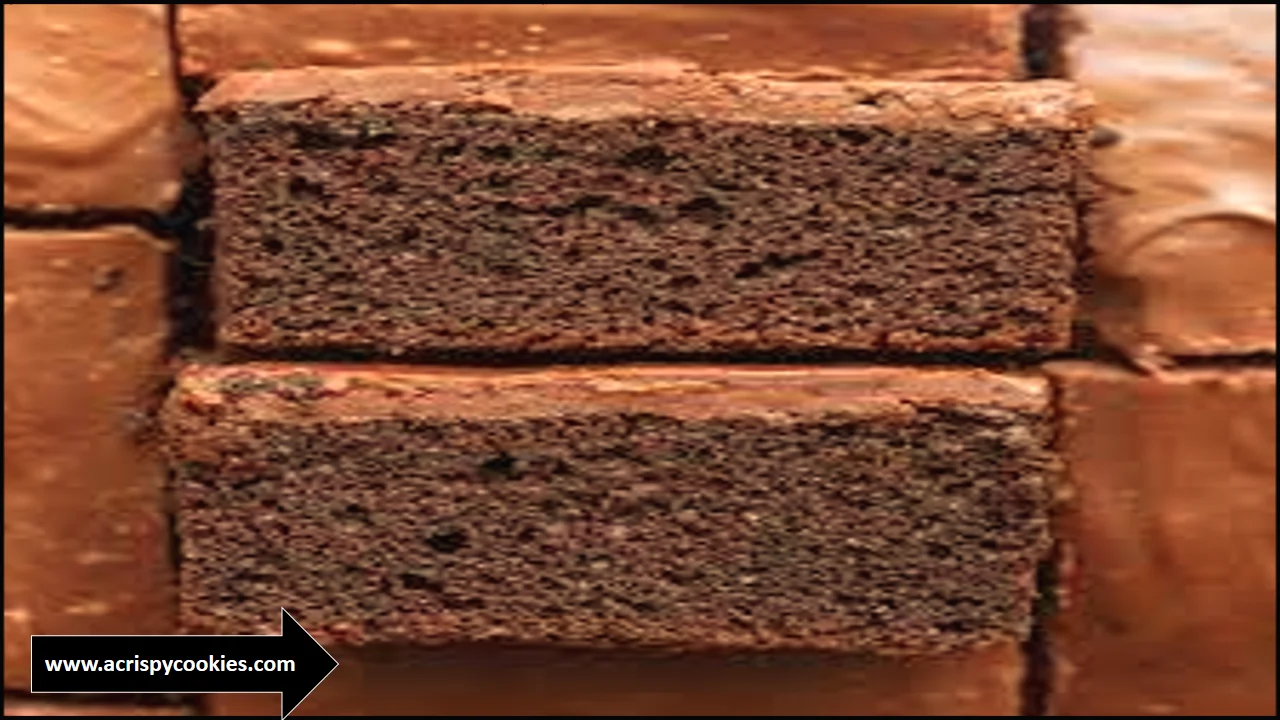
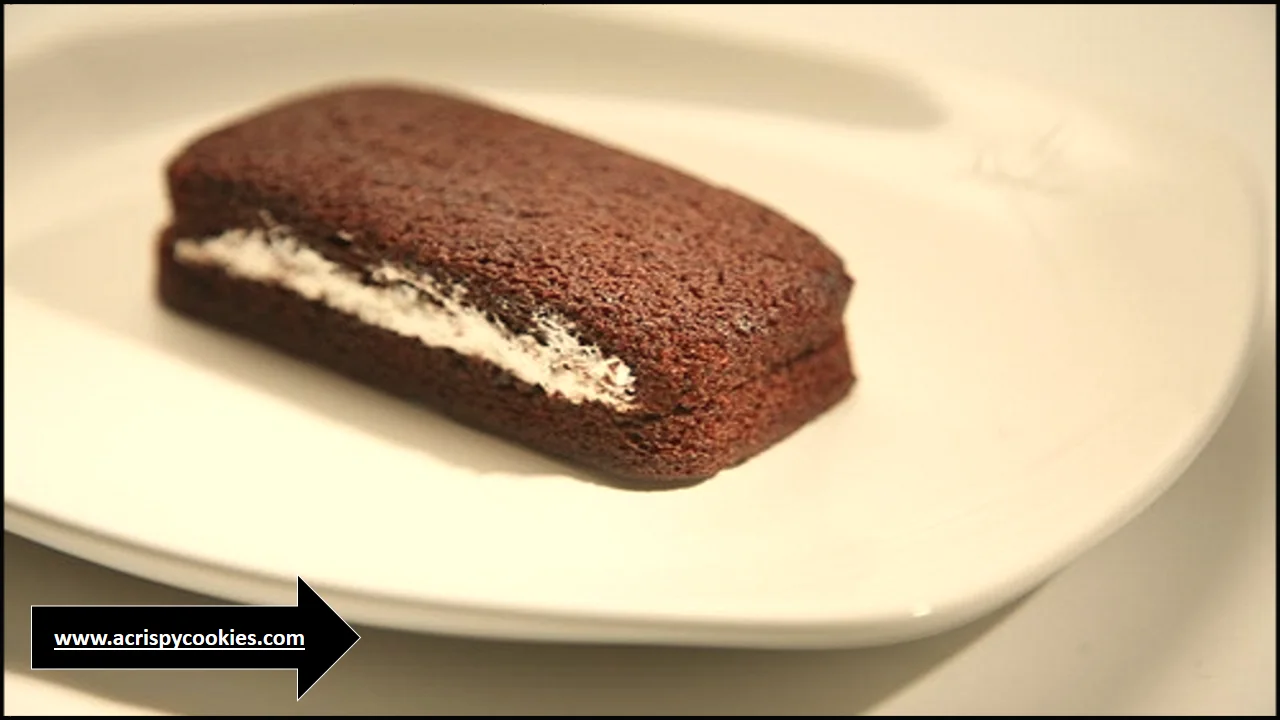
In the realm of homemade delights, the hotness Suzy Q Cake recipe stands out as a nostalgic masterpiece that effortlessly captures the essence of beloved flavors. Crafting this iconic cake at home allows you to revel in the joy of creating a treat reminiscent of childhood favorites.
Let’s start on a culinary journey through the detailed steps of this delightful Suzy Q Cake recipe, ensuring a mouthwatering outcome that will undoubtedly satisfy your sweet cravings.

What Is The Suzy Q Cake Recipe?
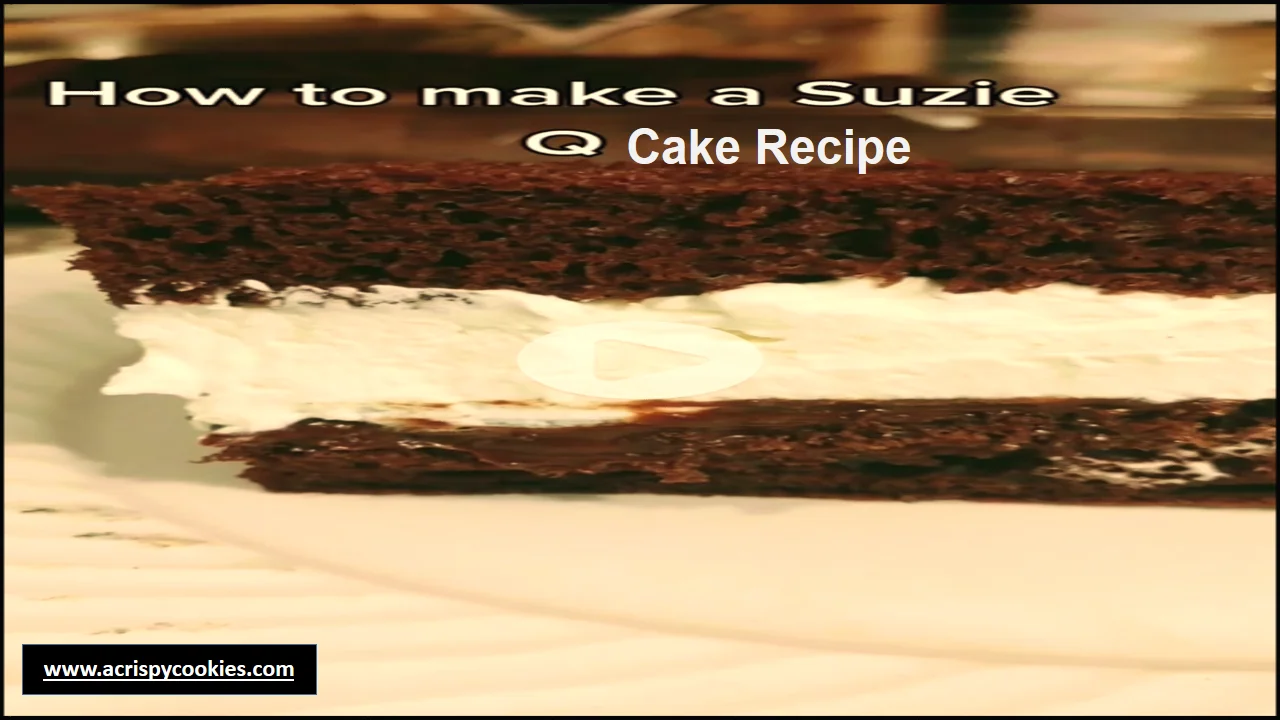
Copycat Suzy Q Cake is a mouthwatering dessert that features layers of moist cake sandwiched with a creamy filling, creating a perfect balance of sweetness and indulgence. Named after its irresistibly delightful taste, the Suzy Q copycat cake recipe has become a staple at celebrations and gatherings.
“Life is uncertain, eat dessert first. Indulge in the sweetness of Susie Q Cake and savor the joy it brings to every moment.”
Explore the joy of baking with the mouthwatering Earthquake cake recipe and Magnolia Bakery Hummingbird Cake Recipe on my site, “A Crispy Cookies”. Enjoy making this tasty treat at home. It’s super easy and absolutely delightful. Treat yourself to the goodness of homemade Italian cake.
Ingredients for Suzy Q Cake Recipe
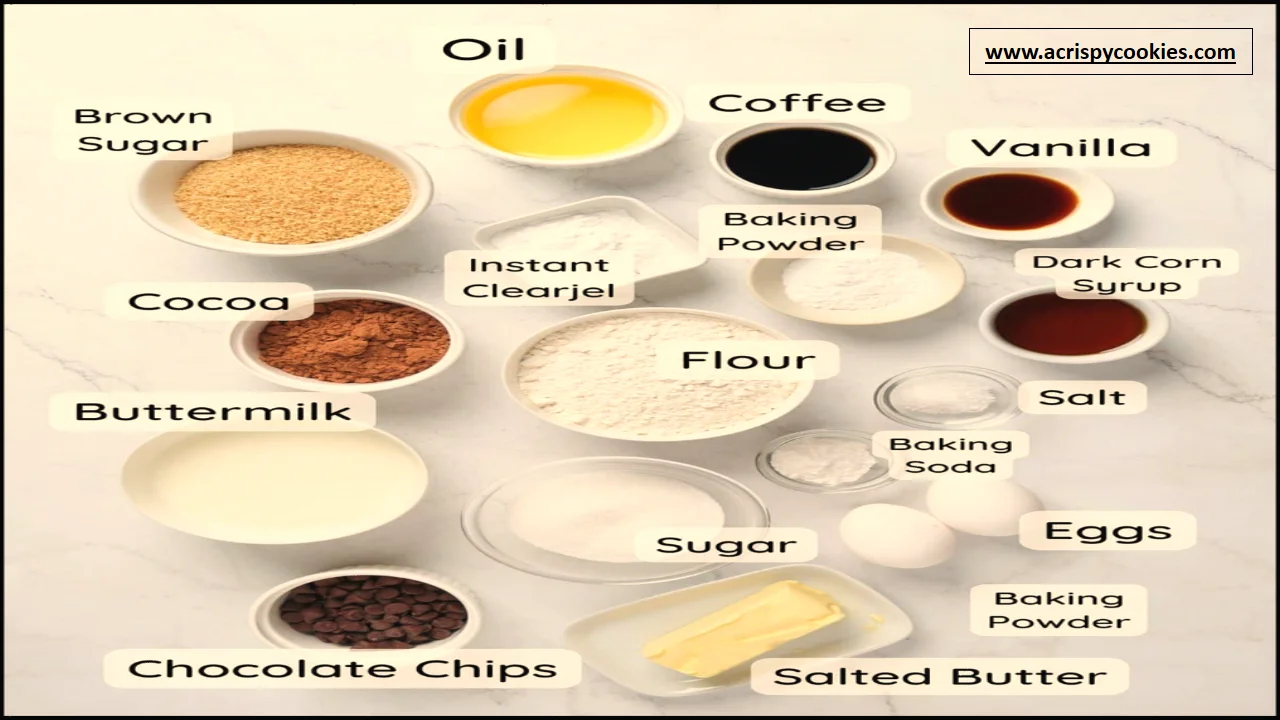
For the Cake
- 2 cups all-purpose flour
- 1 ½ teaspoons baking powder
- ½ teaspoon baking soda
- ½ teaspoon salt
- 1 cup unsalted butter, softened
- 1 ½ cups granulated sugar
- 3 large eggs
- 1 teaspoon vanilla extract
- 1 cup buttermilk
For the Filling
- 1 cup marshmallow cream
- ½ cup powdered sugar
- 1 teaspoon vanilla extract
For the Chocolate Glaze
- 1 cup semi-sweet chocolate chips
- ½ cup heavy cream
- 2 tablespoons unsalted butter
How to Make a Suzy Q Cake Recipe
Step 1: Preheat the Oven
- Preheat your oven to 350°F (175°C).
- Grease and flour two 9-inch round baking dishes.
Step 2: Prepare Dry Ingredients
- In a medium bowl, whisk together 2 cups of all-purpose flour, 1 ½ teaspoons of baking powder, ½ teaspoon of baking soda, and ½ teaspoon of salt. Set aside.
Step 3: Cream Butter and Sugar
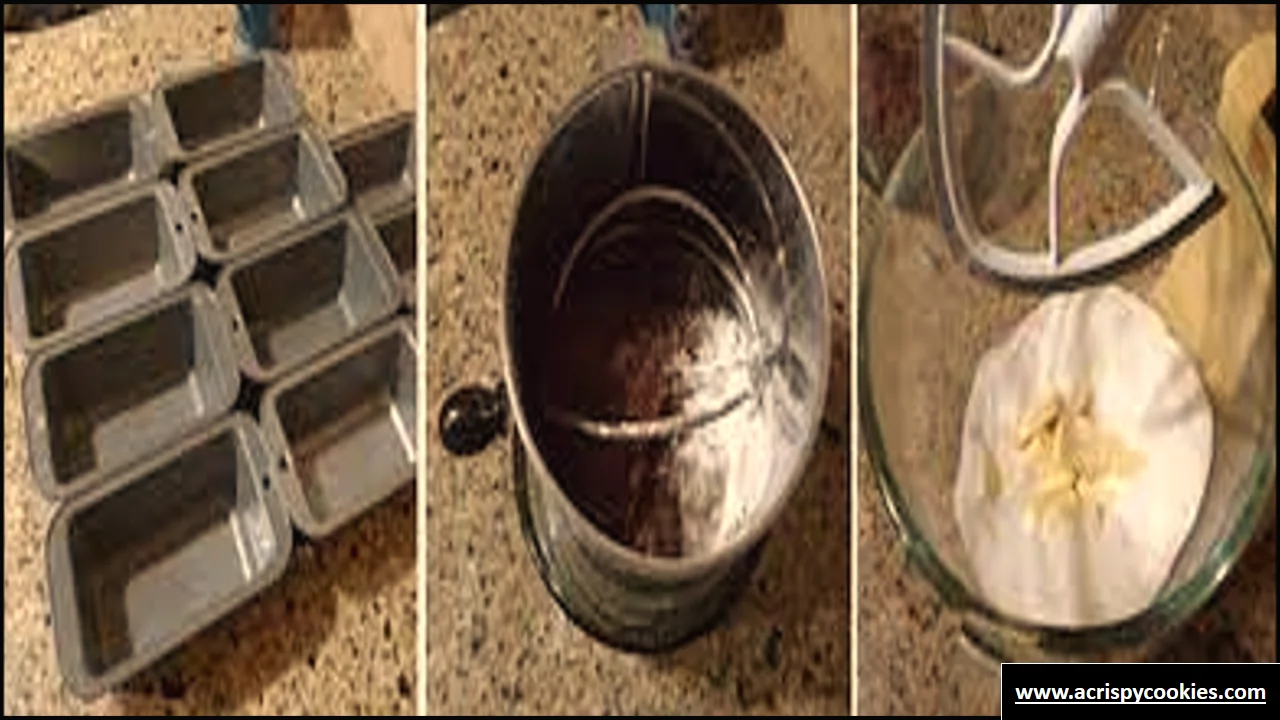
- In a large bowl, cream together 1 cup of softened unsalted butter and 1 ½ cups of granulated sugar until the mixture is light and fluffy.
Step 4: Add Eggs and Vanilla
- Add the eggs to the butter and sugar mixture three times, mixing well after each addition.
- Stir in 1 teaspoon of vanilla extract.
Step 5: Combine Wet and Dry Ingredients
- Slowly combine the dry ingredients with the wet ingredients, alternating with 1 cup of buttermilk.
- Start with the dry ingredients and finish with them, mixing only until everything is combined.
Step 6: Divide Batter and Bake
- Evenly distribute the batter between the prepared cake pans.
- Smooth the tops with a spatula.
- Place the pans in the preheated oven and bake for 30 minutes or until a toothpick inserted into the center comes out clean.
Step 7: Prepare Filling
- While the cakes are baking, prepare the filling by whipping 1 cup of marshmallow cream, ½ cup of powdered sugar, and 1 teaspoon of vanilla extract until stiff peaks form.
Step 8: Assemble the Cake
- Once the cakes are cooled, spread the prepared filling over the top of one cake layer.
- Place the second cake layer on top.
Step 9: Make Chocolate Glaze
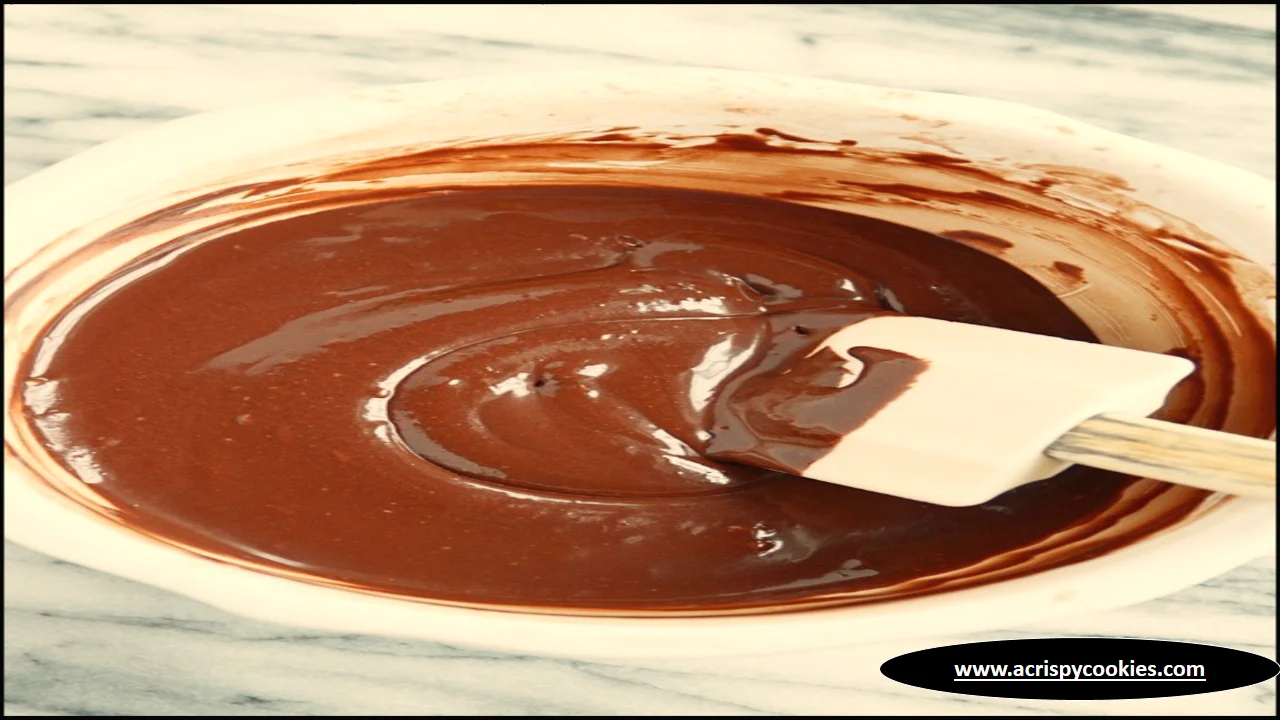
- For the chocolate glaze, melt 1 cup of semi-sweet chocolate chips, ½ cup of heavy cream, and 2 tablespoons of unsalted butter in a heatproof bowl over simmering water.
- Stir until smooth.
Step 10: Glaze the Cake
- Pour the chocolate glaze over the assembled cake, letting it drip off.
Step 11: Allow to Cool
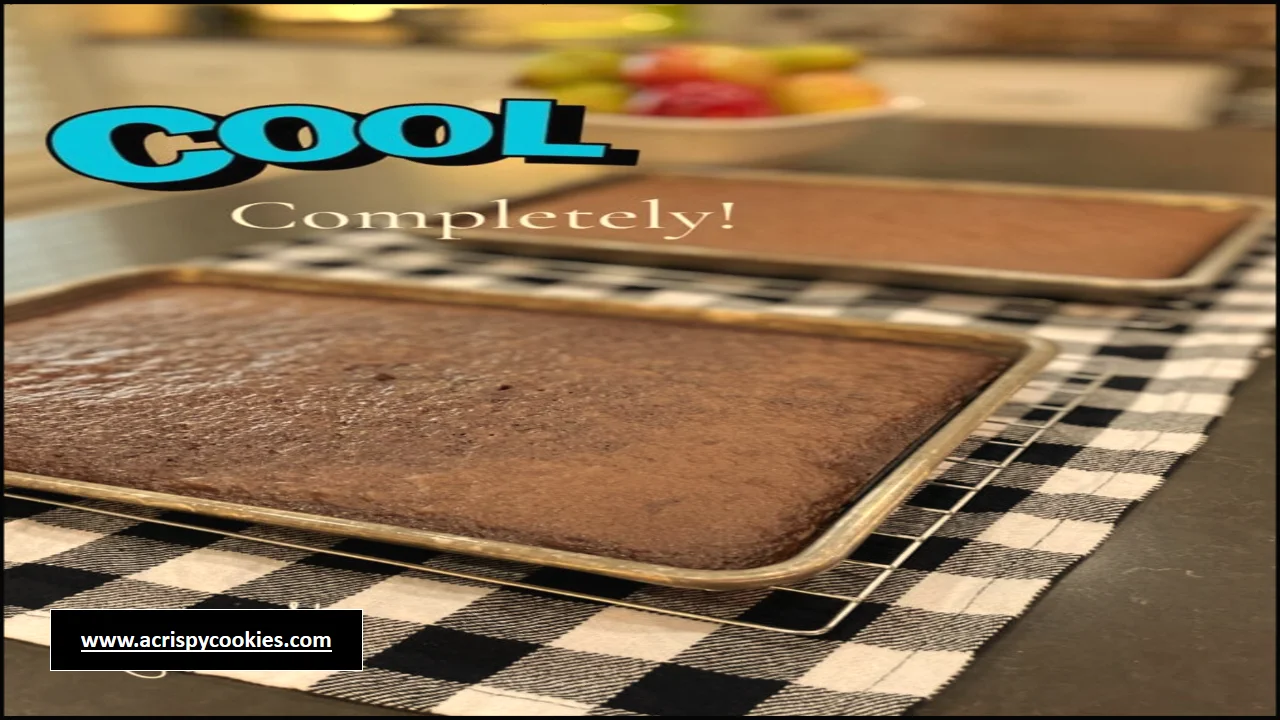
- Allow the cake to cool completely before serving for optimal texture and flavor.
How to Store Homemade Suzy Q Cake Recipe
- Room Temperature: The Suzy Q recipe can be stored at room temperature for a short period, usually up to 2 days. Ensure the cake is covered with plastic wrap or stored in an airtight container to prevent it from drying out or absorbing odors from the surroundings.
- Refrigeration: For longer storage, consider refrigerating the Suzy Q Cake. Store the cake by placing it in an airtight container or covering it tightly with plastic wrap. Refrigerate for up to 4-5 days.
- Freezing: Suzy Q Cake freezes well, making it a convenient option for future enjoyment. Wrap the cake securely in plastic wrap, followed by a layer of aluminum foil to prevent freezer burn. Mark the expiration date to ensure freshness. Freeze for up to 2-3 months.
- Thawing: When ready to enjoy the frozen Suzy Q Cake, remove it from the freezer and let it thaw in the refrigerator overnight. Bring the cake to room temperature before serving for the best flavor.
Storage Tips
- Store the cake away from strong-smelling foods to prevent the absorption of odors.
- If stored in the refrigerator, allow the cake to come to room temperature before serving for better taste and texture.
- Cut slices only when you’re ready to serve to prevent the cake from drying out.
Remember, the storage duration may vary depending on the specific ingredients used in your Suzy Q Cake recipe, so always use your judgment and consider the freshness of the cake before serving. Proper storage ensures that each slice is as delicious as the first.
Suzy Q Cake Recipe Detail
- Author: Katarina Frank
- Prep Time: 30 min
- Cook Time: 50 min
- Total Time: 1 hour 20 min
- Calories: 530 kcal
- Servings: 12
Suzy Q Cake Recipe FAQ’s
Q1. What is a Suzy Q cake?
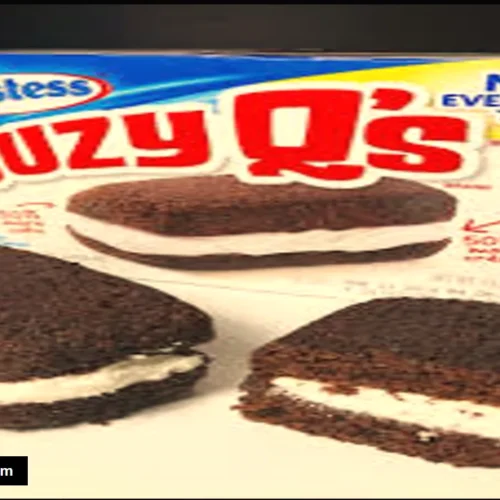
A Suzy Q cake is a chocolate snack cake with a fluffy cream filling, similar to the classic Hostess treat. It features two layers of chocolate cake with cream filling in the center.
Q2. How can you adapt the Suzy Q Cake recipe for different occasions?
The versatility of the Suzy Q Cake recipe allows for creative adaptations to suit various occasions. For a celebratory touch, consider adding festive sprinkles or edible flowers on top. You can also experiment with flavored fillings, such as adding a hint of mint or orange extract for a refreshing twist.
Q3. Have you experimented with additional flavors or toppings for the Suzy Q Cake?
Absolutely! The Suzy Q filling recipe provides a canvas for culinary exploration. Try incorporating different extracts into the cake batter, like almond or coconut, to infuse unique flavors. For toppings, a drizzle of chocolate ganache or a sprinkle of crushed nuts can add extra indulgence.
Q4. What memories does the Suzy Q Cake evoke for you?
The recipe for Suzy Q Cake is a gateway to cherished memories. Whether it’s reminiscent of childhood birthdays or family gatherings, each bite carries a nostalgic sweetness. Share the cake with loved ones, and let the delightful flavors spark conversations about fond moments from the past.
Q5. What type of chocolate cake is best for a Suzy Q cake?
A moist chocolate snack cake or a soft chocolate layer cake works best to recreate the classic Suzy Q texture. Devil’s food cake is a popular choice for its rich chocolate flavor.
Some Additional Tips
- Ensure accuracy in measuring ingredients, especially when it comes to the cake batter. Consistent measurements contribute to a perfectly balanced and moist cake.
- Opt for high-quality natural cocoa powder for an authentic chocolate flavor. The cocoa powder’s quality significantly influences the overall taste of the Suzy Q Cake.
- Sift the dry ingredients, including flour, cocoa powder, baking powder, and salt. Sifting removes lumps, aerates the mixture, and ensures an even distribution of ingredients.
- When combining wet and dry ingredients, use a gentle folding or mixing technique. Overmixing can result in a dense cake, while a gentle approach maintains the cake’s light and fluffy texture.
- Keep a close eye on the cakes during baking, especially if using different-sized pans. Adjust the baking time accordingly to prevent overcooking. A toothpick inserted should come out clean when the cakes are done.
- The joy of the Suzy Q Cake is magnified when shared. Whether it’s a family gathering or a special occasion, the cake becomes a centerpiece of delightful conversations and shared moments.
Sharing Equals Caring!
Prepare yourself to make Suzy Q Cake Recipe right in your own kitchen. If you’re a fan of the Suzy Q Cake Recipe, show your love by giving it 5 stars and spreading the joy with your loved ones. I hope the experience brings you as much delight as it does for us. Feel free to share your cooking experience with us in the comment section below.
Best Homemade Copycat Suzy Q Cake Recipe
Ingredients
- For the Cake:
- 2 cups all-purpose flour
- 1 ½ teaspoons baking powder
- ½ teaspoon baking soda
- ½ teaspoon salt
- 1 cup unsalted butter softened
- 1 ½ cups granulated sugar
- 3 large eggs
- 1 teaspoon vanilla extract
- 1 cup buttermilk
- For the Filling:
- 1 cup marshmallow cream
- ½ cup powdered sugar
- 1 teaspoon vanilla extract
- For the Chocolate Glaze:
- 1 cup semi-sweet chocolate chips
- ½ cup heavy cream
- 2 tablespoons unsalted butter
Instructions
- Step 1: Preheat the Oven
- Preheat your oven to 350°F (175°C).
- Grease and flour two 9-inch round baking dishes.
- Step 2: Prepare Dry Ingredients
- In a medium bowl, whisk together 2 cups of all-purpose flour, 1 ½ teaspoons of baking powder, ½ teaspoon of baking soda, and ½ teaspoon of salt. Set aside.
- Step 3: Cream Butter and Sugar
- In a large bowl, cream together 1 cup of softened unsalted butter and 1 ½ cups of granulated sugar until the mixture is light and fluffy.
- Step 4: Add Eggs and Vanilla
- Add the eggs to the butter and sugar mixture three times, mixing well after each addition.
- Stir in 1 teaspoon of vanilla extract.
- Step 5: Combine Wet and Dry Ingredients
- Slowly combine the dry ingredients with the wet ingredients, alternating with 1 cup of buttermilk.
- Start with the dry ingredients and finish with them, mixing only until everything is combined.
- Step 6: Divide Batter and Bake
- Evenly distribute the batter between the prepared cake pans.
- Smooth the tops with a spatula.
- Place the pans in the preheated oven and bake for 30 minutes or until a toothpick inserted into the center comes out clean.
- Step 7: Prepare Filling
- While the cakes are baking, prepare the filling by whipping 1 cup of marshmallow cream, ½ cup of powdered sugar, and 1 teaspoon of vanilla extract until stiff peaks form.
- Step 8: Assemble the Cake
- Once the cakes are cooled, spread the prepared filling over the top of one cake layer.
- Place the second cake layer on top.
- Step 9: Make Chocolate Glaze
- For the chocolate glaze, melt 1 cup of semi-sweet chocolate chips, ½ cup of heavy cream, and 2 tablespoons of unsalted butter in a heatproof bowl over simmering water.
- Stir until smooth.
- Step 10: Glaze the Cake
- Pour the chocolate glaze over the assembled cake, letting it drip off.
- Step 11: Allow to Cool
- Allow the cake to cool completely before serving for optimal texture and flavor.

