This is a simple recipe for making ball-shaped cakes, often known as cake balls or cake pops. These are fun to make and can be decorated in many ways to suit any occasion.
Simple Ball Cake Recipe
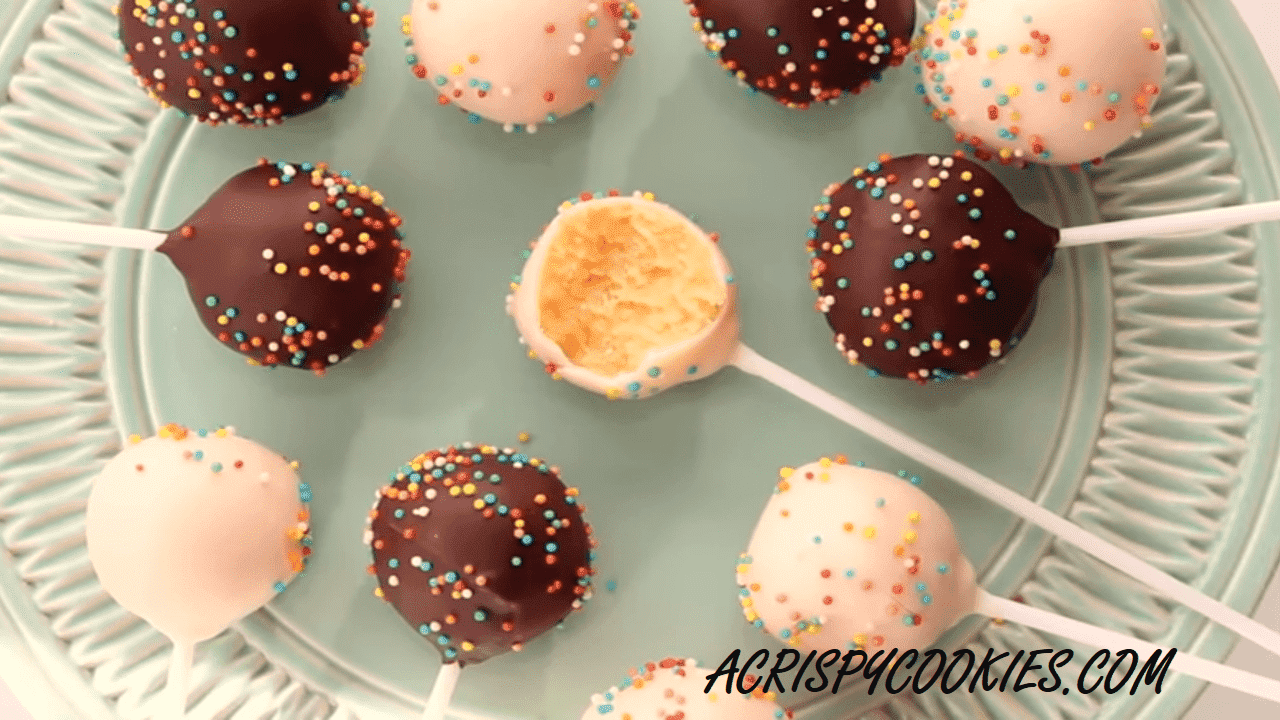
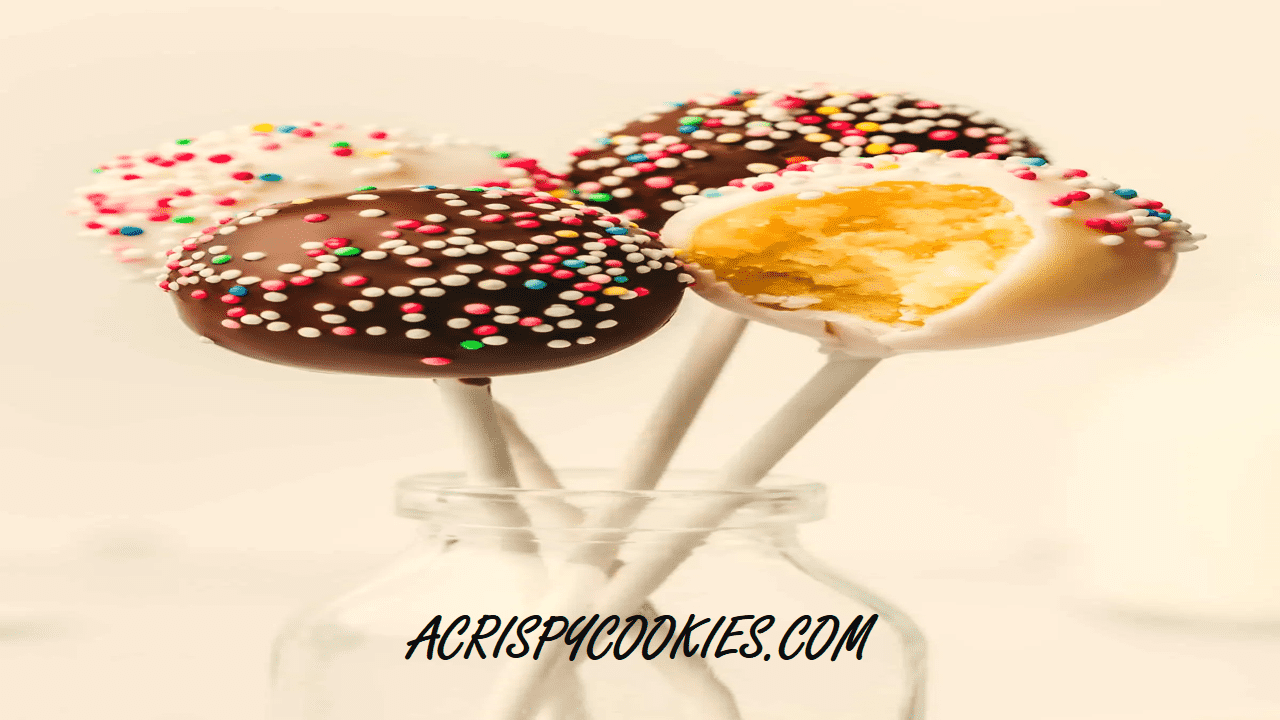
A simple ball cake recipe is a delightful way to create bite-sized treats that are easy to make and enjoyable for all. It involves mixing cake crumbs with frosting to form a moist and flavorful mixture. This mixture is then shaped into small balls, making them perfect for popping into your mouth. Afterward, the balls are coated in melted candy coating, which adds a sweet and indulgent touch.
The best thing about this ball cake recipe, you can use it in so many different ways. You can customize the flavors and decorations to suit your preferences or the occasion.
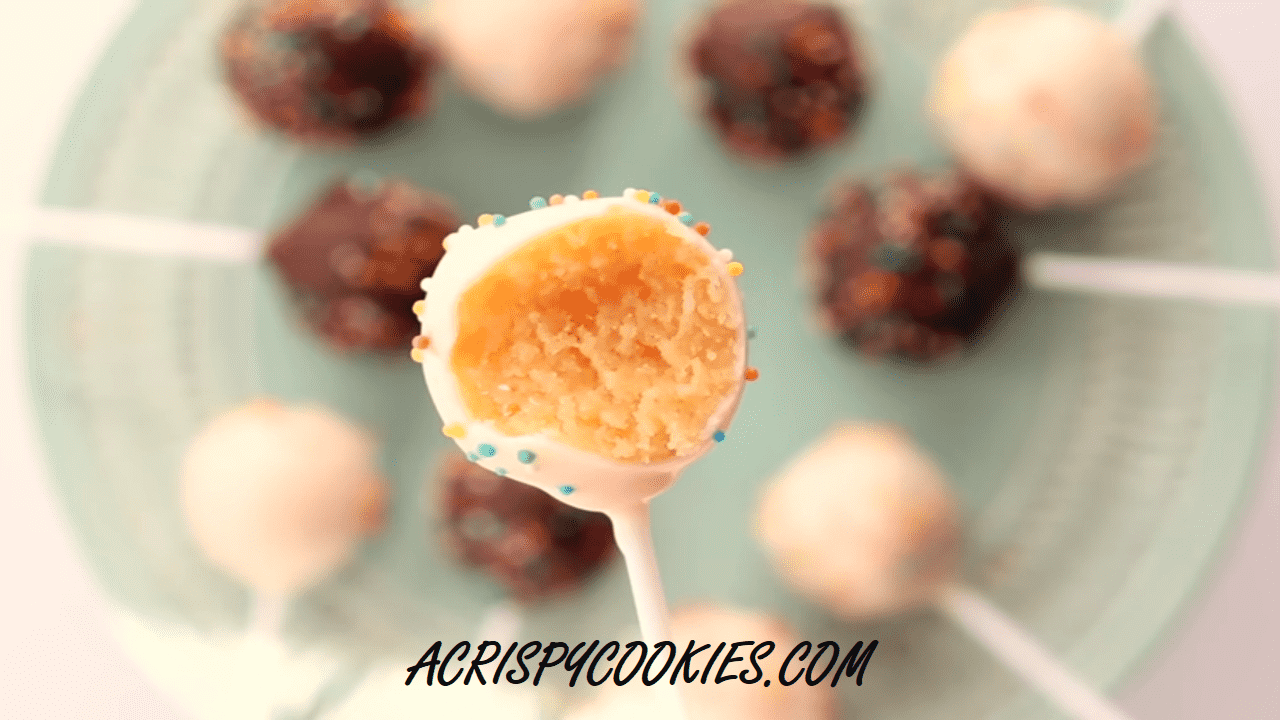
Whether you prefer classic vanilla or decadent chocolate, there’s a variation to please everyone. These little treats are not only delicious but also fun to make, making them ideal for baking with family or friends.
From birthday parties to afternoon snacks, a ball cake recipe is sure to be a hit wherever it goes. So, next time you’re craving something sweet and satisfying, give this recipe a try and enjoy the irresistible taste of homemade cake balls.
Ingredients for Ball Cake Recipe Or Cake Pops
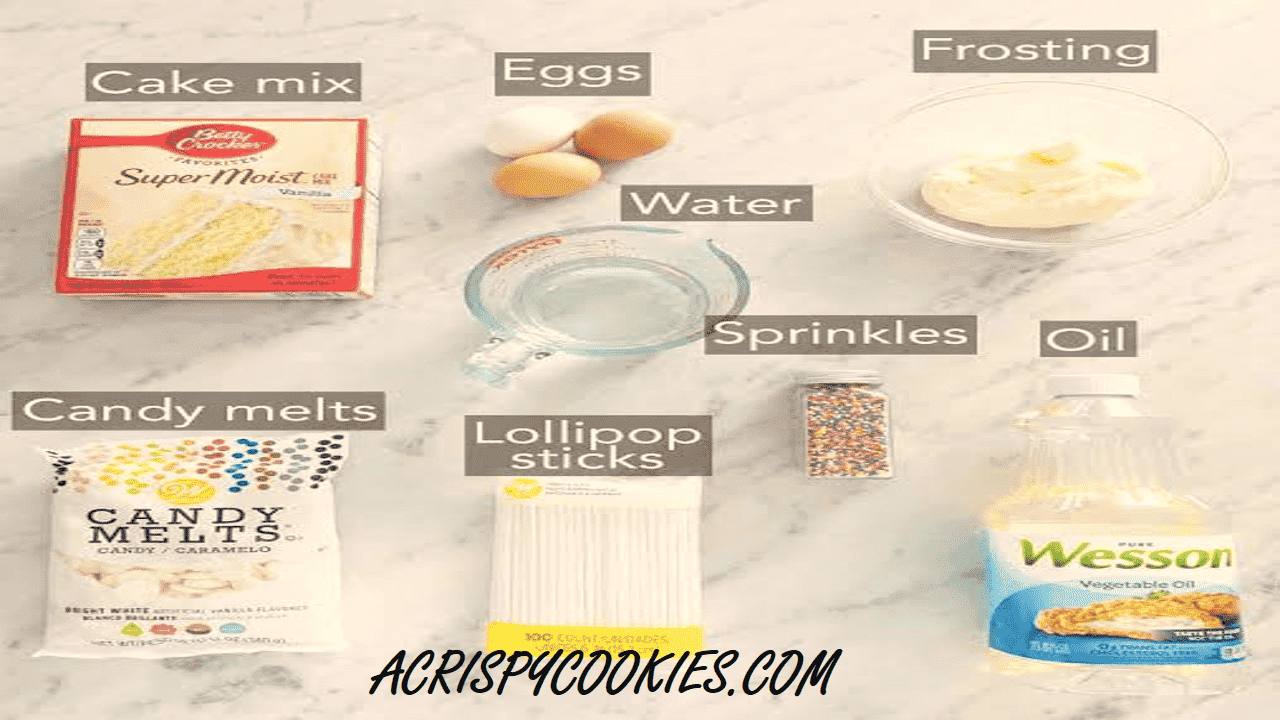
- Boxed cake mix of your choice
- Ingredients called for on the cake mix box (typically eggs, oil, and water)
- Chocolate for dipping (you can use any type of chocolate you prefer)
- Additional toppings such as sprinkles, crushed Oreos, graham crackers, or mini chocolate chips
Equipment Needed for This Recipe
For the ball cake recipe, you’ll need the following equipment:
- Baking sheet: To place the formed cake balls for chilling and setting.
- Cake pan: To bake the cake before crumbling it for the cake balls.
- Mixing bowls: For mixing the cake batter, frosting, and other ingredients.
- Fork or cake masher: For crumbling the baked cake and mixing it with frosting.
- Cookie scoop or small ice cream scoop: For portioning out the cake mixture before rolling into balls.
- Microwave-safe bowl or double boiler: To melt the chocolate for dipping the cake balls.
- Lollipop sticks: If making cake pops, these will be inserted into the cake balls for serving.
Instructions for Making Cake Pops Or Ball Cake Recipe
Prepare Cake Batter:
- Preheat your oven to the temperature written on the cake mix box.
- Grease and flour a 9″x13″ baking pan.
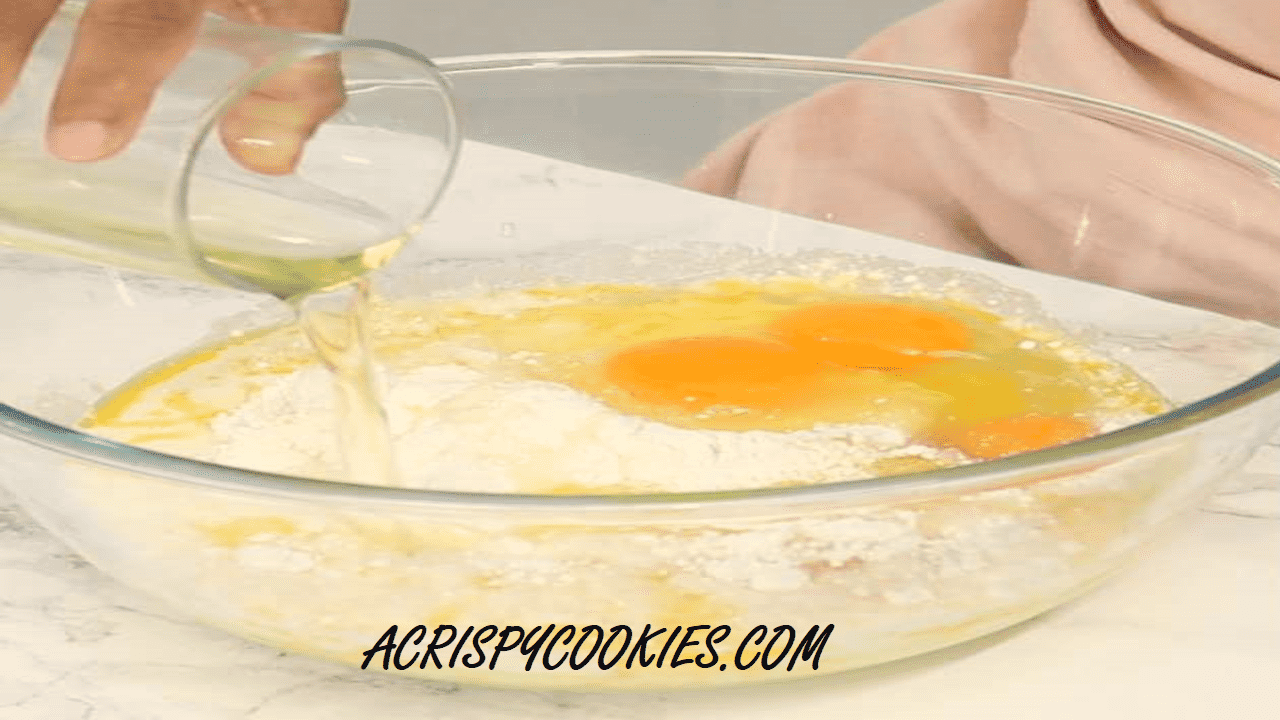
- Prepare the cake mix according to the instructions on the box, combining it with eggs, oil, and water in a mixing bowl.
- Beat the mixture until smooth, then pour it into the prepared baking pan.
- Bake according to the recommended time on the box, or until a toothpick inserted into the center comes out clean.
Cool and Crumble Cake:
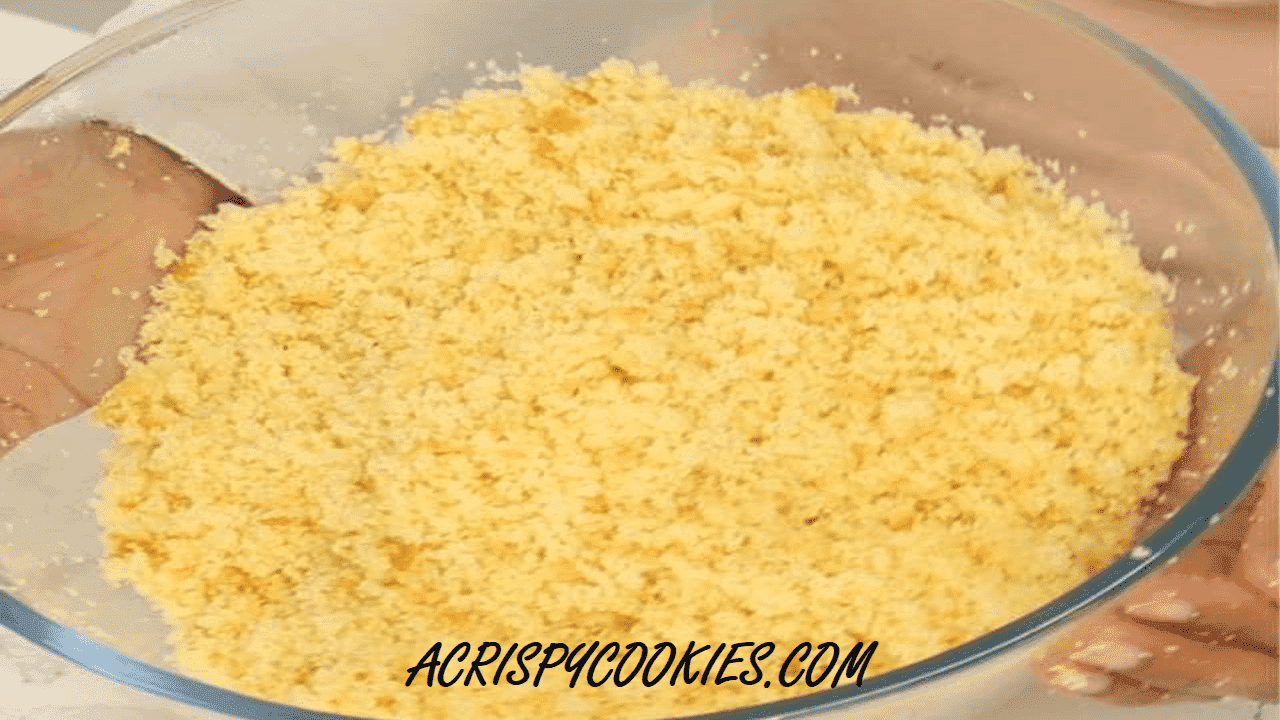
- Allow the cake to cool completely in the pan for about 15 minutes after baking.
- Transfer the cooled cake to a large mixing bowl.
- Use your hands or a fork to crumble the cake into fine crumbs, ensuring there are no large chunks left.
Add Frosting and Mix:
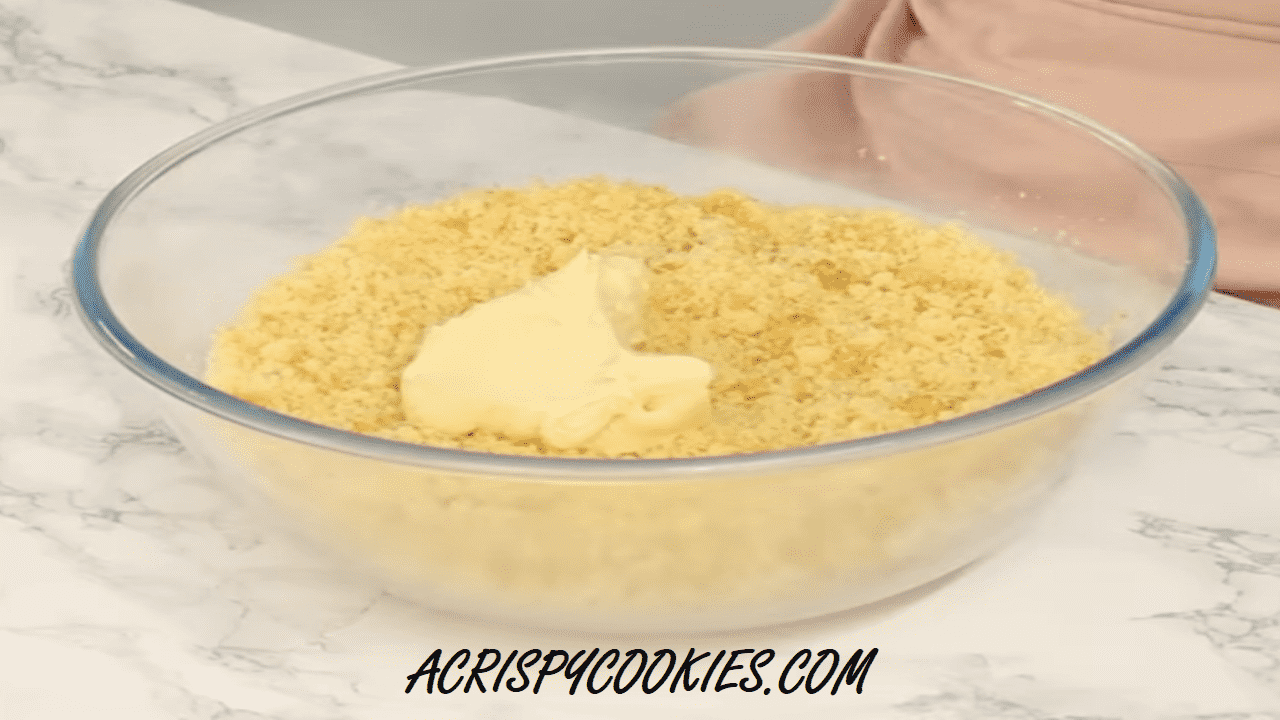
- Add frosting to the crumbled cake to act as a binder.
- Start with a small amount of frosting and gradually add more until the mixture reaches a dough-like consistency.
- Mix the crumbled cake and frosting together until fully combined and the mixture holds together when pressed.
Roll into Balls:
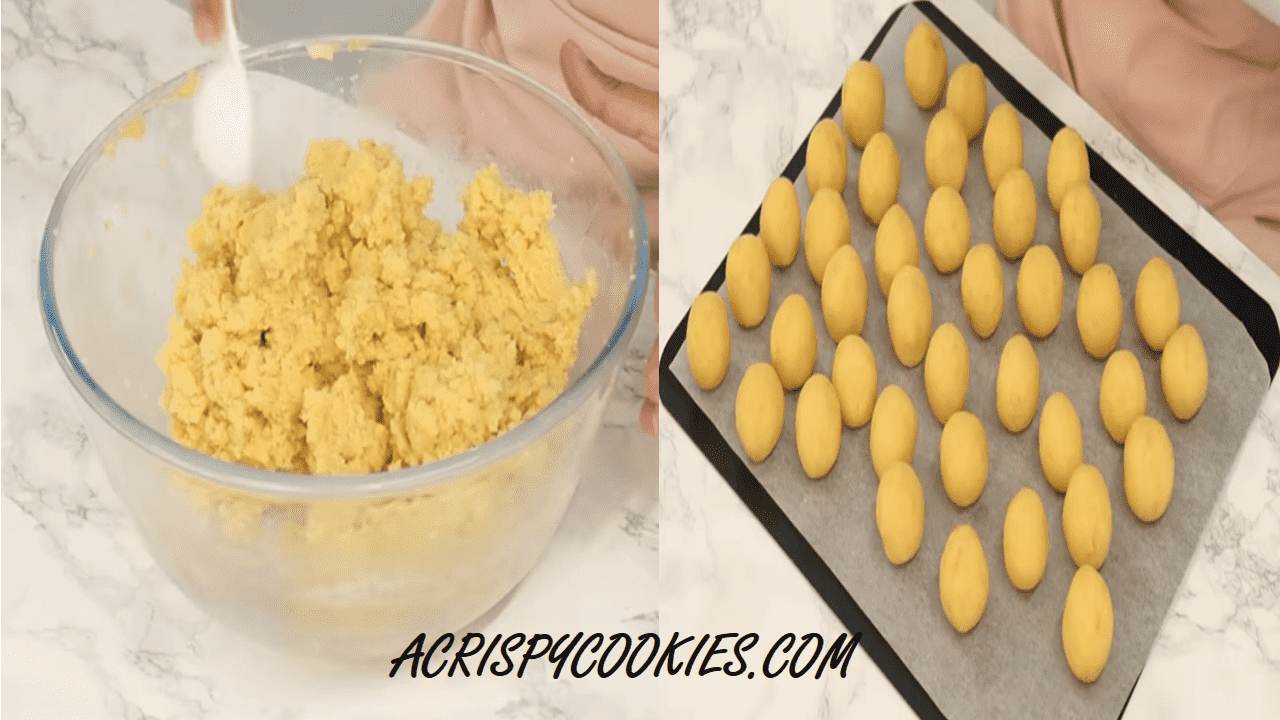
- Take small portions of the cake mixture and roll them into balls using your hands.
- Aim for balls about 1 1/2 inches in diameter, adjusting the size to your preference.
- Place the formed cake balls on a baking sheet lined with wax paper.
Chill Cake Balls:
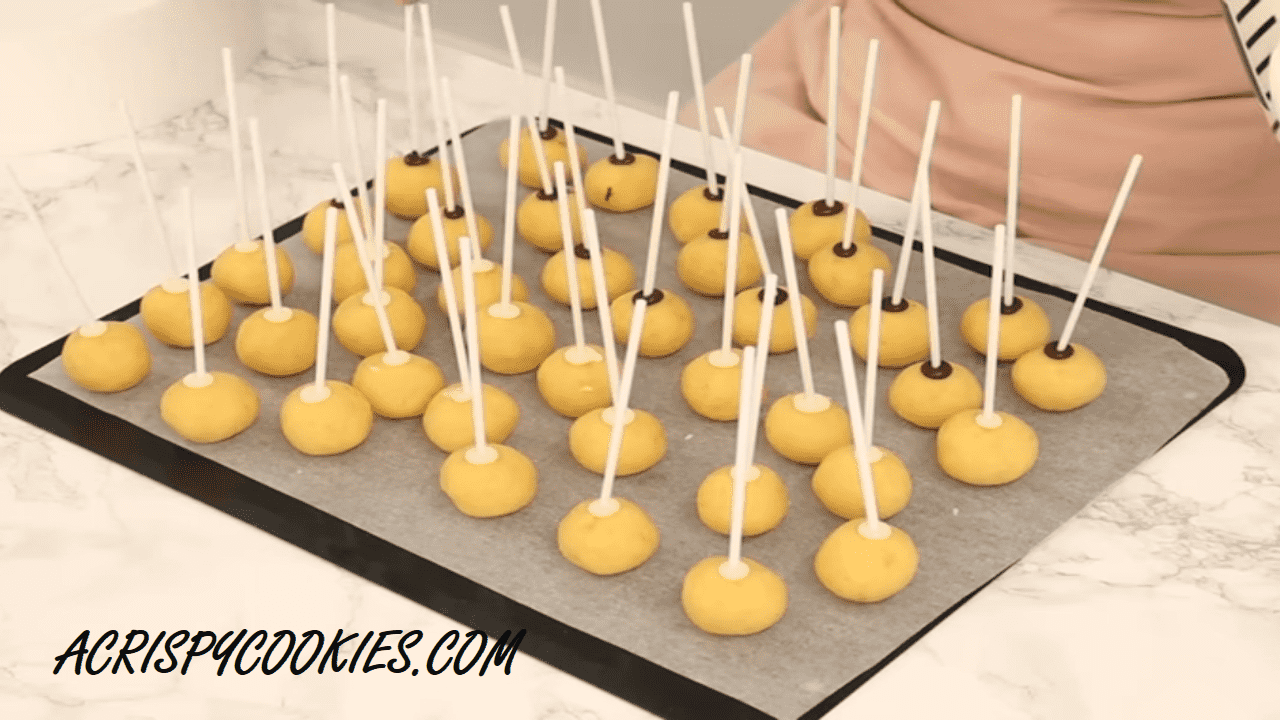
- Transfer the baking sheet to the freezer and chill the cake balls for at least 15-20 minutes to firm them up.
Melt Chocolate Or Vanilla Almond Bark:
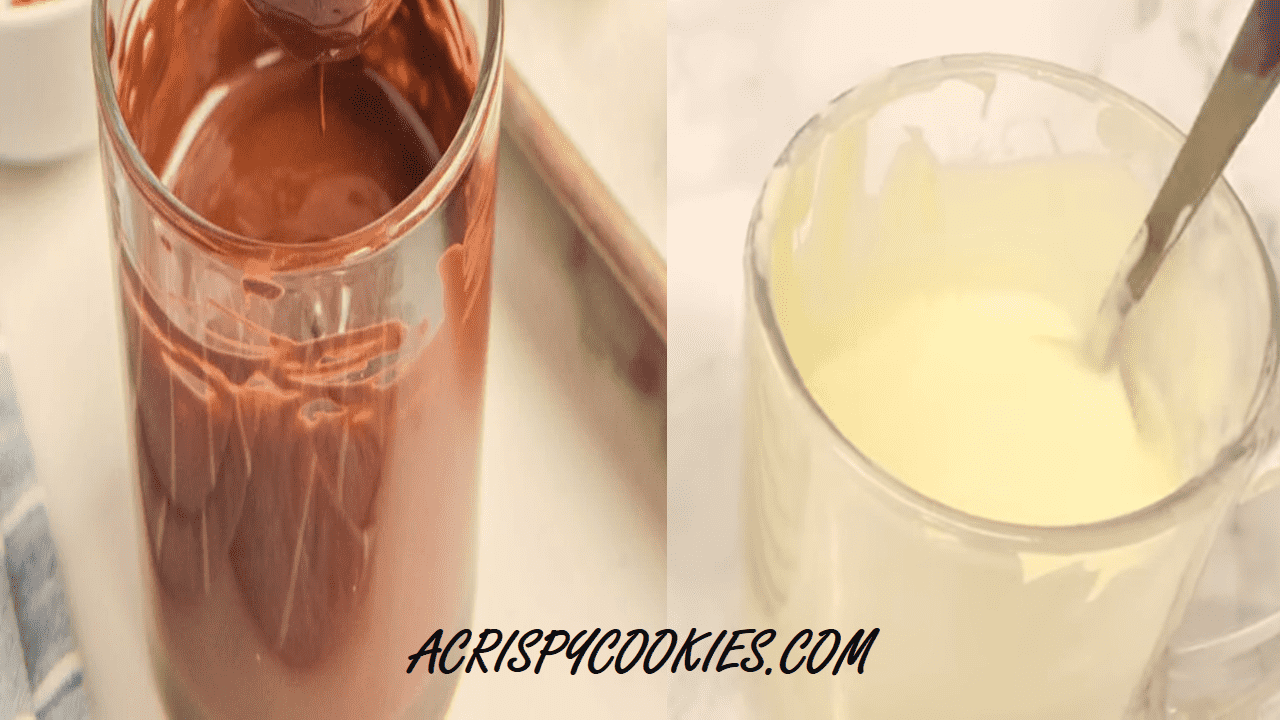
- While the cake balls are chilling, melt the vanilla almond bark (or chocolate of your choice) according to the package instructions.
Coat Cake Balls:
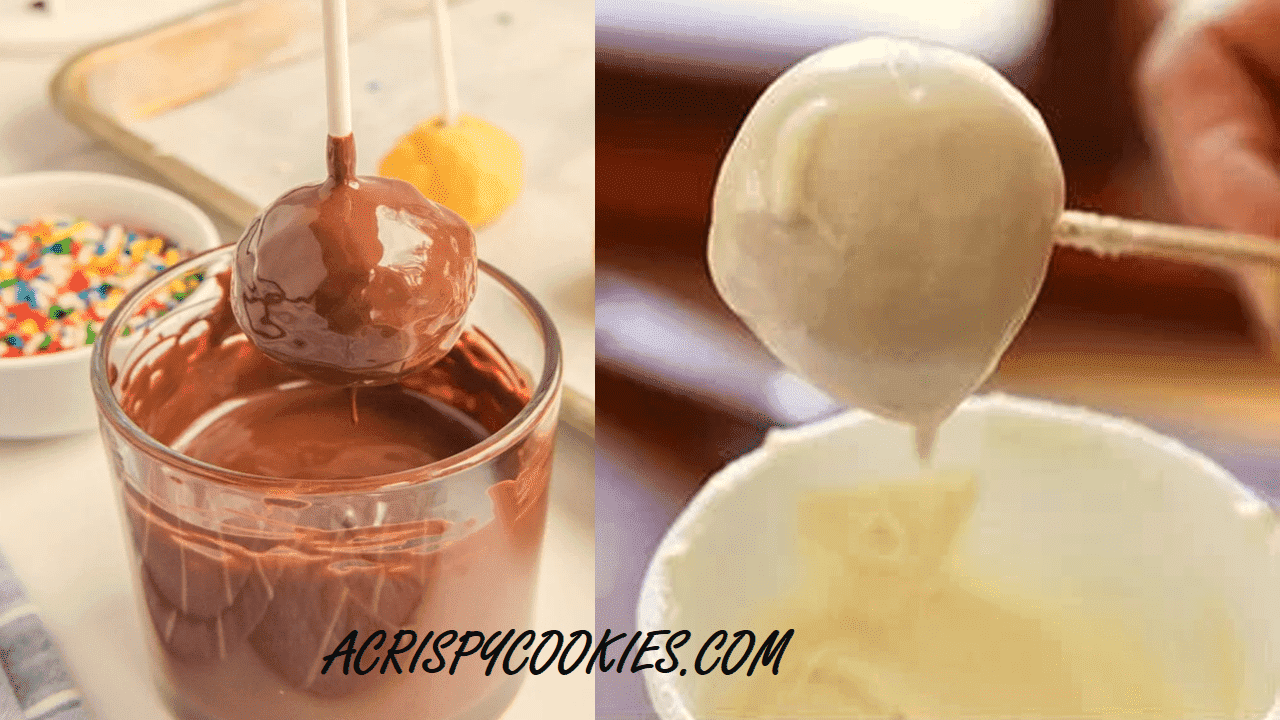
- Take the cold cake balls out of the freezer.
- Use a fork or a dipping tool to dip each cake ball into the melted chocolate, coating it completely.
- Allow any excess chocolate to drip off before placing the coated cake ball back onto the wax paper-lined baking sheet.
Add Toppings (Optional):
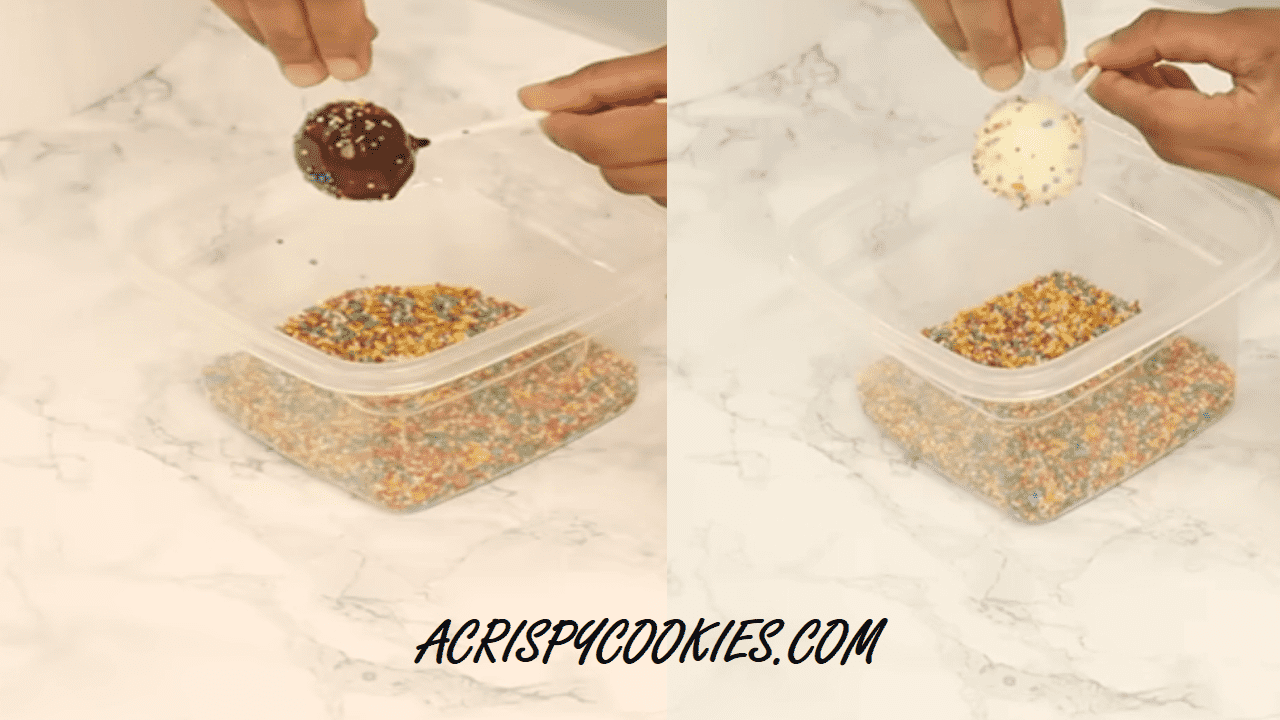
- If desired, immediately sprinkle the coated cake balls with toppings such as sprinkles, crushed nuts, or shredded coconut before the chocolate sets.
Set and Serve:
- Let the coated cake balls sit at room temperature or in the refrigerator until the chocolate coating hardens completely.
- Once hardened, your cake balls are ready to be served and enjoyed!
- Keep any extra cake balls in a sealed container in the fridge for about a week.
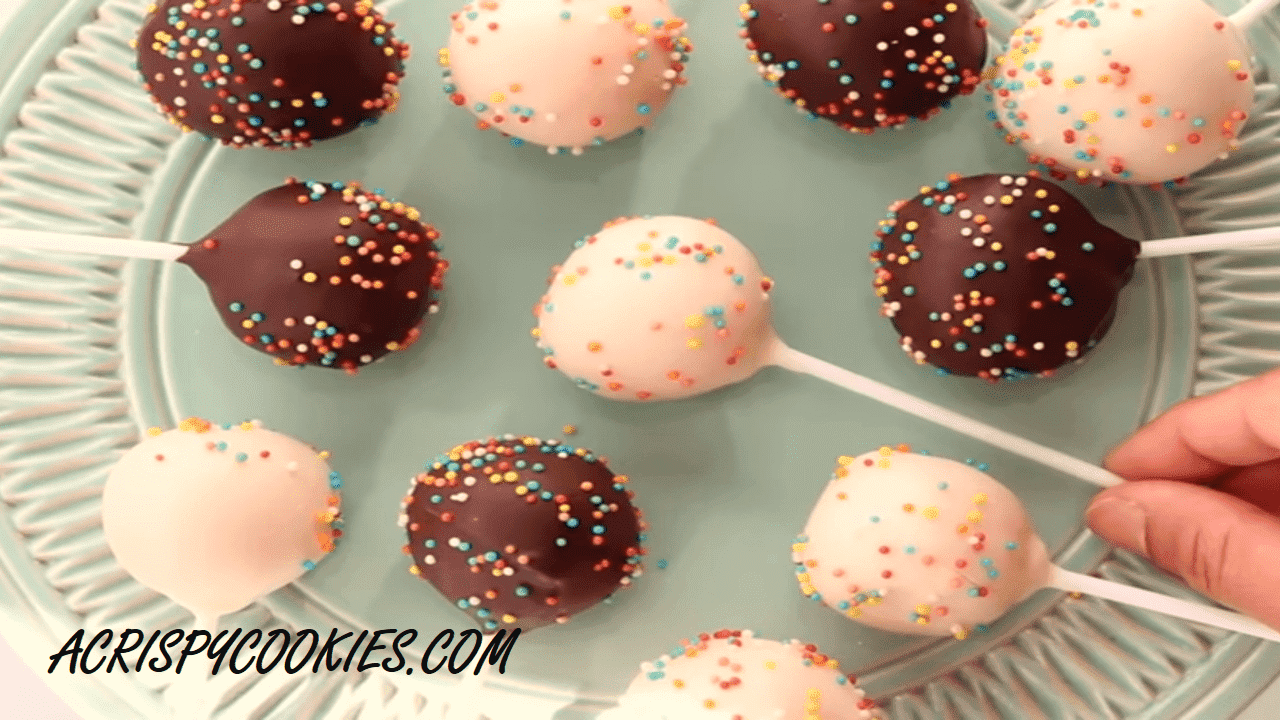
Enjoy your homemade cake pops as a delightful treat for any occasion!
Some Helpful Tips for Making the Cake Pops
- When making cake pops, I suggest using just a bit of frosting to moisten the crumbs. Too much frosting can make them too wet and greasy, which won’t taste as good.
- It’s important to chill the cake balls before dipping them. I recommend putting them in the fridge for at least an hour on a baking sheet. This helps them keep their shape and not fall apart when dipping.
- I find that using a small glass with 2 cups of liquid works well for dipping the cake pops. It makes it easier to coat them evenly with chocolate or candy melts.
- To make the cake pops look cool, I like to add some food coloring to the coating. It lets me choose the color based on the occasion, which makes them more fun to eat.
- After dipping, I always decorate my cake pops with sprinkles. They add a nice crunch and flavor, and make the cake pops look festive and yummy.

Delicious Cake Pops Different Flavors
1. Classic:
- Chocolate
- Vanilla
- Strawberry
- Lemon
2. Adventurous:
- Red Velvet
- Carrot Cake
- Pumpkin Spice
- Peanut Butter
3. Ball Cake Filling:
- Whipped Cream
- Buttercream
- Cream Cheese Frosting
- Fruit Jam
4. Ball Cake Combination:
- Chocolate cake with chocolate ganache
- Vanilla cake with strawberry jam filling
- Red velvet cake with cream cheese frosting
- Carrot cake with whipped cream filling
Additional Tips
- Use a cake mix to save time.
- Add in some extra flavouring, such as vanilla extract, almond extract, or rum extract.
- Use a cookie scoop to make the balls all the same size.
- Rolls the balls in sprinkles, chopped nuts, or cocunut flakes for extra decoration.
- Serve the ball cakes with a variety of toppings, such as whipped cream, ice cream, or chocolate sauce.

How to make cake balls round?
To make cake balls round, start by rolling the cake mixture between your palms to form a smooth ball. Apply gentle pressure and roll in a circular motion to shape them evenly. If you find the mixture too sticky, lightly grease your hands or chill the mixture for easier handling.
Why are my ball cake recipe cracking?
Ball cake recipe may crack due to various reasons, including the cake mixture being too dry or crumbly, insufficient frosting to bind the crumbs, or the coating being too thick. To prevent cracking, ensure the cake mixture is moist enough, use enough frosting to bind the crumbs together, and apply a thin, even coating of chocolate or candy melts.
What is the best size for cake pops?
The best size for cake pops is typically around 1 to 1.5 inches in diameter. This size is perfect for a single bite and ensures the cake pops are easy to handle and enjoy. However, you can adjust the size according to your preference and the occasion.
How do you dip cake balls?
To dip cake balls, insert a lollipop stick into each ball and hold it over the melted chocolate or candy melts. Gently swirl the cake ball in the coating until it is completely covered. Tap the stick against the edge of the bowl to remove any excess coating, then place the dipped ball cake recipe onto a parchment-lined tray to set.
Storing and Freezing For Ball Cake Recipe
1. Storage:
- After making your ball cake recipe, store them in an airtight container to keep them fresh.
- If you plan to eat them within a few days, you can store them at room temperature. Ensure the container is tightly sealed to keep the cake pops from drying out.
- For longer storage, keep the cake balls in the refrigerator. They will stay fresh for up to 1 week when stored properly.
- To prevent the cake pops from sticking together, you can place parchment paper between the layers in the container.
2. Freezing:
- If you want to store your ball cake for an extended period, freezing is the best option.
- Before freezing, make sure the cake pops are completely cooled to room temperature.
- Place the cake pops on a baking sheet lined with parchment paper, making sure they are not touching each other. This helps prevent the cake balls from sticking together as they freeze.
- Put the baking sheet with the cake pops in the freezer and let them freeze for about 1 hour or until they are firm.
- Once the cake pops are frozen solid, transfer them to a freezer-safe container or a resealable plastic bag. Be sure to label the container with the date of freezing to make it easy to know when they were stored.
- Frozen cake pops can be stored in the freezer for up to 3 months without significant loss of quality.
- When you’re ready to enjoy them, thaw the ball cake overnight in the refrigerator or at room temperature for a few hours before serving.
IF YOU LIKE THIS BALL CAKE RECIPE
- Connect with us on “Crispy Cookies” by tagging us.
- Stay updated on Facebook, Instagram, Pinterest, and Twitterby following us.
- Spread the sweetness by sharing or pinning this recipe on Pinterest.
- Leave a comment down below!!
“Thanks for joining our baking family. We’re glad to have you here. Happy baking! 🍰🎉.”

Easy and Delicious Ball Cake Recipe Or Cake Pops
Equipment
- Baking sheet
- Cake pan
- Mixing bowls
- Fork or cake masher
- Cookie scoop or small ice cream scoop
- Microwave-safe bowl or double boiler
- Lollipop sticks
Ingredients
- Boxed cake mix of your choice
- Ingredients called for on the cake mix box typically eggs, oil, and water
- Chocolate for dipping you can use any type of chocolate you prefer
- Additional toppings such as sprinkles, crushed Oreos, graham crackers, or mini chocolate chips
Instructions
Prepare Cake Batter:
- Preheat your oven to the temperature written on the cake mix box.
- Grease and flour a 9"x13" baking pan.
- Prepare the cake mix according to the instructions on the box, combining it with eggs, oil, and water in a mixing bowl.
- Beat the mixture until smooth, then pour it into the prepared baking pan.
- Bake according to the recommended time on the box, or until a toothpick inserted into the center comes out clean.
Cool and Crumble Cake:
- Allow the cake to cool completely in the pan for about 15 minutes after baking.
- Transfer the cooled cake to a large mixing bowl.
- Use your hands or a fork to crumble the cake into fine crumbs, ensuring there are no large chunks left.
Add Frosting and Mix:
- Add frosting to the crumbled cake to act as a binder.
- Start with a small amount of frosting and gradually add more until the mixture reaches a dough-like consistency.
- Mix the crumbled cake and frosting together until fully combined and the mixture holds together when pressed.
Roll into Balls:
- Take small portions of the cake mixture and roll them into balls using your hands.
- Aim for balls about 1 1/2 inches in diameter, adjusting the size to your preference.
- Place the formed cake balls on a baking sheet lined with wax paper.
Chill Cake Balls:
- Transfer the baking sheet to the freezer and chill the cake balls for at least 15-20 minutes to firm them up.
Melt Chocolate Or Vanilla Almond Bark:
- While the cake balls are chilling, melt the vanilla almond bark (or chocolate of your choice) according to the package instructions.
Coat Cake Balls:
- Take the cold cake balls out of the freezer.
- Use a fork or a dipping tool to dip each cake ball into the melted chocolate, coating it completely.
- Allow any excess chocolate to drip off before placing the coated cake ball back onto the wax paper-lined baking sheet.
Add Toppings (Optional):
- If desired, immediately sprinkle the coated cake balls with toppings such as sprinkles, crushed nuts, or shredded coconut before the chocolate sets.
Set and Serve:
- Let the coated cake balls sit at room temperature or in the refrigerator until the chocolate coating hardens completely.
- Once hardened, your cake balls are ready to be served and enjoyed!
- Keep any extra cake balls in a sealed container in the fridge for about a week.
Enjoy your homemade cake pops as a delightful treat for any occasion!

