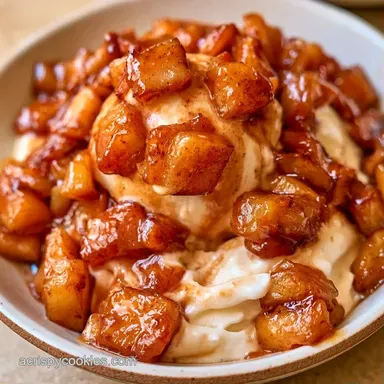
Apple Pie Ice Cream: Rich and Jammy
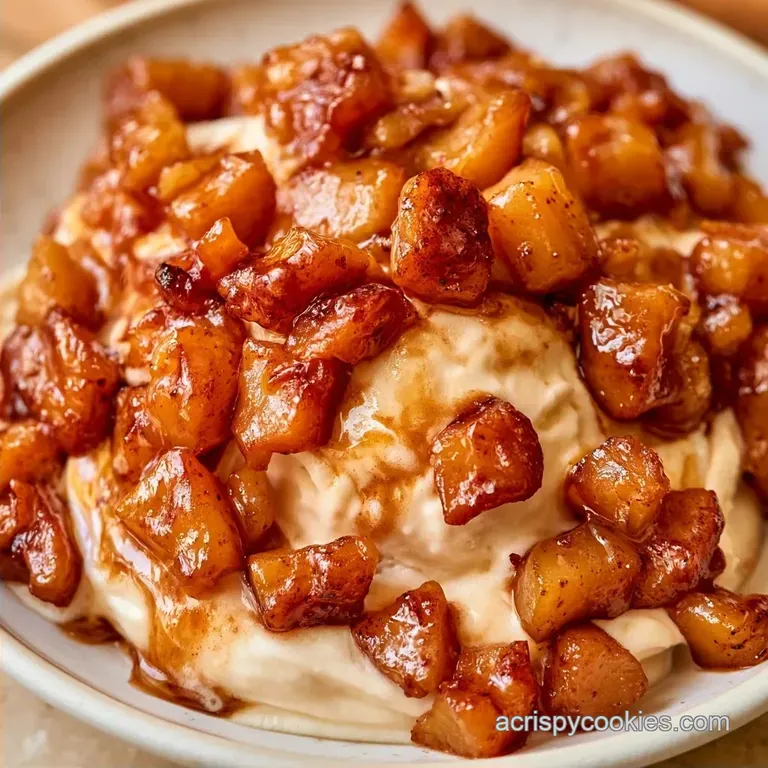
- Time: 30 min active + 6 hrs 15 mins chilling/churning
- Flavor/Texture Hook: Jammy apple swirls with a buttery, crunchy crust
- Perfect for: Holiday parties or a cozy weekend treat
Ever had a scoop of fruit ice cream that felt like chewing on frozen marbles? It happens because the water in the fruit freezes into hard chunks. I've had plenty of bowls where the "apple" part was just an icy cube that didn't taste like anything.
The fix is simple: cook the apples down until the water is gone and the sugar binds everything together. That's how you get a jammy, concentrated flavor that stays soft in the freezer.
This Apple Pie Ice Cream uses a real egg yolk custard base for a rich mouthfeel. We'll fold in caramelized Fuji apples and toasted graham cracker bits to get that classic pie contrast. It's a bit more effort than a no churn version, but the result is a professional grade dessert.
Why Most Recipes Get This Wrong
The Fruit Water Problem: Most people just fold in cooked apples, but that adds too much moisture. By simmering them into a thick syrup, we ensure the fruit stays soft and doesn't turn into ice. This is the same logic I use for my Homemade Custard Ice Cream to keep the texture smooth.
The Tempering Step: Pouring hot cream directly into eggs creates scrambled eggs. Drizzling the liquid slowly while whisking keeps the proteins stable.
The Chill Time: Adding warm mix ins to a cold base melts the fat. Chilling the apples completely before folding them in preserves the structure of the Apple Pie Ice Cream.
What Each Ingredient Does
The base depends on a few key elements to keep it from becoming a block of ice. Here is the breakdown of what actually matters.
| Component | Purpose | Substitute Notes |
|---|---|---|
| Fuji Apples | Balanced tartness and holds shape | Granny Smith: More tart, slightly firmer |
| Egg Yolks | Emulsifies fat for a creamy feel | Cornstarch slurry: Lighter, but less rich |
| Cornstarch | Thickens the custard and prevents ice | Flour: Works, but can leave a starchy taste |
| Heavy Cream | Provides the essential fat content | Full fat coconut milk: Nutty flavor, vegan friendly |
Recipe Specs
Right then, here is the basic data. This makes about 8 servings.
- Prep time: 30 minutes
- Cook time: 15 minutes
- Total time: 6 hours 45 mins
- Yield: 8 servings
To make sure this turns out right, watch for these checkpoints: the apples should be mahogany colored after 10 minutes, the custard should coat the back of a spoon, and the base must be cold to the touch before churning.
Gear for the Job
While a professional setup isn't necessary, these basic tools will make the process more efficient.
- Ice cream maker (standard churn or Ninja Creami)
- Medium saucepan for the apple reduction
- Medium pot for the custard base
- Whisk and a fine mesh strainer
- Mixing bowls and a spatula
Bringing It Together
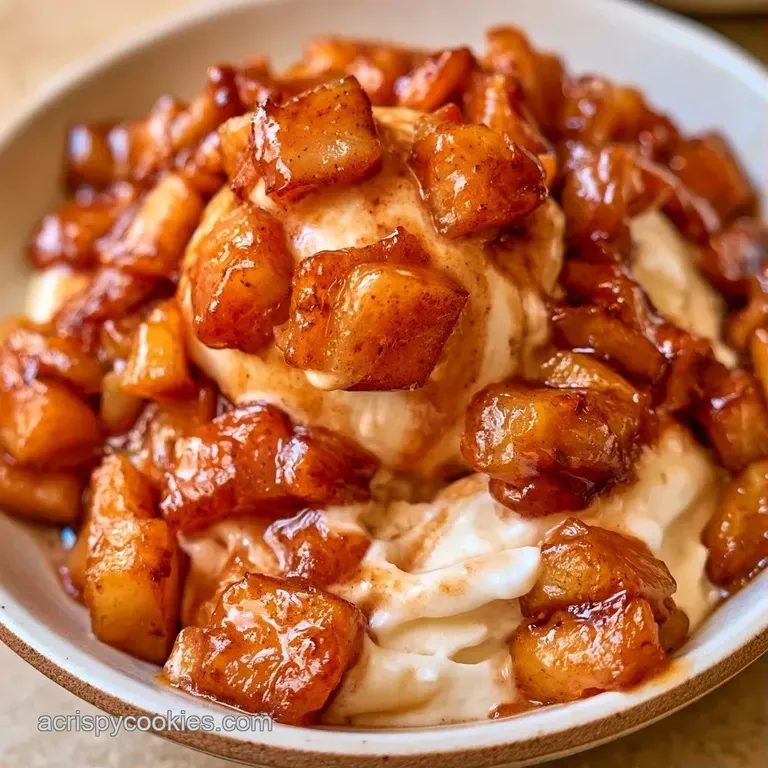
Here is how to prepare the dessert. Follow these steps to achieve the perfect consistency.
Phase 1: Reducing the Apple Filling
- Place a saucepan over medium heat and melt 3 tbsp (42g) unsalted butter until it bubbles.
- Stir in 2 cups (300g) finely diced Fuji apples, 1/4 cup (50g) light brown sugar, 1 tsp (2g) cinnamon, 1 tbsp (15ml) lemon juice, and 1/4 tsp (1.5g) salt.
- Simmer for 8-10 minutes, stirring occasionally, until the apples reach a mahogany hue and the liquid transforms into a thick syrup.
- Transfer the mixture to a bowl and chill completely in the fridge. Note: This prevents the ice cream base from melting during the fold.
Phase 2: Brewing the Cinnamon Custard
- In a medium pot, simmer 2 cups (480ml) heavy cream, 1 cup (240ml) whole milk, and 1 tsp (2g) cinnamon over medium low heat until small bubbles form around the edges.
- In a separate bowl, whisk 5 large (250g) egg yolks, 3/4 cup (150g) granulated sugar, 1 tbsp (8g) cornstarch, and 1/4 tsp (1.5g) salt until thick and pale.
- Gradually drizzle one cup of the hot cream into the egg mixture, whisking constantly. Note: This tempering process stops the eggs from cooking instantly.
- Pour the tempered egg mixture back into the pot and stir over low heat until it thickens enough to coat a spoon.
- Stir in 1 tsp (5ml) vanilla extract, then pass the custard through a fine mesh strainer into a bowl. Chill for at least 4 hours.
Phase 3: Churning and Folding
- Process the chilled custard in your ice cream maker following the manufacturer's directions.
- In a small bowl, combine 1 cup (100g) crushed graham crackers with 2 tbsp (30g) melted butter.
- Using a spatula, fold the chilled apple mixture and buttery crackers into the churned Apple Pie Ice Cream. Do not overmix or you'll lose the swirls.
Common Mistakes & Troubleshooting
If things go sideways, it's usually one of these three things.
Fixing a Grainy Texture
This happens if the egg yolks cooked too fast or the cornstarch didn't fully hydrate. The easiest fix is to run the finished custard through a fine mesh strainer before chilling. If it's already churned, a quick pulse in a blender can smooth it out, though you'll have to re freeze it.
Stopping Icy Fruit Chunks
If your apples feel like ice cubes, you didn't reduce the syrup enough. The liquid must be thick and sticky before it goes into the fridge. For next time, simmer the apples for an extra 2-3 minutes until the moisture is almost gone.
Preventing a Sandy Mouthfeel
This usually comes from the graham crackers getting soggy. To avoid this, make sure the butter is fully melted and coats every crumb before folding them in. The fat acts as a barrier against the moisture in the ice cream.
Keeping It Fresh
Place your Apple Pie Ice Cream in a shallow, freezer safe container. To prevent ice crystals from forming, lay a piece of parchment paper or plastic wrap over the top of the ice cream before sealing the lid.
The dessert remains fresh for up to 2 months when frozen. When you're ready to serve, let it soften on the counter for 5 minutes.
To practice zero waste, save the Fuji apple peels. Put them in a freezer bag to create a quick apple infused syrup or toss them into a pot of simmering cider.
Presentation Tips
To make this look like it came from a fancy creamery, serve it in a chilled glass bowl. Top each scoop with a drizzle of salted caramel or a thin slice of fresh apple for a pop of color.
You can also serve a scoop alongside a warm piece of actual apple pie. The temperature contrast between the hot crust and the cold Apple Pie Ice Cream is a winner every time.
Quick Customization
- Extra zing? → add 1 tsp lemon zest
- Crunchier crust? → toast graham crackers 5 mins
- Bolder spice? → add pinch of nutmeg
Mix It Up
If you want to change the vibe, try these tweaks. For a more handheld dessert, you can layer this ice cream with pieces of my Apple Pie Bars in a parfait glass.
The Shortcut Version: If you're in a rush, skip the homemade apple reduction and use a high-quality apple preserve. Just make sure the preserve is thick and not runny.
The Ninja Creami Method: Blend the custard ingredients and the apple reduction together, freeze for 24 hours, and spin on the "Ice Cream" setting. Fold in the buttery graham crackers by hand afterward.
The Adult Twist: Stir in a tablespoon of dark rum or apple brandy into the custard before churning for a deeper, warmer flavor profile.
Depending on how you prefer your treats, you can choose between a few different apple prep styles.
| Method | Texture | Flavor Intensity |
|---|---|---|
| Fresh Reduced | Jammy and chunky | High/Concentrated |
| Apple Preserve | Smooth and sweet | Medium/Sweet |
| Sautéed Apples | Soft and mild | Low/Fresh |
The result is a silky, rich treat that captures everything great about the season. This Apple Pie Ice Cream is the best way to get those autumn flavors without having to bake a whole pie every time you have a craving. Trust me, the extra step of reducing the apples is what makes this version actually work.
Recipe FAQs
Is it true that real apple chunks always freeze into hard ice crystals in ice cream?
No, and here's why. Simmering the apples with sugar and lemon juice creates a syrup that prevents large crystals from forming.
Tip: Chill the apple mixture completely in the fridge before folding it into the base.
Why did my egg mixture scramble when I added the hot cream?
The cream was likely poured in too quickly, raising the yolk temperature too fast.
Tip: Drizzle the liquid in a very slow stream while whisking constantly to temper the eggs.
Can I substitute Fuji apples with another variety?
Any firm, tart apple will maintain its shape during the simmering process.
Tip: If you love the fruit forward balance found in peach cobbler muffins, try a mix of Granny Smith and Gala.
How to garnish these scoops for a professional look?
Press crushed graham crackers around the base of the scoop and top with a drizzle of the reduced apple syrup.
Tip: Use a warmed scoop to get perfectly smooth, round spheres.
Apple Pie Ice Cream