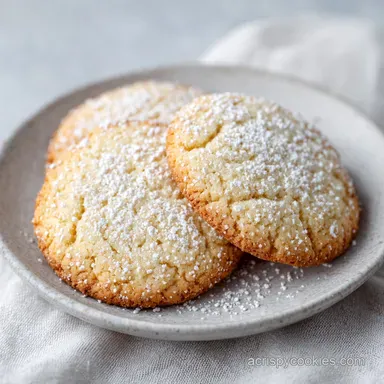
Best Christmas Cookies: Failure-Proof Sugar Cookies
- Time: 20 min active + 2 hrs chilling = 2 hrs 30 mins
- Flavor/Texture Hook: Velvety icing with a clean, snappy bite
- Perfect for: Cookie exchanges, viral plating, or gifting to neighbors
The BEST CHRISTMAS COOKIES
That scent of toasted butter and pure vanilla hitting the air is basically the official start of the holidays in my house. I remember one year I was in such a rush to get my platter ready for a party that I skipped the chilling step entirely.
I thought, "It's just dough, how different can it be?" Well, I opened the oven to find a single, giant, sugary pancake that had merged three different stars and a gingerbread man into one beige blob. It was a disaster, but it taught me the most important lesson about holiday baking.
Forget everything you've heard about needing an expensive, industrial grade mixer to get that professional "snap." You don't need a kitchen full of fancy gadgets to make the BEST CHRISTMAS COOKIES. All you actually need is a bit of patience and a commitment to the chill time.
Once you see how these hold their edges, you'll never go back to those "quick" recipes that leave you with blurry shapes.
Trust me on this, the visual payoff is worth every single minute of waiting. We're talking about cookies that look like they came from a high end boutique but were made in a cozy home kitchen. Let's crack on and get these festive treats ready for your platter.
Secrets for Bakery Results
The reason some cookies look like blobs while others look like art comes down to a few simple tricks. I've spent way too much time testing this, and the "magic" is actually just a bit of simple logic.
The Air Pocket Trick: Beating the butter and sugar for a full three minutes creates tiny air bubbles. These bubbles support the structure so the cookie doesn't collapse.
Starch Stability: Adding a bit of cornstarch softens the proteins in the flour. This gives you a velvety bite instead of a hard, cracker like texture, according to King Arthur Baking.
Temperature Control: Cold dough means the fat stays solid longer in the oven. This prevents the "spread" and keeps your star or tree shapes looking sharp and clean.
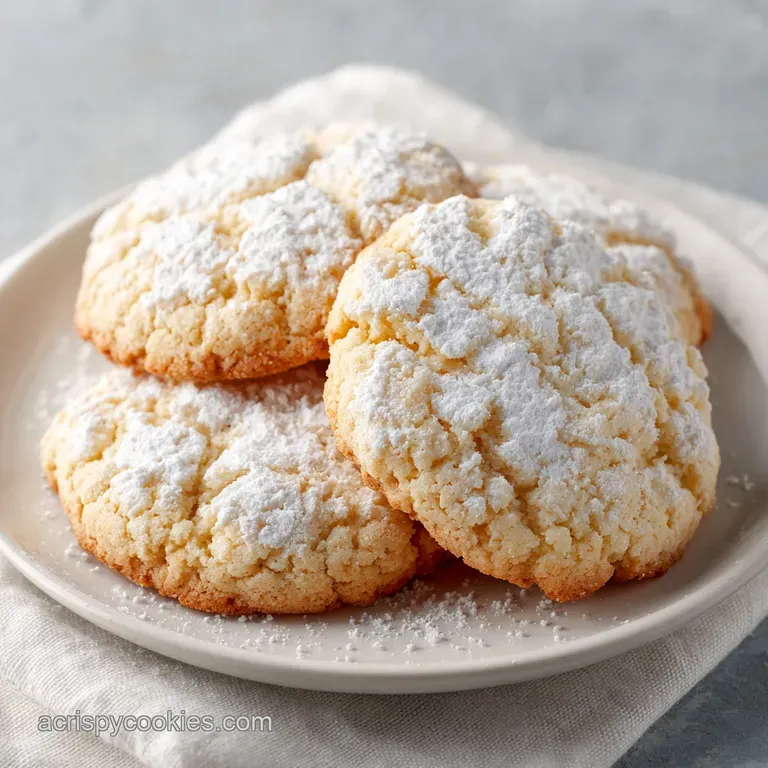
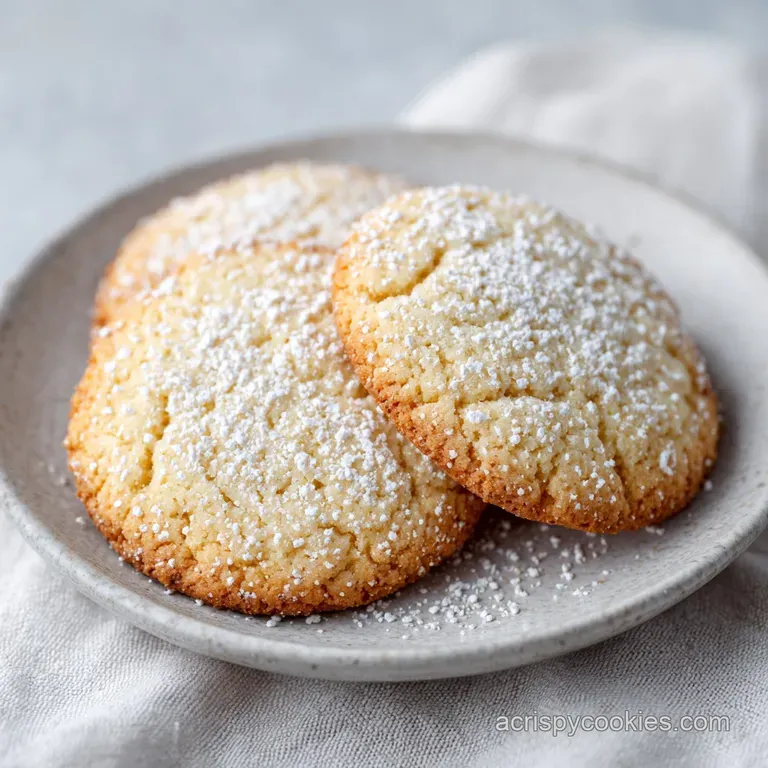
The Matte Finish: Pulling the cookies out while they are still pale prevents the sugar from caramelizing too much. This keeps the base a clean canvas for your colorful icing.
| Method | Prep Time | Texture | Best For |
|---|---|---|---|
| Freshly Chilled | 2 hrs 30 mins | Snappy & Sharp | Professional Look |
| Shortcut (No Chill) | 30 mins | Soft & Spread | Casual snacking |
| Frozen Dough | 20 min + thaw | Dense & Uniform | Last minute baking |
Component Analysis
To really get these right, you have to understand what each part is doing. It's not just about following a list, it's about knowing why we're using these specific items.
| Ingredient | Science Role | Pro Secret |
|---|---|---|
| Unsalted Butter | Structure/Flavor | Use room temp, not melted, for better air |
| Cornstarch | Tenderizer | Prevents the cookie from becoming too tough |
| All Purpose Flour | Framework | Spoon and level to avoid a dry cookie |
| Heavy Cream | Icing Stability | Provides a glossier finish than using water |
What You'll Need
Right then, let's get your mise en place ready. I highly recommend measuring your flour by weight if you have a scale, but spoons work if you're careful.
For the Dough
- 1 cup (225g) unsalted butter, softened to room temperatureWhy this? High fat for a velvety crumb
- 1 cup (200g) granulated sugarWhy this? Gives the edges a slight crisp
- 1 large (50g) eggWhy this? Binds everything together
- 2 tsp (10ml) pure vanilla extractWhy this? Classic aromatic base
- 3 cups (375g) all purpose flourWhy this? Standard structure
- 2 tbsp (15g) cornstarchWhy this? For that bakery style tenderness
- 1 tsp (5g) baking powderWhy this? Very slight lift
- 1/2 tsp (3g) saltWhy this? Balances the sugar
For the Easy Icing
- 2 cups (240g) powdered sugarWhy this? Creates a smooth, white base
- 3 tbsp (45ml) heavy creamWhy this? Richer than milk or water
- 1 tsp (5ml) vanilla extractWhy this? Ties the icing to the cookie
| Original Ingredient | Substitute | Why It Works |
|---|---|---|
| Heavy Cream | Whole Milk | Similar liquid base. Note: Icing will be thinner and less glossy |
| All Purpose Flour | 1:1 GF Blend | Mimics wheat structure. Note: May be slightly more fragile |
| Unsalted Butter | Vegan Butter | Similar fat ratio. Note: Check for salt content to adjust |
Equipment Needed
You don't need a professional studio, but a few basics make this way easier. I usually use a stand mixer such as KitchenAid for the creaming process, but a hand mixer works just fine too.
- Electric mixer (hand or stand)
- Two large mixing bowls
- Rolling pin
- 2 inch cookie cutters (stars, trees, circles)
- Parchment paper (don't skip this or you'll be scrubbing pans for an hour)
- Wire cooling rack
- Small whisk for the icing
How to Make It
Let's get into the actual process. The key here is not to rush the mixing. If you skip the timing, you lose the texture.
Phase 1: Creaming and Mixing
- Beat the softened butter and granulated sugar on medium high for 3 full minutes until the mixture looks pale and fluffy. Note: This is where the air goes in!
- Add the egg and vanilla extract, beating until fully incorporated and the batter looks smooth.
- In a separate bowl, whisk together the all purpose flour, cornstarch, baking powder, and salt.
- Gradually add the dry ingredients to the wet ingredients on low speed until a soft dough forms. Note: Don't overmix or the cookies will be tough.
Phase 2: Chilling and Shaping
- Divide the dough into two disks, wrap tightly in plastic wrap, and refrigerate for at least 2 hours.
- Preheat oven to 350°F (175°C). Roll the chilled dough out on a floured surface to 1/4 inch thickness.
- Use 2 inch cookie cutters to create shapes and transfer them to a parchment lined baking sheet.
Phase 3: Baking and Cooling
- Bake for 8-10 minutes; remove when edges are set but tops remain pale and matte. Note: If they brown, they're overdone!
- Cool on the pan for 5 minutes before transferring to a wire rack.
- Whisk powdered sugar, heavy cream, and vanilla extract to create the icing, then decorate the cooled cookies.
Avoiding Kitchen Disasters
Even the best of us have "cookie fails." Most of the time, it's just a matter of temperature. According to Serious Eats, the temperature of your butter during the creaming stage is the biggest variable in cookie spread.
Troubleshooting Common Issues
| Issue | Solution |
|---|---|
| Why Your Cookies Spread | If your shapes turned into blobs, your butter was likely too warm, or you didn't chill the dough long enough. The fat melts before the flour structure can set. |
| Why Your Icing Runny | Runny icing usually happens if you add the cream too quickly. Add it one tablespoon at a time until you get a thick, pipeable consistency. |
| Why Dough Sticks | If the dough is sticking to your roller, you're likely over flouring the dough itself. Instead, flour the surface and the roller every few minutes. |
Common Mistakes Checklist
- ✓ Did you beat the butter and sugar for the full 3 minutes?
- ✓ Is the dough chilled for at least 2 hours?
- ✓ Did you remove cookies while they were still pale?
- ✓ Is the icing applied only to completely cooled cookies?
- ✓ Did you use parchment paper to prevent sticking?
Mix It Up
Once you've nailed the base for the BEST CHRISTMAS COOKIES, you can start playing with flavors. This recipe is like a blank canvas.
For a chocolate version, replace 1/4 cup of the flour with high-quality cocoa powder. If you're in a mood for something more chaotic and loaded, you'll love these Magic Cookie Bars.
If you want a festive citrus twist, add the zest of one lemon or orange to the sugar before creaming. It adds a brightness that cuts through the richness of the butter. For a healthier vibe during the holidays, try my applesauce oatmeal cookies.
If you're adapting this for a gluten-free guest, a 1:1 gluten-free flour blend works well, but give the dough an extra 30 minutes in the fridge to let the starches hydrate. For a vegan swap, use a chilled plant based butter stick and a flax egg, though the snap will be slightly softer.
Freezing and Reheating Guide
You can absolutely prep these in advance. In fact, I prefer it because it means less stress on Christmas Eve.
The Raw Dough Method The best way to store these is to freeze the raw disks of dough. Wrap them in plastic, then foil, and they'll stay fresh for 3 months. Just thaw them in the fridge overnight before rolling.
The Baked Method Once baked and cooled (but before icing), store them in an airtight container for 5 days in the fridge. If you've already iced them, they're best eaten within 3 days or stored in the freezer.
Refreshing Frozen Cookies To bring a frozen, baked cookie back to life, pop it in a 300°F (150°C) oven for 3-5 minutes. It'll taste like it just came out of the oven, and the icing will soften perfectly.
Zero Waste Tip Don't throw away the leftover icing! Put it in a small piping bag and use it to drizzle over a bowl of fresh strawberries or use it as a dip for apple slices the next morning.
Presentation Tips
Since I love a "wow" factor, let's talk about the visuals. The BEST CHRISTMAS COOKIES aren't just about taste; they're about how they look on that platter.
- 1. Deep Crimson Red
- Use this for the main shapes (like hearts or berries).
- 2. Forest Green
- Perfect for tree shapes or leaf details.
- 3. Shimmering Gold
- Add this as a final touch with edible gold luster dust or gold sprinkles.
Garnish Timing Add your sprinkles immediately after icing while the sugar is still wet. If you wait too long, the icing "sets," and your decorations will just slide off.
Platter Arrangement Don't just pile them up. Arrange them in a spiral pattern starting from the center. Mix your colors so you don't have all the red cookies in one corner. This creates a visual flow that looks professional and viral ready.
The Pro Gifting Look If you're taking these to a cookie exchange, stack them in threes with a small piece of parchment paper between each layer. Tie the stack with a red twine ribbon and a small sprig of fresh rosemary for a rustic, high end look.
Recipe FAQs
What's the most popular Christmas cookie?
Sugar cookies are generally considered the most popular. Their neutral flavor and versatility make them the gold standard for holiday decorating and gifting.
What are the top 5 most popular cookies for the holidays?
Sugar cookies, gingerbread, peppermint bark, shortbread, and chocolate chip lead the list. These classics balance traditional warm spices with sweet, comforting flavors.
What is the number one cookie in the world?
The chocolate chip cookie holds the top spot globally. If you want a chewy version of this worldwide favorite, try this chocolate chip recipe.
What is America's favorite holiday cookie?
The classic decorated sugar cookie is America's favorite. It allows for creative shapes and colorful icing that define the tradition of holiday baking.
Why did my cookies spread into blobs in the oven?
Your butter was likely too warm or the dough wasn't chilled long enough. This causes the fat to melt before the flour structure can set in the heat.
How to fix icing that is too runny?
Add powdered sugar in small increments. Whisk in a teaspoon at a time until the consistency is thick enough to pipe onto your cookies.
Is it true I can skip the refrigeration step and bake immediately?
No, this is a common misconception. Refrigerating the dough for at least 2 hours is essential to prevent the shapes from losing their definition during baking.
Best Christmas Cookies