Chocolate Chip Cookie Recipe: the Best Ever
- Time:15 minutes active + 30 minutes chilling = Total 55 minutes
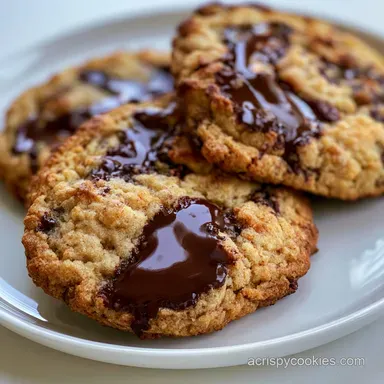
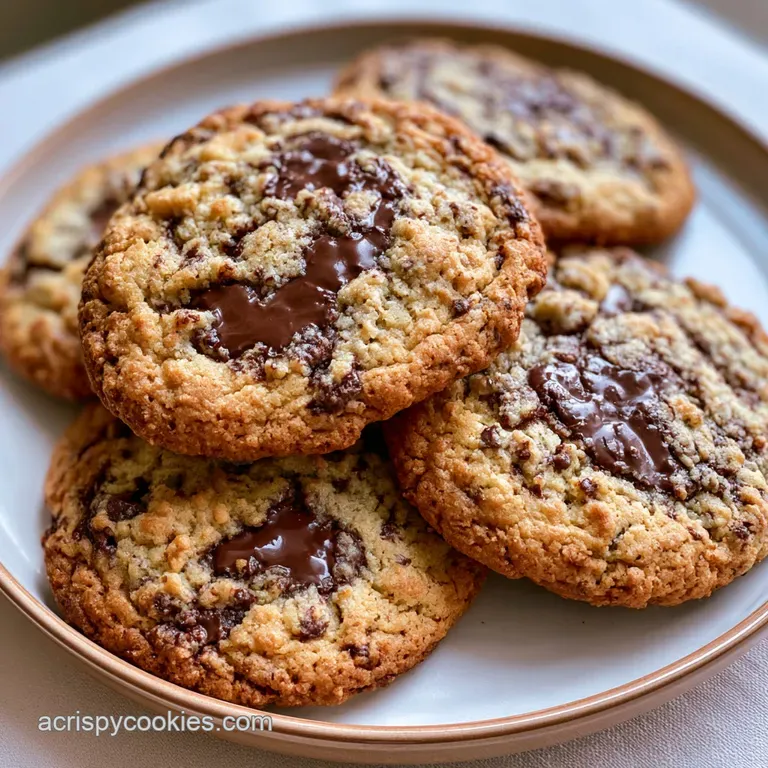
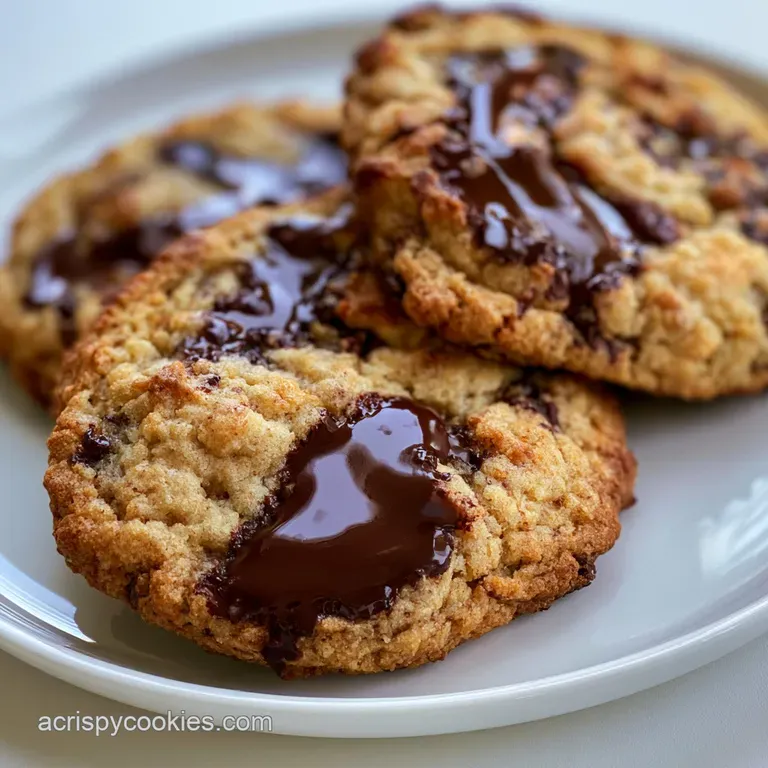
- Flavor/Texture Hook: Toasted nutty butter with a velvety, chewy center
- Perfect for: Weekend baking, gift boxes, or a serious sugar craving
My Go To Chocolate Chip Cookie Recipe
That first sizzle of butter in the pan is where the magic starts. When the butter stops bubbling and starts to foam, the smell shifts from plain cream to something deeply toasted and nutty. I remember the first time I tried browning butter for cookies, I almost burnt it because I was too busy chatting.
But once I saw those tiny brown specks and smelled that caramel aroma, I knew these weren't going to be your average cookies.
Right then, the goal changed from just "making a treat" to recreating that specific, high end bakery taste at home. I wanted that contrast where the edge is just barely crisp enough to shatter, but the middle stays soft, almost like a fudgy brownie.
It's all about the layers of flavor, starting with the butter and ending with a pinch of salt to cut through the sugar.
Trust me on this, once you move away from the standard "cream the butter" method, there's no going back. This Chocolate Chip Cookie Recipe is my absolute favorite because it doesn't rely on fancy ingredients, just a few smart tweaks to the process. Let's crack on and get these in the oven.
The Secret to the Chew
I've spent a lot of time wondering why some cookies are cakey and others are chewy. It turns out it's not about the flour, but how we handle the fat and sugar.
- Water Evaporation: Browning the butter removes the water content, which means the dough doesn't steam as much in the oven, leading to a denser, chewier bite.
- Sugar Balance: Using an equal amount of brown and white sugar creates a hybrid texture - the white sugar gives the edges a crisp snap, while the molasses in the brown sugar keeps the center soft.
- Fat Solidification: Chilling the dough for 30 minutes lets the fats firm back up, so the cookies don't just melt into a flat puddle the second they hit the heat.
- Leavening Control: The baking soda reacts with the acidic brown sugar to create just enough lift without making the cookie airy like a sponge cake.
| Method | Time | Texture | Best For |
|---|---|---|---|
| Fast (Melted) | 20 mins | Flat & Spreading | Quick cravings |
| Classic (Browned) | 55 mins | Thick & Chewy | Restaurant quality |
| Cold Aged (24hr) | 24 hours | Deep Flavor | Special occasions |
Recipe Technical Specs
When I'm in the zone, I don't want to guess. I've found that precision is the only way to get the same result every single time. If you're using a scale, you'll have a much easier time.
For this recipe, we're targeting a specific set of checkpoints. First, the butter must reach that "brown speck" stage, not a dark mahogany color, or it'll taste burnt. Second, the chill time of 30 minutes is non negotiable if you want them to hold their shape.
Finally, the oven must be exactly 350°F (175°C) to ensure the edges set before the middle overcooks.
If you've ever struggled with baking at high altitudes, you might need to adjust your flour or liquid. I don't have high altitude baking but this is a great resource https://www.kingarthurbaking.com/learn/resources/high altitude-baking for those of you in the mountains.
The Core Ingredients
I'm a flavor detective, and I've found that the quality of the vanilla and the type of chocolate make a huge difference. Don't even bother with low-fat substitutes here - they'll ruin the texture.
| Ingredient | Science Role | Pro Secret |
|---|---|---|
| Browned Butter | Flavor Base | Adds a toasted, nutty depth |
| Brown Sugar | Moisture/Color | Molasses creates the chew |
| Baking Soda | Lift | Reacts with sugar for a slight rise |
| Semi Sweet Chips | Contrast | Cuts the sweetness of the dough |
Component Analysis
- 1 cup (225g) unsalted butter Why this? Control over salt levels is key (Substitute: Salted butter, but omit added salt)
- ¾ cup (150g) granulated white sugar Why this? Creates those crispy edges (Substitute: Caster sugar)
- ¾ cup (165g) packed light brown sugar Why this? Essential for the chewy center (Substitute: Dark brown sugar for more molasses)
- 1 large (50g) egg Why this? Binds everything and adds structure (Substitute: Flax egg for vegan, though texture changes)
- 2 tsp (10ml) pure vanilla extract Why this? Rounds out the sugar notes (Substitute: Vanilla bean paste)
- 2 ¼ cups (280g) all purpose flour Why this? Standard protein for a balanced crumb (Substitute: Bread flour for more chew)
- 1 tsp (5g) baking soda Why this? Provides the necessary lift (Substitute: None)
- ½ tsp (3g) fine sea salt Why this? Balances the rich fats (Substitute: Kosher salt)
- 2 cups (340g) semi sweet chocolate chips Why this? Classic flavor profile (Substitute: Dark chocolate chunks)
The Right Tools
You don't need a professional kitchen, but a few things make this much smoother. I use a stand mixer such as KitchenAid, but a handheld mixer or even a sturdy whisk works just fine for this Chocolate Chip Cookie Recipe.
Make sure you have a heavy bottomed saucepan for the butter. If the pan is too thin, the butter can burn in hot spots before the rest of the fat browns. Also, parchment paper is a lifesaver - it prevents sticking and makes cleanup a breeze.
I always use a cookie scoop for consistency, otherwise, you'll have some giant cookies and some tiny ones baking at the same time, which is a recipe for disaster.
Step by step Method
Right then, let's get to the actual work. Follow these steps closely, especially the cooling period for the butter.
- Place butter in a saucepan over medium heat. Melt and cook, whisking constantly, until butter foams and small brown specks appear. Remove from heat and cool for 5-10 minutes. Note: Don't skip the cooling, or you'll scramble the egg.
- Whisk the browned butter with white and brown sugars until smooth.
- Beat in the egg and vanilla extract until the mixture looks glossy and pale.
- In a separate bowl, sift together the flour, baking soda, and salt.
- Gradually fold the dry ingredients into the wet mixture until just combined; do not overmix. Note: Overmixing develops gluten and makes the cookies tough.
- Fold in the semi sweet chocolate chips using a spatula.
- Scoop rounded tablespoons of dough onto parchment lined baking sheets, spacing 2 inches apart.
- Chill the trays in the refrigerator for 30 minutes.
- Bake at 350°F (175°C) for 8-10 minutes, removing when edges are golden but centers remain slightly soft.
- Let the cookies set on the pan for 5 minutes before transferring to a wire cooling rack.
Common Baking Pitfalls
Even for experienced cooks, things can go sideways. The most common issue I see is overbaking. Because the cookies continue to cook on the hot pan after you pull them out, they need to look slightly "underdone" in the middle to end up with that velvety texture.
Too Much Spread
If your cookies are turning into pancakes, it's usually because the butter was too hot when you added the sugars or you skipped the chill time. This causes the fat to leak out too quickly in the oven.
Cakey Texture
This happens when you use too much flour or beat the dough for too long. If you're measuring by cup, you might be packing the flour too tightly.
Sticky Dough
If the dough is impossible to scoop, your butter might have been too melted. Let the dough rest in the fridge for another 15 minutes to firm up.
| Problem | Root Cause | Solution |
|---|---|---|
| Flat cookies | Butter too warm | Chill dough for 30-60 mins |
| Burnt bottoms | Oven rack too low | Move rack to middle position |
| Dry crumb | Overbaked | Pull out when centers are soft |
Pro Checklist for Success:
- ✓ Use a kitchen scale for flour to avoid "packing" the cup.
- ✓ Brown the butter until it smells nutty, not smoky.
- ✓ Don't overmix the flour - stop as soon as the streaks disappear.
- ✓ Always let the cookies set on the pan for 5 minutes.
Mix ins and Variations
Once you've mastered the base Chocolate Chip Cookie Recipe, you can start playing with the flavor layers. I love adding a pinch of flaky sea salt on top right after they come out of the oven; it creates a beautiful contrast with the melted chocolate.
If you're into toasted flavors, you could try adding a teaspoon of cinnamon to the flour. For something different, I've found that these pair well with a caramelized swirl loaf if you're putting together a dessert board.
Decision Shortcut:
- Want them crispier? Bake for an extra 2 minutes.
- Want them fudgier? Use slightly more brown sugar.
- Want them thicker? Chill the dough for 24 hours instead of 30 minutes.
Storage and Scrap Tips
These cookies stay fresh in an airtight container at room temperature for about 3-5 days. If you want them to last longer, you can keep them in the fridge for up to a week, though they'll be much firmer.
For the freezer, I recommend freezing the dough balls rather than the baked cookies. Freeze them on a tray, then toss them into a zip lock bag. You can bake them straight from the freezer - just add 2 minutes to the bake time.
As for zero waste, if you have a bit of browned butter left in the pan, don't wash it away! Scrape it into a small jar and use it to sauté mushrooms or stir into a sauce. It's essentially liquid gold.
Best Ways to Serve
The classic way is with a cold glass of milk, but I like to push it a bit further. Try warming a cookie for 10 seconds in the microwave and topping it with a scoop of vanilla bean ice cream. The way the chocolate melts back into a liquid state is just incredible.
For a cozy night in, these are the perfect companion to a velvety hot chocolate mix. The deep cocoa notes of the drink complement the toasted butter in the cookies.
The Classic Pairing
A cold glass of whole milk or a strong espresso helps cut through the richness of the semi sweet chocolate.
The Dessert Upgrade
Serve a stack of three cookies with a drizzle of salted caramel and a few fresh raspberries for a restaurant style presentation.
Recipe FAQs
Can I use milk chocolate instead of semi sweet?
Yes, milk chocolate works. It will make the cookies noticeably sweeter. If you prefer a different flavor profile, try these classic snickerdoodles.
Do I really need to brown the butter first?
Yes, it is essential for flavor. Browning the butter creates a rich, toasted nuttiness that defines the depth of this specific recipe.
Is it true that I can bake these without chilling the dough?
No, this is a common misconception. Chilling the trays for 30 minutes prevents the cookies from spreading too thin and ensures a chewier center.
How to freeze the dough for later?
Scoop dough into rounded tablespoons on a tray. Freeze until solid, then transfer to a zip lock bag and add 2 minutes to the bake time when ready.
How to avoid overmixing the batter?
Fold the flour mixture in gradually. Stop mixing the moment the dry streaks disappear to keep the cookies tender and soft.
Why should the browned butter cool before adding the egg?
To avoid scrambling the egg. Adding a room temperature egg to hot butter will cook the egg instantly, ruining the glossy emulsion needed for texture.
How long do the finished cookies stay fresh?
3-5 days at room temperature. Keep them in an airtight container to maintain moisture and prevent them from drying out.
Chocolate Chip Cookie Recipe