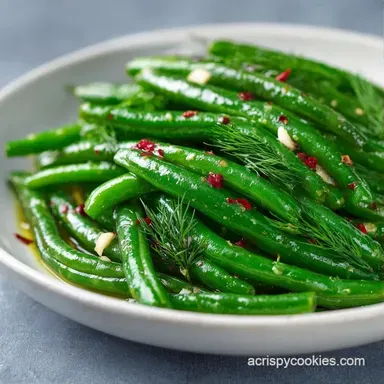
Dilly Beans: Shatter Crisp and Garlicky
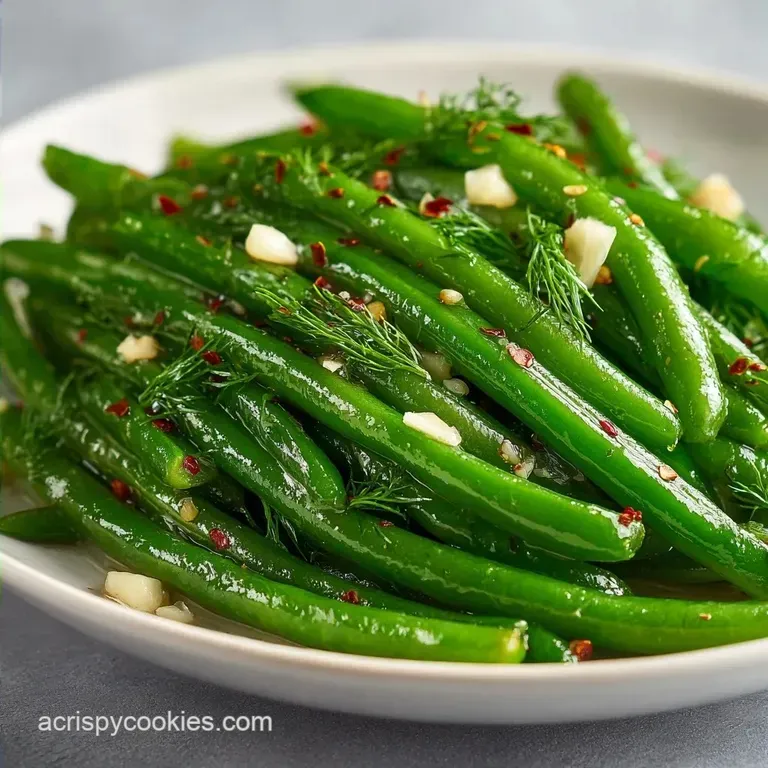
- Time: 15 min active + 48 hours total (includes processing and resting)
- Flavor/Texture Hook: Sharp, acidic snap with a spicy garlic kick
- Perfect for: Bloody Mary garnishes, charcuterie boards, or a salty snack
The smell of boiling vinegar always takes me back to my first attempt at pickling. I remember the steam filling my kitchen, that sharp, nose tingling aroma that tells you something punchy is happening.
I had used oversized, watery garden beans that were far too old, and the result was a jar of limp, sad greenery that tasted more like salty water than a proper pickle. It was a total flop.
I realized then that the bean itself is just as important as the brine. You need that specific, tight snap of a fresh snap bean to stand up to the acid. Now, when I make Dilly Beans, I look for the ones that practically crack when you bend them.
That's the only way to get that satisfying crunch that makes you want to keep reaching back into the jar.
This recipe is all about the contrast. You've got the bright, herbal hit of fresh dill fighting against the pungent heat of smashed garlic and red pepper flakes. It's a sharp, savory experience that cuts right through rich foods.
Whether you're doing a quick refrigerator batch or going the full canning route, these Dilly Beans bring a professional level zing to your pantry.
Dilly Beans
The goal here is to replicate those high end, artisanal pickles you find at specialty markets. I spent a while investigating why some home versions feel "flat" and others pop. The secret is the balance of sugar and salt.
You don't want these to taste like a dessert, but a tiny bit of sugar rounds off the harsh edges of the white vinegar, making the flavor feel more complete without actually tasting sweet.
Most people overcook their beans or use a brine that's too weak. If the acid level is too low, you lose the shelf stability and the crunch. By using a 5% acidity distilled vinegar, we ensure the beans stay preserved and the flavor remains bright.
This is a simple process, but the results feel like something you'd pay way too much for at a farmers market.
For those who don't want to deal with the water bath, the refrigerator method is a breeze. But if you're looking for that classic pantry staple, the 10 minute process is the way to go. Either way, you're ending up with a snack that's salty, tangy, and addictive.
Trust me, once you have a jar of homemade Dilly Beans, store-bought ones just taste like vinegar soaked cardboard.
Why the Snap Stays
- Acidic Firming: The vinegar penetrates the cell walls of the bean, which helps maintain a firmer structure than if they were just salted.
- Cold Pack Method: By pouring boiling brine over raw beans rather than pre blanching them, we avoid overcooking the vegetable.
- Salt Regulation: Pickling salt doesn't contain anti caking agents, which prevents the brine from getting cloudy and keeps the texture clean.
- Filtered Water: Removing chlorine and minerals from the water ensures the dill and garlic flavors aren't muted by chemical tastes.
| Method | Time | Texture | Best For |
|---|---|---|---|
| Refrigerator | 24 hours | Ultra crisp | Short-term snacking |
| Water Bath | 48 hours | Classic snap | Long-term storage |
Component Analysis
| Ingredient | Science Role | Pro Secret |
|---|---|---|
| White Vinegar | Preservation | Use exactly 5% acidity for safety |
| Pickling Salt | Osmosis | Avoid table salt to prevent cloudiness |
| Fresh Dill | Flavor Base | Use the stems; they hold more oil |
| Garlic | Aromatics | Smash, don't mince, to avoid bitterness |
Ingredients
- 3 lbs fresh snap beans, trimmed and cut to fit jars Why this? Tight skin prevents mushiness
- 10 cloves garlic, peeled and smashed Why this? Releases oils without burning
- 10 sprigs fresh dill Why this? Fresh is far punchier than dried
- 10 tsp red pepper flakes Why this? Adds a slow, lingering heat
- 5 cups distilled white vinegar (5% acidity) Why this? Standard for safety and tang
- 5 cups filtered water Why this? Clean taste, no chlorine
- 1/2 cup pickling salt Why this? Pure NaCl for clear brine
- 2 tbsp granulated sugar Why this? Balances the acidity
Substitution Options:
| Original Ingredient | Substitute | Why It Works |
|---|---|---|
| White Vinegar | Apple Cider Vinegar | Fruitier taste. Note: Brine will be amber colored |
| Fresh Dill | Dill Seeds (1 tsp per sprig) | More concentrated flavor. Note: Less visual appeal |
| Granulated Sugar | Maple Syrup (2 tbsp) | Deep, woody sweetness. Note: Slightly alters brine viscosity |
If you're craving more pickled goodness, you might also enjoy these quick pickled green beans for a faster turnaround.
Equipment Needed
You'll need ten pint sized canning jars with lids and rings. A large stainless steel pot is a must for the brine, as aluminum can react with the vinegar and leave a metallic taste. I also recommend a jar lifter if you're canning, as those jars get dangerously hot.
A simple slotted spoon helps you pack the beans without bruising them. If you're doing the water bath method, a wide mouth canning pot that can submerge the jars by at least an inch of water is required.
How to Make It
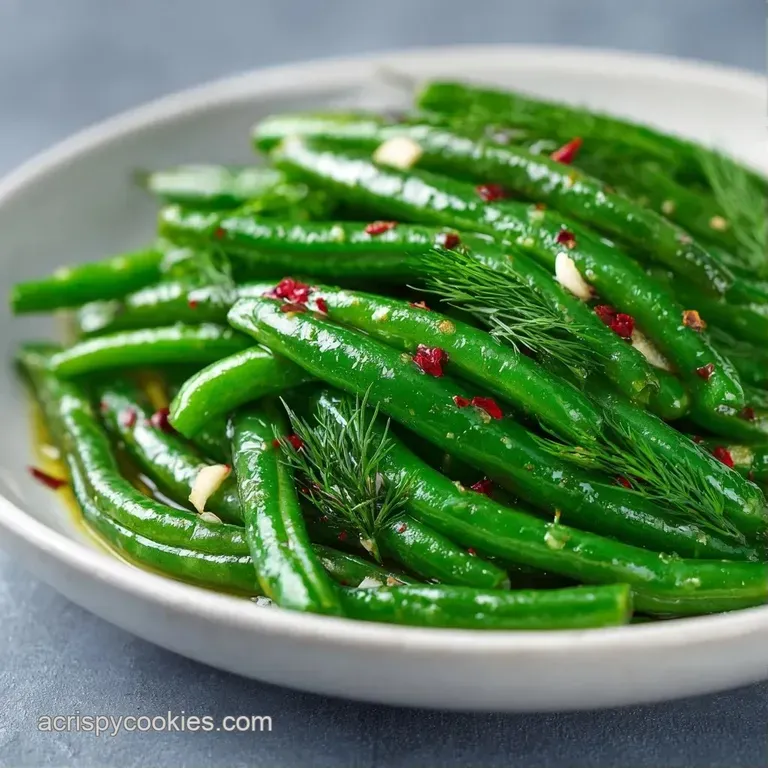
Phase 1: The Prep and Pack
- Clean the beans thoroughly and trim the ends. Note: Use a sharp knife to avoid crushing the stem
- Pack the beans vertically into the jars, pressing them down firmly to maximize space.
- Tuck one smashed garlic clove, a sprig of fresh dill, and a pinch of pepper flakes into the side of each jar. Note: Pack them tight so they don't float
Phase 2: The Brine Boil
- In a large pot, combine the white vinegar, filtered water, pickling salt, and sugar.
- Bring the mixture to a rolling boil over medium high heat, stirring occasionally until the salt and sugar have completely dissolved. Note: Ensure it reaches a full boil for consistency
Phase 3: The Filling
- Carefully pour the boiling brine over the beans, leaving exactly 1/2 inch of headspace at the top of the jar.
- Use a clean utensil to remove any floating air bubbles and wipe the rims clean. Note: A dirty rim prevents a proper seal
Phase 4: The Finish
- For refrigerator Dilly Beans: Let jars cool to room temperature, screw on lids, and refrigerate immediately.
- For canned beans: Process jars in a boiling water bath for 10 minutes, then let sit undisturbed for 24 hours.
Chef's Note: To get a deeper flavor, I sometimes add a teaspoon of mustard seeds to each jar. It doesn't change the "dilly" profile but adds a nice peppery background note.
Troubleshooting Guide
| Issue | Solution |
|---|---|
| Why are my beans soft | This usually happens if the beans were too old or if the brine was too hot for too long. According to Serious Eats using a similar brine technique. |
Debunking Pickling Myths
Some people think you need to blanch your beans before pickling to "set the color." This is a myth. In fact, blanching often removes the snap. The boiling brine is enough to preserve the color and cook the beans just slightly while keeping them crisp.
Another common misconception is that adding more sugar makes the pickles last longer. Sugar is for flavor balance, not preservation. The 5% acidity of the vinegar is what actually does the heavy lifting to keep your Dilly Beans safe for the pantry.
Storage Guidelines
Keep refrigerator Dilly Beans in the coldest part of your fridge. They'll stay great for about 3 months, though the flavor is best after the first two weeks. Canned versions can sit in a cool, dark pantry for up to a year. Once opened, any type of Dilly Beans must be refrigerated.
Don't toss the leftover brine! It's basically a seasoned salt and vinegar punch. I use it as a marinade for grilled chicken or whisk it into a vinaigrette for a cold potato salad. It's a waste to pour that liquid gold down the drain.
Presentation Tips
To make your jars look like they came from a boutique, keep the dill sprigs intact and pressed against the glass. This creates a beautiful green pattern throughout the jar. I also like to add a small slice of fresh lemon to the bottom of the jar for a pop of yellow and a subtle citrus note.
When gifting these, use a simple brown twine wrap around the lid with a handwritten tag. Because the beans are packed vertically, they look organized and clean, which is much more appealing than a jumbled mess of vegetables. These Dilly Beans aren't just a snack; they're a visual treat for your kitchen shelves.
Critical Sodium Levels
3315 mg 3315 mg of sodium per serving (144% 144% of daily value)
The American Heart Association recommends that most adults limit their sodium intake to no more than 2,300 mg per day to maintain heart health.
Strategies to Reduce Sodium in Your Pickled Beans
-
Reduce Pickling Salt-30%
The pickling salt is the primary source of sodium. Reduce the quantity by 25-30% to significantly lower the overall sodium content.
-
Increase Acidity-15%
Add a small amount of lemon juice or increase the vinegar ratio slightly to enhance the 'zing,' which tricks the palate into needing less salt.
-
Amplify Aromatics-10%
Increase the number of smashed garlic cloves or add mustard seeds to provide a more complex flavor profile that offsets the salt reduction.
-
Boost Fresh Herbs
Double the amount of fresh dill to add a bold, herbal punch that enhances the overall taste without adding any sodium.
Recipe FAQs
Can I use store-bought pickle juice to make these?
No, use the official brine. Combining white vinegar, filtered water, pickling salt, and sugar ensures the correct acidity and flavor profile for snap beans.
Why are my dilly beans soft?
The beans were likely too old or the brine was too hot for too long. Using the freshest snap beans possible is the best way to maintain a crisp snap.
How to make these beans spicy?
Tuck red pepper flakes into the side of each jar. This infuses the heat directly into the beans as they soak in the brine.
How to preserve these beans for pantry storage?
Process jars in a boiling water bath for 10 minutes. Let the jars sit undisturbed for 24 hours before moving them to a cool, dark place.
Is it true that I can use regular table salt instead of pickling salt?
No, this is a common misconception. Pickling salt is necessary to prevent the brine from becoming cloudy.
How long do refrigerator dilly beans last?
Store them in the coldest part of the fridge for up to 3 months. They typically taste best after the first two weeks of curing.
Can I reuse the leftover brine?
Yes, it is a versatile seasoning. Use it as a marinade for grilled chicken or whisk it into a vinaigrette for a cold potato salad.
Dilly Beans in 25 Minutes