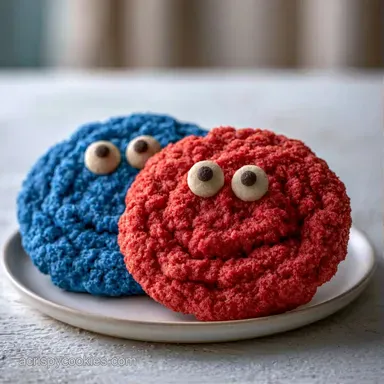
Elmo and Cookie Monster Cookies in 27 Minutes
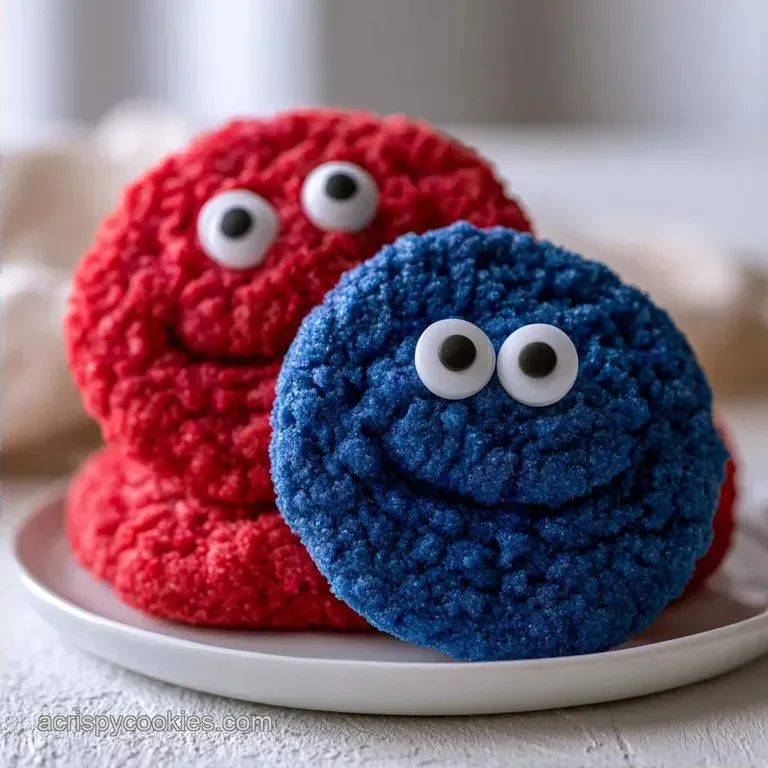
- Time: 15 minutes prep and 12 minutes in the oven
- The Appeal: A rich buttery sugar base with a glossy, colorful finish
- Perfect for: Kids' birthday celebrations or trendy social media posts
- Elmo and Cookie Monster Cookies
- Why Colors Often Fade
- Quick Specs for the Batch
- Gathering Your Baking Essentials
- Essential Tools for the Job
- Step-by-Step Baking Guide
- Fixing Common Baking Glitches
- Mixing Up the Monsters
- Keeping Your Treats Fresh
- Making Them Look Viral
- Truth About Color Baking
- Recipe FAQs
- 📝 Recipe Card
Elmo and Cookie Monster Cookies
I once tried making these using the liquid food coloring from the grocery store. It was a disaster. I ended up with a pale, muddy orange ish red and a blue that looked more like a sad grey. Plus, adding that much liquid made the dough runny, so my cookies merged into one giant, colorful blob on the pan.
If you've dealt with those "ghostly" colors or cookies that lose their shape, this is the fix. We're using high concentration gel colors and a specific ratio of cream to sugar for the frosting. It's all about that visual punch.
You can expect a soft, buttery cookie that actually looks like the characters. These Elmo and Cookie Monster Cookies are designed to be bold, colorful, and sturdy enough to hold those oversized candy eyes without cracking.
Why Colors Often Fade
Gel vs Liquid: Gel dyes are glycerin based, so they don't add extra moisture that makes cookies spread. They stay saturated even after the heat of the oven hits them.
Baking Temps: Over baking burns the sugars and browns the edges, which kills the bright red and blue. Pulling them out at exactly 12 minutes keeps the colors popping.
| Goal | What to change |
|---|---|
| Thicker cookies | Add 2 tbsp flour |
| Brighter hue | Use gel paste |
| Softer bite | Underbake by 1 min |
Quick Specs for the Batch
Getting the visuals right means following a few precision checkpoints. First, make sure your butter is softened to about 65°F so it creams without melting. Second, keep your oven at exactly 350°F (175°C). Finally, set your timer for 10-12 minutes.
Any longer and those vibrant colors start to brown.
| Feature | Fresh Batch | store-bought Mix |
|---|---|---|
| Color Control | High saturation | Limited |
| Texture | Soft & buttery | Often gritty |
| Flavor | Natural vanilla | Artificial |
Gathering Your Baking Essentials
The base relies on all purpose flour and baking powder to achieve a gentle rise, ensuring the cookies remain plump rather than spreading too thin. A combination of granulated sugar and butter produces a dense texture capable of supporting heavy gel dyes without streaks.
For the frosting, mixing powdered sugar with heavy cream results in a thick, stable consistency. This is essential for creating the "furry" texture needed for Cookie Monster; using milk instead may result in a mixture too runny to hold the toothpick marks.
- 1/2 cup (115g) unsalted butter, softened Why this? Gives the dough essential structure and a buttery taste
- 3/4 cup (150g) granulated sugar Why this? Helps achieve sweetness and crisp edges
- 1 large egg Why this? Provides richness and binds ingredients
- 1 tsp (5ml) vanilla extract Why this? Adds a layer of aromatic flavor
- 2 cups (250g) all purpose flour Why this? Ensures the cookie is sturdy yet soft
- 1/2 tsp (3g) baking powder Why this? Creates a modest lift to prevent flattening
- 1/4 tsp (1.5g) salt Why this? Offsets the sweetness of the icing
- 1 tsp (5ml) Royal Blue gel food coloring Why this? A potent hue that stays vivid after baking
- 1 tsp (5ml) Super Red gel food coloring Why this? Maintains a deep red without shifting to orange
- 1 cup (120g) powdered sugar Why this? Necessary for a smooth, pipeable finish
- 2 tbsp (30ml) heavy cream Why this? Ensures a rich feel and firm peaks
- 10 large candy eyeballs
- 5 orange butterscotch discs
- 5 mini chocolate chip cookies
| Original Ingredient | Substitute | Why It Works |
|---|---|---|
| Heavy Cream | Whole Milk | Similar consistency. Note: The frosting will be less stable |
| Unsalted Butter | Salted Butter | Same fat content. Note: Omit the extra salt from the recipe |
| All purpose Flour | 1:1 GF Blend | Replicates the build. Note: Texture may be slightly grainier |
Essential Tools for the Job
While a professional kitchen isn't necessary, these tools make the decorating process much simpler. A stand mixer such as a KitchenAid is excellent for creaming the butter, though you can use an electric hand mixer.
- Baking sheets (two)
- Parchment paper (prevents sticking and browning)
- Mixing bowls (three)
- Silicone spatula (for folding in the colors)
- Piping bag or Ziploc bag with a corner cut off
- Toothpick (for the "fur" texture)
- Wire cooling rack
Step-by-step Baking Guide
Creating the Master Dough
Beat the softened butter and sugar together. Beat for 3 minutes until the mixture is pale and fluffy. Stir in the egg and vanilla extract, then continue beating until the batter is completely smooth.
Mixing Dry Ingredients
In another bowl, whisk together the flour, baking powder, and salt. Slowly incorporate this into the butter mixture, stirring on low speed until a smooth, non-sticky dough forms.
Splitting and Saturating
Split the dough into two equal portions. Fold royal blue gel coloring into the first half and super red gel into the second. Use a spatula to blend out any remaining white streaks.
Shaping and Baking
Scoop 2 tablespoon portions and roll them into balls. Arrange them on your parchment lined sheet, leaving 2 inches of space between each. Bake for 10-12 minutes at 350°F (175°C). Remove them once the edges are set but not brown. Let them cool fully on the pan.
Preparing the Frosting
Whisk the heavy cream and powdered sugar together. Keep mixing until the frosting is thick and glossy. Divide the mixture into two bowls, tinting one blue and the other red.
Decorating Cookie Monster
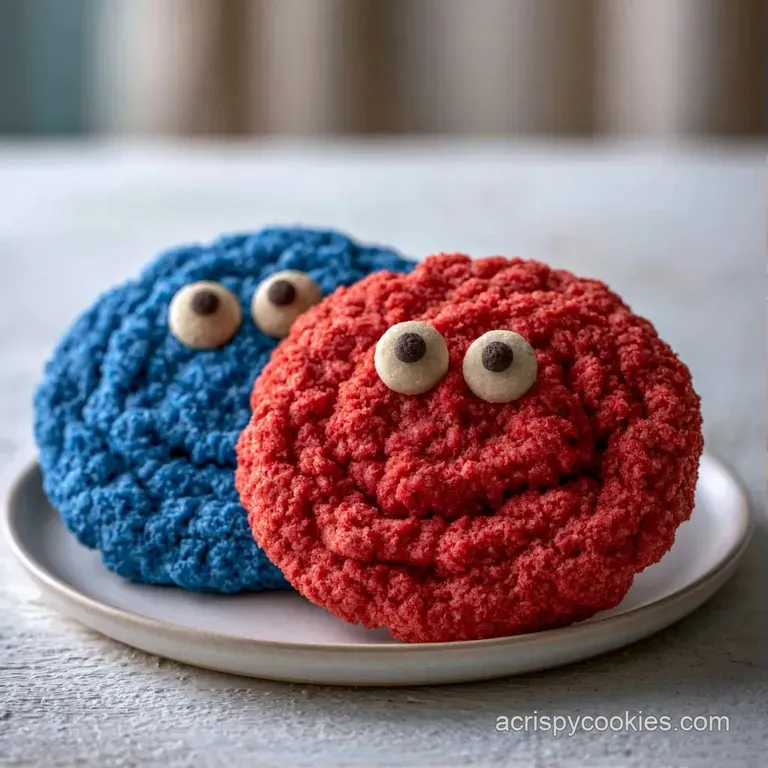
Pipe a large mound of blue frosting onto the blue cookies. Quickly poke the frosting in several directions with a toothpick to create a "furry" appearance. Top with two candy eyes and a mini chocolate chip cookie.
Decorating Elmo
Pipe a mound of red frosting onto the red cookies. Smooth the top into a dome using the back of a spoon. Add two candy eyes and one orange butterscotch disc for the nose.
Fixing Common Baking Glitches
A frequent problem is the "puddle effect," resulting in overly flat cookies. This often occurs because the butter was nearly melted or the oven temperature hadn't reached the target yet. Should the dough seem oily, chill it for 15 minutes before you start scooping.
You might also find the frosting separates or appears curdled. This typically occurs when ice-cold heavy cream is mixed with the sugar. Allow the cream to warm up for 10 minutes beforehand. For a quicker dessert option, check out my Cookies in 22 Minutes recipe.
Fixing Faded Colors
Liquid food colors tend to evaporate during baking, resulting in pale hues. To achieve a more vibrant, saturated look, use gel or paste colors instead.
Managing Dough Spread
Incorporating too much air by over creaming the butter can lead to cookies that collapse. To avoid this, cease mixing the moment the flour is fully integrated.
Stabilizing Runny Frosting
Excessive cream can cause the frosting to slide right off. Correct the consistency by stirring in powdered sugar one tablespoon at a time.
| Problem | Fix |
|---|---|
| Pale colors | Switch to gel dyes |
| Flattened shape | Chill dough 15 mins |
| Runny frosting | Add 1 tbsp powdered sugar |
Mixing Up the Monsters
For a different look, try a "Halloween Monster" theme. Swap the red and blue for neon purple or green gel colors. You can also stir some edible glitter into the frosting for a magical, spooky effect.
To add a hidden surprise, tuck a mini Oreo inside each piece of dough prior to baking. This results in an Oreo stuffed center that perfectly suits the Cookie Monster theme. For an ultimate dessert spread, serve these alongside this Ice Cream No Churn recipe.
These can also be made dairy-free. Simply replace the butter with a vegan butter stick and use full fat canned coconut milk instead of heavy cream. The coconut milk actually makes the frosting slightly stiffer, which is helpful for piping.
Keeping Your Treats Fresh
Store these cookies in a single layer on a tray until the frosting is fully set. Once set, place them in a container. Keep them in the fridge for up to 5 days. The cold temperature keeps the frosting from softening.
If you need them to last longer, freeze the baked cookies before you frost them. Put them in a freezer bag for up to 2 months. Thaw them in the fridge overnight, then frost them fresh.
To avoid waste, any leftover frosting can be used as a dip for fruit. If you have leftover candy eyes, freeze them in a small airtight container for your next baking project.
Making Them Look Viral
To get that "wow" factor, focus on the color balance. I use three specific accents to make these pop: the bright orange of the butterscotch nose, the deep brown of the mini cookies, and the stark white of the candy eyes. These contrast against the saturated blue and red.
Place the cookies on a white platter. This makes the colors look even more intense. For a professional touch, pipe a small ring of white frosting around the base of each cookie. It acts like a frame and makes the character stand out.
Avoid putting the cookies under a heat lamp or in direct sun. The food dyes, especially the red, can fade if they get too warm for too long.
Truth About Color Baking
Some people think adding more food coloring makes the cookie "richer." In reality, too much dye can leave a bitter, metallic aftertaste. Gel colors are powerful, so a teaspoon is usually plenty.
Another myth is that you need to chill the dough for 24 hours to stop spreading. While chilling helps, the real key is the ratio of flour to butter. Following the weights in this recipe prevents the cookies from turning into pancakes.
Finally, don't believe that "natural" dyes work the same way. Beet powder or spirulina often turn brown or grey in the oven. For these Elmo and Cookie Monster Cookies, stick to high-quality gel dyes if you want the characters to be recognizable.
Recipe FAQs
How to get the colors so bright?
Fold gel coloring into the dough. Use Royal Blue and Super Red to ensure the shades stay deep and vibrant during the baking process.
What creates the "furry" texture on Cookie Monster?
Use a toothpick to drag through the frosting. This technique creates a shaggy look on the blue frosting before you add the candy eyes.
Is it true that liquid food coloring is just as effective as gel?
That's a myth. Liquid dyes add excess moisture and often fade, while gel provides concentrated pigment without changing the dough's texture.
Why did my cookies spread too much?
Use butter that is softened, not melted. Overly soft butter causes the dough to collapse; you can apply this same temperature control to our Halloween sugar cookies for better shapes.
Can I substitute the butterscotch noses?
Stick with butterscotch discs for Elmo. Their orange color and firm texture provide the most authentic look and structural stability.
Elmo And Cookie Monster Cookies