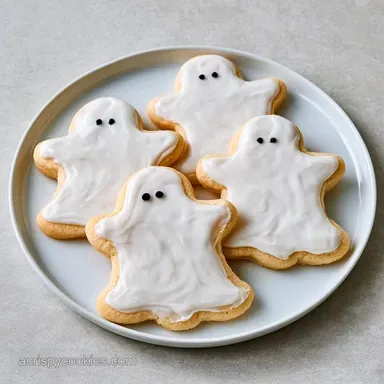
Ghost Sugar Cookies with White Glaze
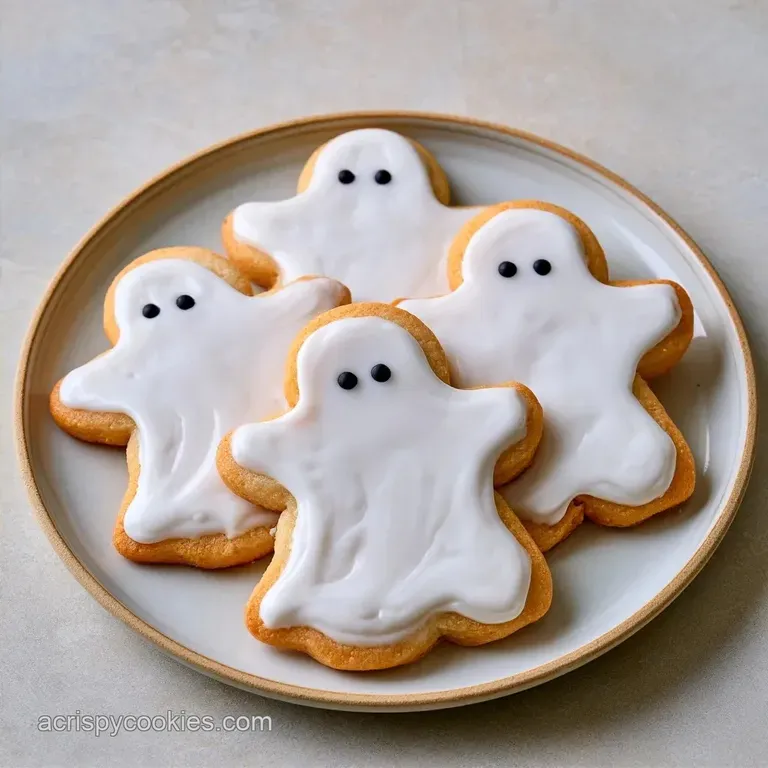
- Time: 20 min prep + 60 min in the fridge
- Taste & Feel: Buttery snap with a velvety white glaze
- Perfect for: Halloween parties and kid friendly baking
Nothing kicks off October quite like the aroma of vanilla and browned butter wafting through the kitchen. I recall a year when I hurried my spooky baking, only to produce a batch of "ghosts" that resembled puddles of white milk. It was such a failure that I nearly quit making cutout cookies for good.
I eventually discovered that the culprit was the ratio of sugar to flour. Many recipes rely on too much sugar, which melts during baking and ruins the silhouette. These Ghost Sugar Cookies use a precise proportion to keep those eerie shapes crisp.
The result is a treat with a tender center and a defined edge. They are specifically crafted for frosting, offering a flat, smooth surface perfect for a vibrant, festive look.
Why These Cookies Stay Shaped
Cornstarch Boost: Adding a bit of starch reinforces the dough structure. This prevents the cookies from spreading too much.
The Cold Start: Chilling the dough for an hour slows down the butter melt. This locks the ghost shape in place before the heat hits.
| Method | Time | Texture | Best For |
|---|---|---|---|
| Fast (Drop) | 20 mins | Chewy/Rounded | Quick snacks |
| Classic (Cut out) | 92 mins | Smooth/Structured | Decorating |
Right then, let's look at what we're actually putting in the bowl.
Quick Recipe Details
These cookies are all about the visual pop. To get that viral look, focus on the color balance. I love using a stark white glaze contrasted with deep black chocolate chips for the eyes. For a third color accent, add a tiny dot of orange icing at the bottom for a "pumpkin patch" vibe.
The Ingredient Breakdown
| Component | Purpose | Substitute Notes |
|---|---|---|
| All purpose Flour | Structure | Almond flour works but makes them denser |
| Cornstarch | Prevents spreading | Arrowroot powder is a good swap |
| Unsalted Butter | Flavor/Tender crumb | Coconut oil (solid) for dairy-free |
| Powdered Sugar | Smooth glaze | Icing sugar (same thing) |
For the Ghost Dough
- 2 ¼ cups (280g) all purpose flour
- 2 tbsp (16g) cornstarch Why this? Stops the cookies from flattening
- ½ tsp (3g) baking powder
- ¼ tsp (1.5g) salt
- ¾ cup (170g) unsalted butter, softened
- ½ cup (100g) granulated sugar
- 1 large egg, room temperature
- 2 tsp (10ml) pure vanilla extract
For the Ghostly Glaze
- 1 cup (120g) powdered sugar, sifted
- 2 tbsp (30ml) whole milk
- ½ tsp (2.5ml) pure vanilla extract
For the Faces
- 15 mini chocolate chips
Essential Kitchen Tools
While you don't need professional equipment, some tools definitely simplify the job. A ghost-shaped cookie cutter is ideal, though you can freehand the shapes with a knife. To cream the butter and sugar, I prefer a stand mixer, but a hand whisk is a viable alternative if you have the strength.
Parchment paper is a must here. These cookies often stick to greased baking sheets, and a torn bottom will easily ruin your ghost.
Step by step Baking
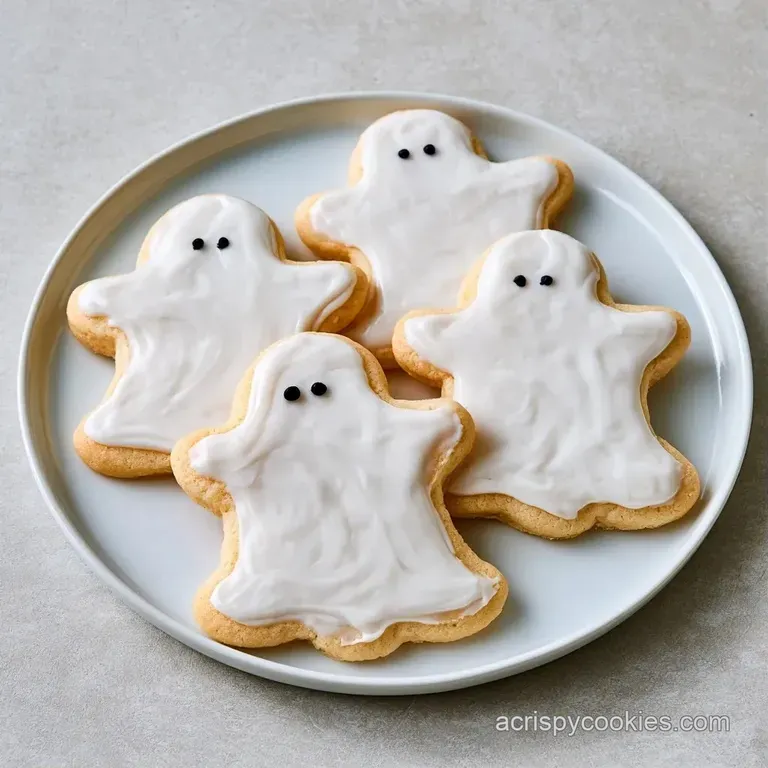
Phase 1: The Dough Base
- Cream the softened butter and granulated sugar until smooth and pale. Note: Avoid over-beating to prevent the cookies from puffing too much
- Blend in the egg and vanilla extract until the mixture is fully incorporated.
- Combine the flour, cornstarch, baking powder, and salt.
- Slowly stir the dry ingredients into the wet mix on low speed until a soft dough forms.
- Flatten the dough into a disc, wrap it in plastic, and refrigerate for 1 hour.
Phase 2: Shaping and Baking
- Preheat your oven to 350°F (180°C).
- On a floured surface, roll out the chilled dough to 1/4 inch thickness.
- Cut into ghost shapes and place on a parchment-lined sheet, leaving 2 inches of space.
- Bake for 12 minutes until the edges are just barely set but still pale.
- Let the cookies cool completely before you begin glazing.
Phase 3: Decorating
- Stir the powdered sugar, milk, and vanilla together until smooth.
- Dip the top of each cookie into the glaze or apply it using a spoon.
- While the glaze remains wet, press in two mini chocolate chips for eyes.
Fixing Common Baking Glitches
Dough Spreads Too Much
This usually means the butter got too warm. If your dough feels tacky, pop the cut out ghosts in the freezer for 5 minutes before they go in the oven. This "flash freeze" keeps the edges crisp. It's a similar issue to what happens with Classic Chocolate Chip Cookies recipe if the dough isn't chilled.
Glaze Is Too Runny
If your glaze is sliding off the cookie, whisk in more powdered sugar one tablespoon at a time. You want a consistency that holds a soft peak. If it's too thick, a tiny drop of milk will thin it out.
Cookies Sticking to Cutter
Dust your cutter with flour between every single cut. If the dough sticks, you'll get jagged edges. If they're really stubborn, use a thin offset spatula to lift them onto the pan.
Chef's Tip: For a brighter white ghost, use clear vanilla extract instead of the brown stuff. It keeps the glaze looking snowy.
Plating and Garnish Ideas
To make these Ghost Sugar Cookies look viral ready, arrange them on a dark slate or a black platter. The contrast makes the white glaze pop. I like to scatter some orange sprinkles around the base to give it a festive feel.
For a more "haunted" look, you can add a tiny smear of raspberry jam to the corners of the mouth. It adds a bit of a spooky, colorful accent without overloading the cookie.
Keeping Your Cookies Fresh
Keep these in an airtight jar on the counter for up to 5 days. However, if you opted for a milk-based glaze, refrigerating them for about a week is a safer option.
To freeze, flash freeze the cookies on a baking sheet for 20 minutes before transferring them into a freezer bag. They will remain fresh for 2 months. When you're ready to enjoy them, allow them to soften at room temperature for 30 minutes.
Don't throw away any remaining glaze. It works perfectly as a topping for fresh fruit or a slice of pound cake.
New Flavor Ideas
Fall Spice Variation: Stir a pinch of nutmeg and cinnamon into the flour. This adds a cozy, seasonal warmth to every bite.
Citrus Burst Twist: Replace the vanilla in your glaze with a teaspoon of lemon extract. The zesty brightness balances the rich butter, creating a lighter taste.
Cocoa Option: To make a darker ghost, give my Halloween chocolate cookies a try for a different aesthetic.
- - For a stiffer set
- chill for 2 hours instead of 1.
- - For a brighter white
- use clear vanilla extract.
- - For added "bounce"
- mix in an extra pinch of cornstarch.
Trust me: the chilling phase is the only thing preventing your cookies from becoming blobs. Be patient, perfect those colors, and your Ghost Sugar Cookies will be the hit of the party. Time to start baking!
Recipe FAQs
How long do ghost sugar cookies bake?
Bake them for 12 minutes.
Tip: watch for the edges to set without browning too much.
What is the calorie count per cookie?
Each ghost cookie contains 183 kcal.
Tip: use a kitchen scale to ensure consistent sizing.
How to stop these cookies from puffing up?
Beat the butter and sugar until smooth but avoid over-whipping.
Tip: stick to low speed when incorporating dry ingredients.
Is it true acorn flour works as a substitute here?
That's a myth. This recipe requires all-purpose flour and cornstarch for the specific structure.
Tip: avoid replacing the cornstarch to keep the soft texture.
Which other treats complement these cookies?
These pair well with colorful options like candy corn cookies for a festive platter.
Tip: arrange them on a dark tray to make the white icing stand out.
Ghost Sugar Cookies with Cornstarch