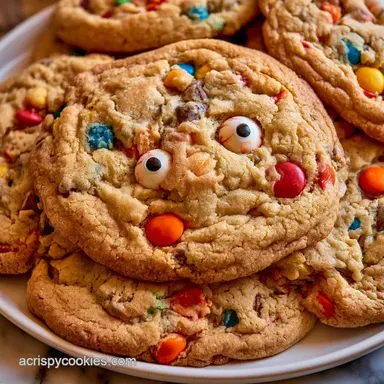
Halloween Monster Cookies: Chewy Oat Base
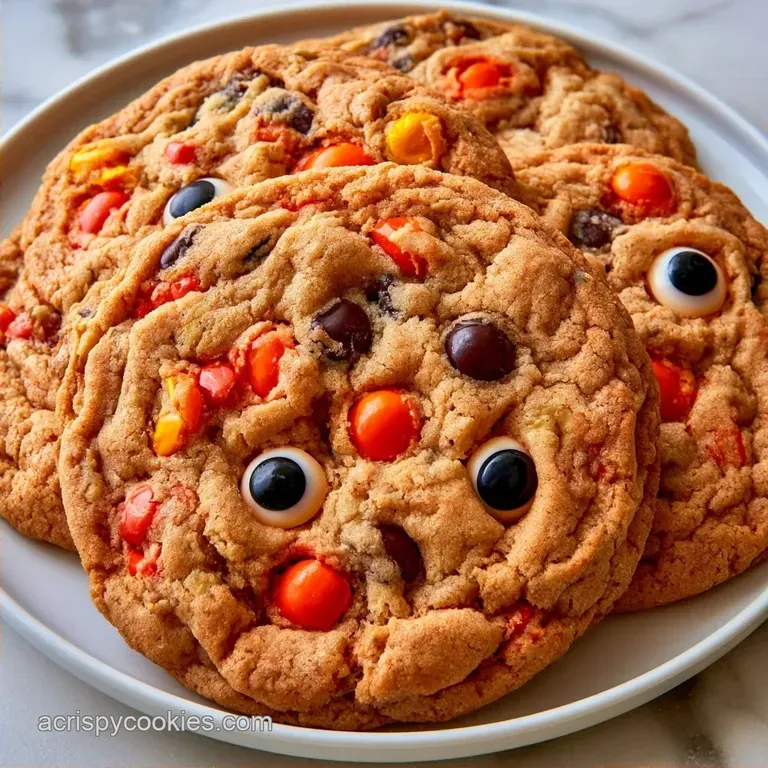
- Duration: 15 min active + 10 min baking
- Profile: Chewy oat base with colorful candy crunch
- Great for: School treats, children's parties, or a festive October bake
The scent of vanilla and browned butter is always the first thing I notice, but that neon green glow is what truly makes them stand out. I used to use liquid food coloring, but it frequently left the batter too thin and the cookies flat. Switching to a concentrated gel completely changed the results.
The gel coloring is the key ingredient here. It delivers a vivid, almost luminescent green without adding the extra moisture that can ruin the texture. If you stick with liquid dyes, you'll likely end up with flat puddles on your tray and a washed-out lime color.
You can expect a treat full of contrasting textures. We have the chewiness of quick oats, the snap of M&Ms, and the richness of peanut butter chips. These Halloween Monster Cookies are intended to look whimsical and chaotic, so don't stress if they aren't perfectly round.
Halloween Monster Cookies
But why do these actually stay soft? Most people think it's just the butter, but there's more going on.
Brown Sugar Balance: The molasses in brown sugar attracts moisture, which keeps the centers soft even after they cool.
Oat Structure: Quick oats create a denser crumb that supports all those heavy candy mix ins without the cookie collapsing.
Quick Monster Cookie Specs
When you're baking for a crowd, knowing the timing is everything. I've found that these bake faster than traditional chocolate chip cookies because of the sugar ratio.
| Feature | Fast Method | Classic Method |
|---|---|---|
| Mixing Time | 5 minutes | 15 minutes |
| Texture | Soft and gooey | Crisp edges |
| Flavor | Bold candy sweetness | Balanced butter/sugar |
It's a toss up depending on what you like. I usually go with the fast method because the "chaos" is part of the charm.
What Makes These Monsters
It's the assortment of chips that gives these their "monster" character. I love combining semi-sweet, peanut butter, and Halloween-themed M&Ms for a vivid look.
| Component | Purpose | Substitute Notes |
|---|---|---|
| Gel Food Color | Bold color | Liquid dye: introduces too much water |
| Quick Oats | Chewy feel | Rolled oats: more rustic and less uniform |
| Brown Sugar | Depth and moisture | White sugar: results in flatter, crispier cookies |
| Peanut Butter Chips | Creamy saltiness | White chocolate chips: sweeter and less salty |
Alright, here is the complete list of ingredients.
- 1/2 cup (115g) unsalted butter, softened Why this? adds richness and supports the creaming process
- 3/4 cup (150g) packed light brown sugar Why this? provides a chewy consistency
- 1/4 cup (50g) white granulated sugar
- 1 large (50g) egg, room temperature
- 1 tsp (5ml) vanilla extract
- 1 1/2 cups (190g) all purpose flour
- 1/2 tsp (3g) baking soda
- 1/4 tsp (1.5g) salt
- 1 cup (90g) quick cooking oats
- 1 tsp (5ml) green gel food coloring
- 1/2 cup (90g) semi sweet chocolate chips
- 1/2 cup (90g) Halloween-colored M&Ms
- 1/2 cup (90g) peanut butter chips
- 16-32 edible candy eyeballs
- 2 tbsp (15g) orange sanding sugar
If you don't have peanut butter chips, white chocolate is a great substitute, though you'll miss that salty kick. Any brightly colored M&Ms work, but orange and purple really nail the theme.
Tools for the Job
While a basic kitchen works, these specific tools streamline the process. I always rely on a cookie scoop to ensure every cookie bakes at the same rate.
- Large mixing bowl
- Electric mixer (handheld or stand model)
- Baking sheets
- Parchment paper
- Cookie scoop (approx 2 tbsp size)
- Spatula for folding
I highly suggest using parchment paper. Because of the high sugar content, these cookies tend to stick to the pan.
Making the Monster Cookies
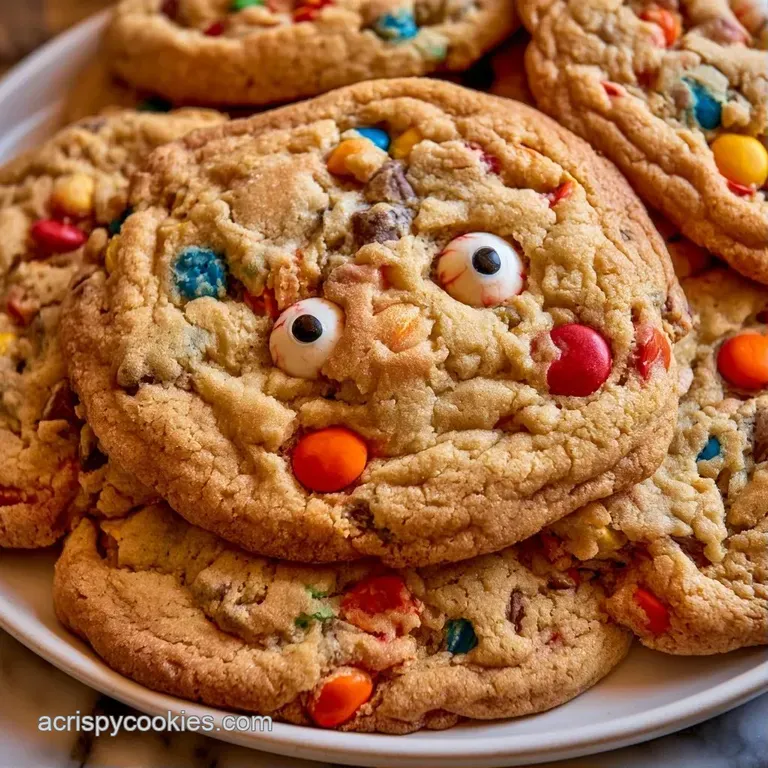
Time to get started. We need to keep the air trapped in the dough so these don't flatten out into green pancakes.
- Set your oven to 350°F (175°C) and prepare your baking trays by lining them with parchment.
- In a large bowl, beat the room-temperature butter with the brown and white sugars until the mixture is pale and fluffy.
- Mix in the egg, vanilla extract, and green food coloring until the color is uniform and the batter looks velvety.
- Combine the flour, baking soda, and salt in a separate bowl.
- Using a low speed, slowly incorporate the dry ingredients into the wet batter until the white streaks disappear. Note: Over mixing here makes the cookies tough
- Stir in the quick oats with a spatula.
- Gently fold in the M&Ms, peanut butter chips, and semi-sweet chocolate chips.
- Scoop rounded portions of dough onto the trays, leaving 2 inches of space between them.
- Press 1 to 3 candy eyeballs into the top of each mound and sprinkle with orange sanding sugar.
- Bake for 10-12 minutes until the perimeter is firm and the middle remains a bit soft.
Let them cool on a wire rack for at least 5 minutes. If you move them too soon, they might break.
Chef's Note: If you want a more dramatic look, add a tiny drop of blue food coloring to the center of the eyeball before pressing it in for a "bloodshot" effect.
Fixing Common Cookie Issues
Even experienced bakers run into trouble. For Halloween Monster Cookies, the primary challenges typically involve temperature and cookie spread.
Stopping the Spread
If the dough is overly soft, your cookies will flatten. This often occurs when starting with butter that is too warm.
Fixing Pale Dough
Sometimes the green hue appears faded after baking. This happens when the oven temperature is too low, leading to a sluggish bake and loss of color.
Preventing Eyeball Melting
Excessive heat can cause candy eyes to slip or melt into the dough. Press them in securely, but avoid pushing them completely through the surface.
| Problem | Fix |
|---|---|
| Cookies are too flat | Chill scooped dough for 30 mins |
| Color is dull | Use a high-quality gel brand |
| Eyes are sliding | Press deeper into the dough mound |
As for the texture, a crumbly result usually indicates too much flour. Be sure to spoon and level your flour rather than packing it into the measuring cup.
Fun Monster Variations
The beauty of Halloween Monster Cookies is that they're meant to look weird. You can change the color or the candy to fit your theme.
For a different look, try making Elmo and Cookie Monster Cookies by splitting the dough and using red coloring for half.
Decision Shortcut:
- Extra color? → add 1/4 tsp more gel
- Chewier bite? → use dark brown sugar
- Nut free? → swap PB chips for white choc
If you want to go "Goth," swap the green coloring for black gel. Use white chocolate chips and white candy eyes for a high contrast, spooky look. You could also try making Halloween Monster Sugar Cookies by omitting the oats and adding a bit more flour for a smoother base.
Storage and Waste Tips
These cookies stay soft for a while because of the brown sugar. Keep them in a sealed container at room temperature for 3 to 4 days.
If you're making these for a big party, you can freeze the raw dough balls. Just freeze them on a tray first, then toss them into a bag. Bake from frozen, just add 2 minutes to the clock.
For zero waste, don't throw away the leftover sanding sugar. It's great for rimming a glass of cider or sprinkling over a pumpkin cake. If you have extra candy eyeballs, keep them in a small jar in the fridge for future decorating.
Spooky Serving Ideas
Presentation is everything with viral treats. I like to arrange these on a dark platter to make the green and orange colors pop.
You can pair these with my Halloween Cookies Chocolate Chip for a full spooky dessert spread. To really lean into the theme, serve them with a "Monster Milk" drink - cold milk with a drop of green food coloring and a straw.
Another fun idea is the "Monster Platter." Group the cookies around a bowl of orange dip or a pile of candy corn. The contrast between the chewy Halloween Monster Cookies and the crunchy candy makes for a great party centerpiece.
Right then, you've got the tools and the tips. These Halloween Monster Cookies are all about the fun of the process. Don't stress if they look a bit lumpy - that just makes them look more like real monsters. Happy baking!
Recipe FAQs
How long do these cookies stay fresh?
3 to 4 days. Store them in a sealed container to maintain their softness.
Can I freeze the dough?
Yes, for later use. Freeze raw dough balls on a tray first, then transfer them to a bag.
Why did my monster cookies come out too hard?
Overbaking is the likely cause. Pull them from the oven when edges are set but centers still look slightly soft. If you enjoyed this texture control, apply the same logic to our classic chocolate chip cookies.
Is it true that liquid food coloring ruins the dough consistency?
That's a myth. Using green gel food coloring ensures a vivid hue without adding excess moisture to the batter.
How to bake these from frozen?
Add 2 minutes to the clock. Place frozen dough balls on the sheet and bake as usual.
When should I add the candy eyeballs?
Immediately after scooping. Press 1 to 3 eyeballs into the top of each mound before baking.
Which sugar makes these cookies chewy?
The light brown sugar. It provides the moisture needed for a soft, chewy texture.
Should I use cold butter instead of softened?
Surprisingly, no. Softened butter is essential to cream with the sugars for a pale, fluffy base.
Halloween Monster Cookies in 25 Minutes