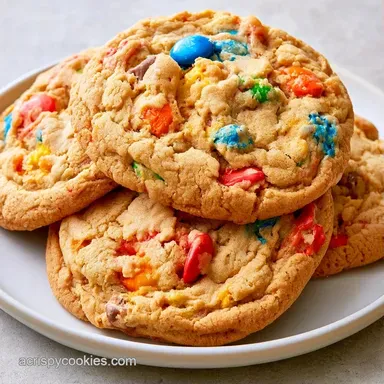
Brown Butter Leftover Halloween Candy Cookies
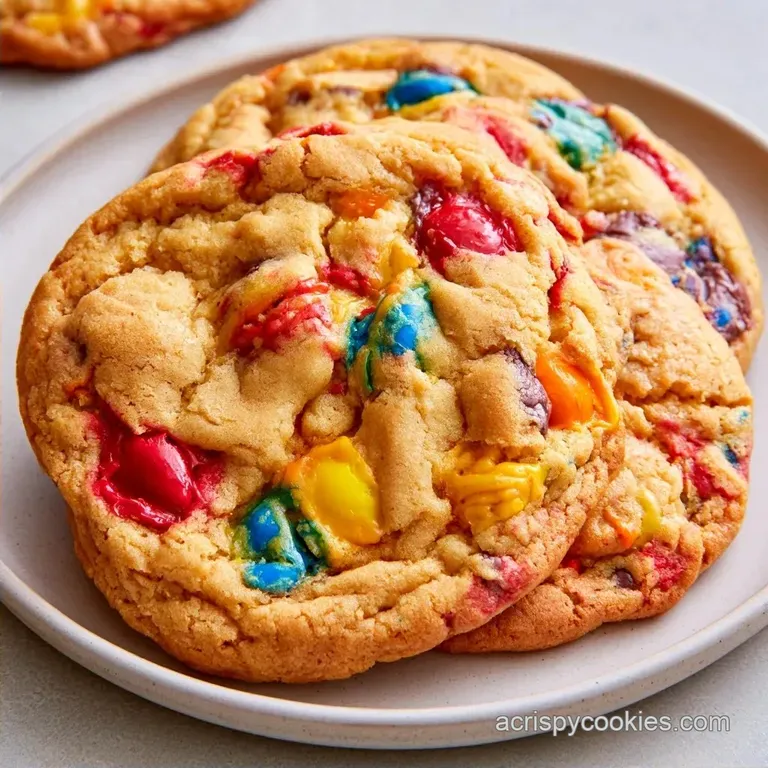
- Time:15 minutes active + 12 minutes baking
- Flavor/Texture Hook: Chewy centers with toasted, nutty edges
- Perfect for: Using up the candy bowl and party treats
Leftover Halloween Candy Cookies
Imagine your kitchen counter on November 1st. You have a mountain of miniature bars, neon gummies, and chocolate discs that you just can't face eating plain. The air still smells like autumn, but the sugar rush from the holiday is starting to fade.
That's where this recipe comes in. We're turning that candy hoard into something with a professional, bakery style finish. I once tried just tossing candy into a standard sugar cookie, but they turned out flat and overly sweet.
The trick is the browned butter. It adds a depth that balances the sugar, creating a rich base for your Leftover Halloween Candy Cookies. You'll get a cookie that's chewy, visually striking, and actually tastes like a treat rather than a sugar bomb.
Texture and Taste Tips
- Browned Butter: Toasting the butter removes water, which stops the cookies from spreading too much. This keeps the centers thick and chewy.
- Dark Brown Sugar: The extra molasses in the dark brown sugar adds a slight bitterness that offsets the candy's sweetness.
- Salt Balance: Sea salt helps the different candy flavors pop without making the whole thing taste salty.
Serious Eats' testing shows that browning butter concentrates the flavor while removing moisture, which is exactly why these stay thick.
Actually, using a shortcut candy mix is very different from using high end baking chocolate.
| Feature | Fresh Baking Chocolate | Candy Mix Shortcut | Impact |
|---|---|---|---|
| Flavor Profile | Single, deep note | Random, eclectic mix | Candy is more exciting |
| Texture | Consistent snap | Varying (chewy/melty) | Better contrast |
| Cost | Higher | Free (leftovers) | Massive savings |
Your Ingredient List
The magic of this recipe lies in the contrast between the toasted, nutty dough and the bright colors of the candy.
| Ingredient | Role | If You Don't Have It |
|---|---|---|
| Browned Butter | Depth and body | Coconut oil (less nutty) |
| Dark Brown Sugar | Richness and chew | Light brown sugar (sweeter) |
| All Purpose Flour | Base framework | 1:1 gluten-free blend |
| Assorted Candy | Key flavor | Semi sweet chocolate chips |
What You'll Need
- 1 cup (225g) unsalted butter, browned and cooled Why this? Delivers a toasted, nutty aroma
- 3/4 cup (150g) packed dark brown sugar Why this? Adds moisture and a chewy texture
- 1/2 cup (100g) granulated sugar Why this? Encourages those crispy edges
- 1 large egg (50g) Why this? Holds the ingredients together
- 1 tsp (5ml) vanilla extract Why this? Enhances the overall flavor
- 2 cups (250g) all purpose flour Why this? Creates the necessary foundation
- 1 tsp (5g) baking soda Why this? Ensures the cookies rise properly
- 1/2 tsp (3g) sea salt Why this? Contrasts the sugary notes
- 2 cups (300g) assorted leftover Halloween candy, roughly chopped Why this? The star ingredient
You can use a vegan substitute for the butter, although the distinctive toasted scent will be absent. If opting for coconut oil, just melt it and let it cool down first.
Essential Kitchen Tools
Basic equipment is all you need, though a few tools make the process smoother. I typically use a stand mixer, but a hand mixer is a great alternative.
- Small saucepan (for browning butter)
- Whisk
- Large mixing bowl
- Spatula
- Parchment paper
- Baking sheets
- Cookie scoop (about 2 tablespoons)
Make sure your baking sheets are fully cooled before adding the dough. If the pans are still hot, the butter will melt immediately, and your cookies will flatten out into pancakes.
Step by step Guide
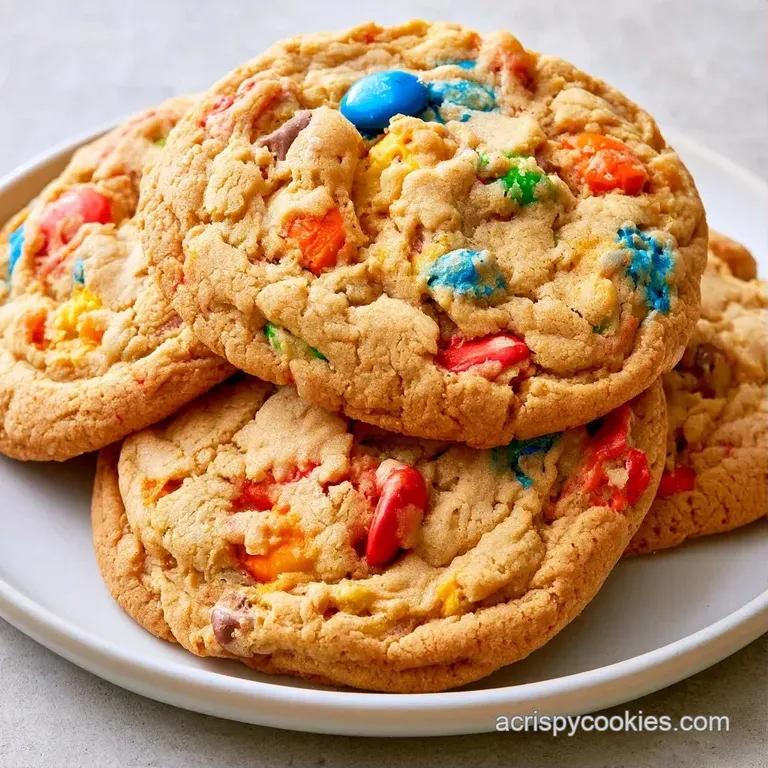
Browning the Butter
Set the butter in a saucepan over medium heat. Melt and stir continuously until it foams and tiny brown bits form at the base. When it smells nutty and reaches a deep golden mahogany, remove from heat and let it cool for 10 minutes.
Mixing the Base
Cream the browned butter and both sugars until smooth. Mix the egg and vanilla extract into the batter until it is pale and velvety.
Combining Dry Ingredients
In a separate bowl, combine the flour, baking soda, and salt. Using a spatula, gradually stir these dry components into the butter mixture until just combined. Note: Don't overmix or the cookies will be tough.
Adding the Candy
Carefully fold in the chopped leftover Halloween candy. A light touch ensures the pieces stay intact and the colors don't bleed into the dough.
Preparing the Pan
Scoop rounded tablespoons of dough onto parchment-lined sheets, leaving 2 inches of space between them to allow for spreading.
The Bake
Bake for 10–12 minutes at 350°F (175°C). They are ready when the edges are set and lightly golden.
The Final Set
Allow the cookies to rest on the tray for 5 minutes so they can firm up before transferring them to a wire rack.
Chef's Note: For the best look, press a few extra pieces of colorful candy onto the tops of the cookies immediately after they come out of the oven.
Texture and Taste Tips
If you're looking for a different vibe, you might try my Candy Corn Cookies for a more focused flavor. For this specific batch, the variety is what makes it work.
To keep the look viral ready, focus on color balance. Use orange, purple, and neon green accents. Add these specific colors during the "Adding the Candy" step, and save a few of each for the "Final Set" to garnish the tops.
- Extra chew? → Use an extra 2 tbsp of brown sugar
- More crunch? → Add 1/2 cup chopped walnuts
- Less sweet? → Increase sea salt to 3/4 tsp
Troubleshooting Your Bake
When making Homemade Leftover Halloween Candy Cookies, the biggest issue is usually the dough consistency. Because we use browned butter, the fat behaves differently than softened butter.
Preventing Over Spreading
If the dough feels too oily or soft, put it in the fridge for 30 minutes. This re solidifies the fats. It's a huge help for keeping the cookies thick.
Stopping Candy Bleed
Some gummies or hard candies can leak color. To stop this, chop them into smaller, uniform pieces. If you see too much bleeding, you might prefer the structure of Halloween Monster Cookies.
Avoiding Burnt Bottoms
Check your oven racks. If the bottom is browning too fast, move the rack to the center or upper middle position.
| Problem | Fix |
|---|---|
| Cookies are too flat | Chill dough for 30 mins |
| Candy sinks to bottom | Stir in candy gently at the end |
| Edges are burnt | Lower oven by 10°F |
| Center is raw | Bake 2 more mins |
Keeping Cookies Fresh
Store these in an airtight jar on your counter for up to 4 days. The brown sugar ensures they remain chewy.
For a longer shelf life, keep the baked cookies in the freezer for up to 2 months. Use parchment dividers to keep them from sticking together. When you're ready to eat one, microwave it for 10 seconds to bring back that gooey, fresh-from-the-oven texture.
Don't let any small scraps of dough go to waste, bake a tiny "test" cookie instead. This is the ideal way to see if your oven is running hot.
Flavor and Mix Options
You can easily turn this into a Leftover Halloween Candy Monster Cookies version by adding 1/2 cup of peanut butter to the creamed butter and sugar. It adds a salty creaminess that works well with chocolate.
If you prefer a different format, you can make Leftover Halloween Candy Cookie Bars. Just press the dough into a 9x9 inch pan and bake for 20–25 minutes.
Adapting the Mix
- The Chocolate Heavy Mix: Use only miniatures like Snickers and Twix for a rich, fudgy result.
- The Neon Mix: Focus on Skittles and Starbursts for a bright, tart contrast.
- The Brown Butter Twist: For Brown Butter Halloween Candy Cookies, ensure the butter is cooled completely before mixing to avoid melting the sugars too early.
Quick Leftover Halloween Candy Cookies are great, but if you have time, let the dough sit in the fridge overnight. This deepens the flavor of the browned butter.
Best Ways to Serve
These are visually loud and colorful, so keep the presentation simple. Arrange them on a dark platter to make the neon candies pop.
They pair well with a cold glass of milk or a tart coffee to balance the richness. If you're serving them at a party, stack them in a pyramid with a few whole candies scattered around the base for a fun look.
Simple Leftover Halloween Candy Cookies don't need much, but a light dusting of powdered sugar can make them look like they came from a boutique bakery. Just remember to let them cool completely first, or the sugar will melt into the candy.
Recipe FAQs
How to brown the butter for this recipe?
Melt butter in a saucepan over medium heat while whisking constantly. Remove it from heat once you see brown specks and smell a nutty aroma.
Can I use only chocolate candy?
Yes, you can use all chocolate candies for a richer flavor. Just make sure to chop them roughly so they distribute evenly.
Where should I store these?
Keep these in a plastic tub on your kitchen counter. They pair perfectly with a cup of hot chocolate mix for a cozy treat.
Is it true that browning butter makes cookies cakey?
No, and here's why. Browned butter removes water and toasts the milk solids to create a chewier, nuttier result.
Why is my dough too soft?
You might have added the browned butter while it was still hot. Let the butter cool for 10 minutes before creaming it with the sugars.
What are the signs they are done?
Look for edges that are set and lightly golden. The centers will still look slightly soft, but they firm up as they cool.
Should I melt the candy?
No, just chop the candy into rough pieces. Stirring them in gently keeps the chunks distinct.
What happens if I use melted chocolate instead of candy?
The dough will become too thin and spread across the pan. Stick to chopped solid candy to maintain the correct cookie structure.
Leftover Halloween Candy Cookies: 27 Min