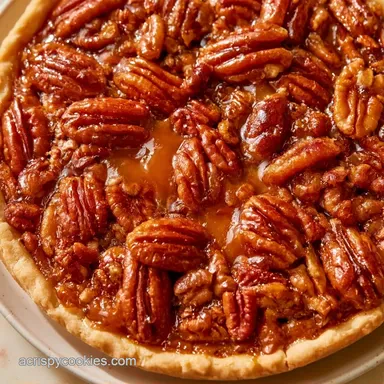
Easy Pecan Pie Bars with Shortbread Crust
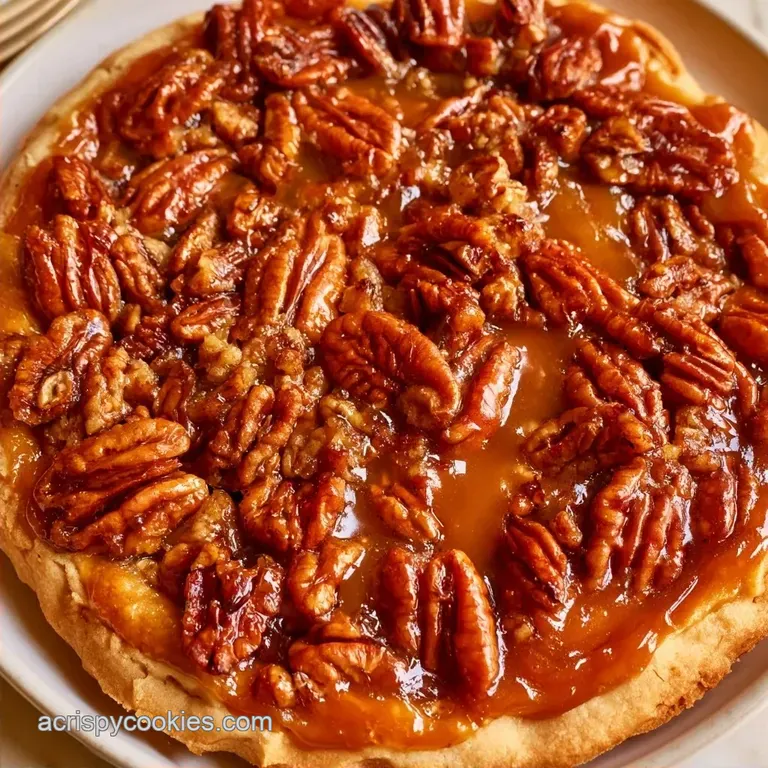
- Time: 10 min active + 35 min baking
- Flavor/Texture Hook: Buttery, salty snap with a gooey caramel finish
- Perfect for: Quick holiday dessert or fall parties
The smell of toasted pecans and browned butter hitting a hot oven is enough to make anyone hungry. But let's be real, traditional pecan pie is a headache. You spend an hour chilling dough, only for the crust to shrink down the sides of the pan , even worse, end up with a soggy bottom that doesn't hold its shape.
It's frustrating when the center is still a puddle while the edges are overcooked.
I got tired of the fuss, so I switched to a pressed base. No rolling pins, no chilling the dough for hours, and zero shrinkage. You get the same concentrated autumn flavor, but in a handheld format that actually stays put on the plate.
These Easy Pecan Pie Bars give you that classic flavor profile without the pastry stress. We're talking about a buttery shortbread that supports a heavy, caramel like filling. It's a direct fix for the "leaky pie" problem.
Easy Pecan Pie Bars
The reason this version works is the structural change. Instead of a flaky pie crust that's prone to tearing, we use a dense shortbread. This base acts like a shield, preventing the syrup from soaking through and making the bottom mushy.
- Pressed Crust
- Using melted butter and flour creates a tight crumb that holds the filling without leaking.
- Pre baking
- Setting the crust first creates a barrier, which Serious Eats' testing suggests is the best way to keep a base crisp when adding wet toppings.
- Sugar Balance
- Mixing light brown sugar with corn syrup ensures the filling sets with a chew rather than becoming a hard candy.
Essential Tools
You only need a few basic tools to get started and make cleanup a breeze.
- 9x9 inch square baking pan (metal is ideal for heat distribution)
- Parchment paper (essential for lifting the bake out easily)
- Two mixing bowls (one large, one medium)
- A whisk and a sturdy spatula
- Measuring cups and spoons
Be sure your pan is exactly 9x9. Using a larger 9x13 pan will result in a layer that is too thin, which may cause the filling to overbake and become brittle.
Understanding the Ingredients
This recipe is all about balancing salt and sugar. Because the syrup and brown sugar introduce so much sweetness, the salt integrated into the crust and filling prevents the flavor from becoming overwhelming.
All-purpose flour serves as the structural foundation for the base. While a 1:1 gluten-free substitute works, it may result in a slightly more delicate crust. Melted butter is key to achieving a professional bakery flavor; stick with full-fat butter, as the richness is essential for the taste.
Corn syrup is used in the filling to create that signature glossy stretch and to stop the sugar from crystallizing. Eggs are responsible for the lift and the final set, while vanilla introduces a floral quality that balances the richness.
While pecan halves work well, chopping them roughly ensures a bit of nut in every mouthful.
Recipe Details
Before we crack on, let's look at the numbers. These are the precision checkpoints to keep in mind while you're at the stove.
- Oven Temperature: 350°F (175°C)
- Crust Bake Time: 10-12 minutes
- Filling Bake Time: 20-25 minutes
| Original Ingredient | Substitute | Why It Works |
|---|---|---|
| Corn Syrup (1/2 cup) | Maple Syrup (1/2 cup) | Similar viscosity. Note: Adds a distinct maple flavor and slightly more moisture |
| Pecans (1.5 cups) | Walnuts (1.5 cups) | Similar fat content and crunch. Note: Walnuts have a slightly more bitter finish |
| All purpose Flour (1 cup) | Almond Flour (1 cup) | Low carb option. Note: Crust will be softer and more crumbly |
Since these are quite rich, a small square goes a long way. For a more detailed look at the nutritional makeup, you can check USDA FoodData Central.
Making the Bars
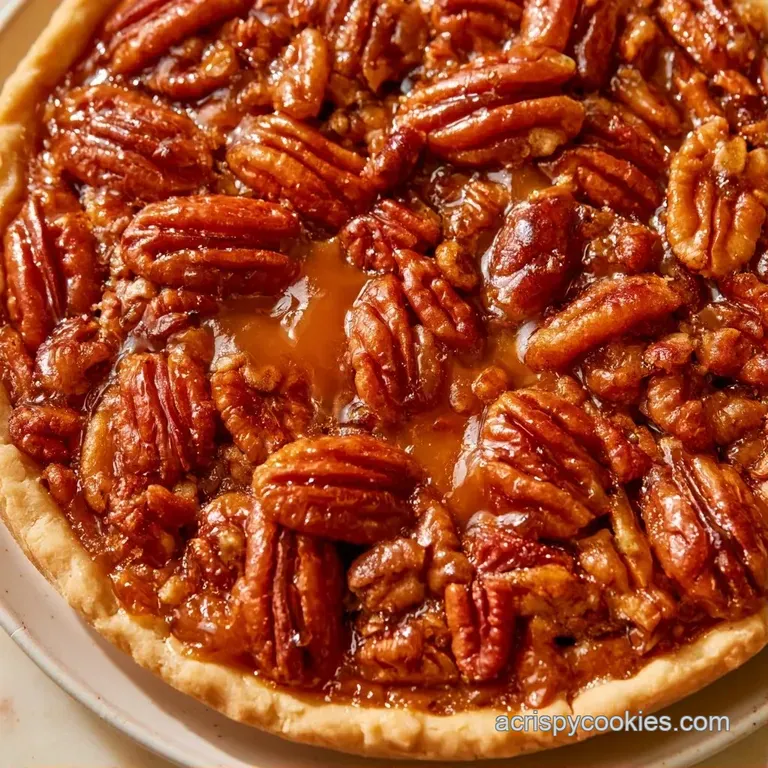
Time to start. We'll begin with the crust, move to the filling, and finish with the final baking process.
Phase 1: Pressing the Base
- Set your oven to 350°F (175°C) and line a 9x9 inch square baking pan with parchment paper, ensuring it hangs over the edges. Note: The overhang lets you lift the whole block out later.
- Combine the melted butter, granulated sugar, salt, and flour in a medium bowl, stirring until a soft dough forms.
- Firmly press the mixture into the bottom of your prepared pan. Note: A measuring cup's flat bottom is perfect for getting it really level.
- Bake the crust for 10–12 minutes until you see the edges just turning golden, then take it out to cool briefly.
Phase 2: Whisking the Filling
- Using a large bowl, whisk the melted butter, brown sugar, and corn syrup together until the mixture is smooth.
- Beat in the eggs individually, then mix in the vanilla extract and salt. Note: Adding eggs slowly prevents the batter from breaking.
- Gently fold in the chopped pecans, ensuring they are fully coated in the caramel mixture.
- Carefully pour the pecan filling over the partially baked shortbread crust and level it out with a spatula.
- Bake for 20–25 minutes until the sides are bubbling, the top reaches a mahogany gold hue, and the center still has a slight jiggle.
- Once done, let the pan cool entirely before you begin slicing.
Chef's Tip: To enhance the flavor, try toasting the chopped pecans in a dry skillet for 3-5 minutes before stirring them in. This adds a woodsy aroma that complements the butter.
Avoiding Kitchen Disasters
Most issues with Easy Pecan Pie Bars happen during the cooling phase or because of oven hot spots.
Fixing Runny Centers
If the center is still too liquid after 25 minutes, your oven might be running cold. Give it another 5 minutes, but watch the edges. If the edges are getting too dark, tent them with foil.
Preventing Burnt Edges
Sugar heavy fillings burn quickly. If you notice the sides are turning dark brown before the center sets, move the pan to the center rack or lower the heat by 10 degrees.
Stopping the Stick
If the bars are sticking to the parchment, you probably sliced them too early. The caramel filling needs to fully set at room temperature to create a clean cut.
| Problem | Fix |
|---|---|
| Filling is too soft | Chill in fridge for 2 hours before cutting |
| Crust is too crumbly | Press the dough more firmly into the pan |
| Top is too dark | Tent with foil for the last 10 mins |
Storage and Reheating
These bars are surprisingly sturdy, making them an ideal choice for prepping ahead of time.
Keep them in a single layer within an airtight container. They will last at room temperature for about 2 days, but storing them in the refrigerator for up to 7 days ensures the filling stays firm. For longer-term storage, wrap individual squares in parchment paper and freeze for up to 3 months.
To reheat, warm a square for 10-15 seconds in the microwave. This returns the filling to its silky, gooey state without overheating the crust. To prevent waste, stir any leftover pecan pieces into your morning oatmeal or use them as a garnish for vanilla ice cream.
Different Ways to Make
Feel free to adapt this recipe to suit your taste or dietary requirements.
For a warm, autumn-inspired flavor, mix a pinch of nutmeg and cinnamon into the filling. This pairing also works beautifully with my pumpkin cream cheese bars.
You can substitute the flour with a crushed graham cracker base for a flourless option, though keep in mind it will be sweeter and less buttery. For an extra layer of texture, try adding chocolate chips to the bottom of the crust before pouring in the filling. If you love handheld desserts, you might also enjoy these cookie dough bars.
| Feature | Fast (Bars) | Classic (Pie) |
|---|---|---|
| Prep Effort | Low (Press) | High (Roll/Chill) |
| Stability | High (Sturdy) | Low (Fragile) |
| Bake Time | 45 mins total | 60-90 mins total |
Decision Shortcut:
- For a firmer set: Refrigerate for 2 hours before slicing.
- For more crunch: Toast pecans for 5 mins before mixing.
- For less sugar: Replace 2 tbsp of corn syrup with water or maple syrup.
Serving Suggestions
Since these are quite indulgent, the goal is to offset the sweetness with a bright or bitter contrast.
A classic choice is a dollop of unsweetened whipped cream; its lightness balances the richness of the pecans. You could also serve them warm with a scoop of tart Granny Smith apple sorbet or simple vanilla bean ice cream.
For a cafe-style pairing, enjoy a square with a strong, black espresso. The coffee's bitterness perfectly complements the caramel notes in the filling. When offering these to guests, cut them into small 1 inch squares. Making them bite-sized prevents the richness from becoming overwhelming.
A few final thoughts on myths: Some believe corn syrup is "off limits" for a high-quality dessert. In truth, it is simply a tool for texture. Without it, the filling might become too stiff or grainy.
Another common myth is that you must "blind bake" a pie crust for 20 minutes to prevent a soggy bottom. While pre-baking is essential, the shortbread base in these Easy Pecan Pie Bars only requires 10-12 minutes because it is thinner and denser than traditional pastry.
Believe me, once you swap rolling pins for a pressed crust, you'll never return to the traditional pie method. Now, let's get baking.
Recipe FAQs
How to prevent the crust from becoming soggy?
Bake the shortbread base for 10–12 minutes before adding the filling.
Tip: ensure the edges are barely golden to create a moisture barrier.
Which base works best for these bars?
A shortbread made from flour, sugar, and melted butter provides the sturdiest support.
Tip: press the dough firmly and evenly into the pan to avoid thin spots.
Is it true you can slice these immediately after baking?
No, this is a common misconception. Cutting them too soon causes the gooey center to collapse and run.
Tip: let the pan cool completely before lifting the parchment paper to slice.
What common mistakes lead to a runny filling?
Underbaking the center is the primary cause of a filling that doesn't set.
Tip: look for bubbling edges and a slight jiggle in the center.
Why do the bars need to cool completely?
Cooling allows the caramel and eggs to set into a stable, sliceable layer.
Tip: if you enjoyed mastering this set-point technique, see how a similar stable structure is used in our pineapple cake.
Can these be stored in the freezer?
Wrap individual squares in parchment paper to keep them fresh for up to 3 months.
Tip: thaw in the fridge overnight for the best texture.
Do you really need corn syrup for the texture?
This one's false: while it is used here for stability, other syrups can work but will alter the flavor.
Tip: stick to light corn syrup for that authentic, gooey pie-like consistency.
Easy Pecan Pie Bars in 45 Minutes