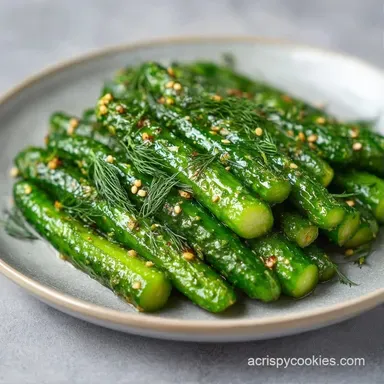
Refrigerator Dill Pickles: Crisp and Garlicky
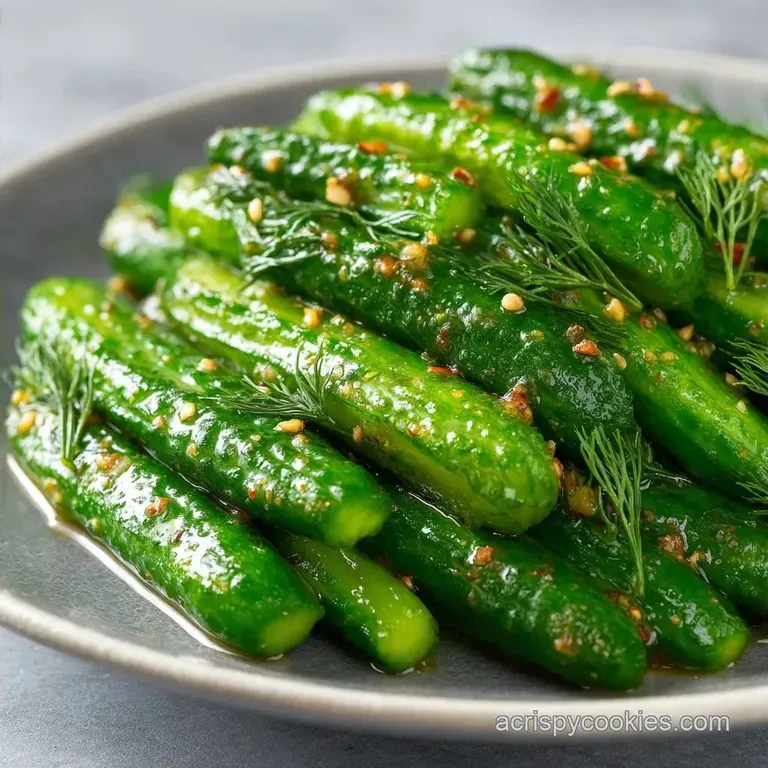
- Time: 15 min active + 24 hours chilling
- Flavor/Texture Hook: Sharp, vinegary punch with a loud, satisfying shatter
- Perfect for: Deli style sandwiches, charcuterie boards, or a salty midnight snack
- How to Make Refrigerator Dill Pickles
- Why These Stay Crunchy
- The Component Breakdown
- Gear For Your Jars
- Step By Step Process
- Fixing Common Pickle Problems
- Troubleshooting Common Issues
- Changing Up Your Flavors
- Adjusting The Batch Size
- Pickle Myths
- Storage And Waste Tips
- Best Ways To Serve
- High in Sodium
- Recipe FAQs
- 📝 Recipe Card
That first bite is everything. You know the one, where the cucumber actually snaps loudly in your mouth and that sharp, garlicky vinegar hits the back of your throat. I spent a long time trying to copycat the exact vibe of those high end deli spears, and for a while, I kept getting these limp, sad slices that felt more like cooked vegetables than a crisp snack.
The problem was almost always the blossom end of the cucumber. I used to just toss them in the jar, not realizing there's a specific enzyme in that tiny tip that turns the whole thing mushy. Once I started slicing that bit off, everything changed.
Now, I treat my kitchen like a flavor detective lab, tweaking the garlic to dill ratio until the taste is exactly what you'd expect from a professional jar.
These Refrigerator Dill Pickles aren't about canning or worrying about botulism in a cellar. It's a straightforward, "dump and chill" method. You get all the briney goodness without the stress of a boiling water bath. Trust me, once you taste the difference between store-bought and these, you won't go back.
How to Make Refrigerator Dill Pickles
The goal here is to build flavor in layers. We start with the raw, earthy crunch of the Kirby cucumber, then add the pungent bite of smashed garlic, and finish with the bright, herbal note of fresh dill. Because we aren't cooking the cucumbers themselves, they keep their structure.
The hot brine acts as the delivery system, forcing those aromatic flavors into the skin of the vegetable.
To get this right, you need the right cucumber. I always go for Kirbys because they have a thicker skin and a denser interior. If you use those long, seedless English cucumbers, you'll get a decent pickle, but it won't have that same resistance when you bite into it.
The density of the Kirby is what allows it to hold up against the acidity of the vinegar without collapsing.
Honestly, don't bother with pre peeled or sliced options. The skin is where the texture lives. When you pack them into the jar, you want them tight, almost like you're trying to fit too many clothes into a suitcase.
This prevents them from floating and ensures every single inch of the cucumber is bathed in that salty, garlicky liquid.
Why These Stay Crunchy
The secret to a great pickle is managing the pectin in the cell walls of the cucumber. When we use heat and salt correctly, we preserve that structure.
- Enzyme Removal
- Slicing off the blossom end removes pectic enzyme, which otherwise breaks down the cell walls and causes mushiness.
- Osmotic Balance
- The salt in the brine draws out excess water from the cucumber, replacing it with vinegar and salt for a firmer texture.
- Cold Set
- Chilling the jars immediately after they cool prevents the cucumbers from "cooking" in the hot brine, which keeps the snap intact.
- Acid Concentration
- The white distilled vinegar provides a sharp, consistent pH level that stops softeners from working.
| Method | Time | Texture | Best For |
|---|---|---|---|
| Quick Fridge | 24 hours | Ultra Crisp | Immediate snacking |
| Fermented | 2-4 weeks | Complex/Funky | Gut health/Traditional |
| Canned | Hours | Softer/Uniform | Long-term pantry storage |
The Component Breakdown
Understanding what each ingredient actually does helps when you want to tweak the flavor. It's not just about following a list; it's about how the brine interacts with the produce.
| Ingredient | Science Role | Pro Secret |
|---|---|---|
| Kosher Salt | Draws out water | Avoid table salt to prevent cloudiness |
| Distilled Vinegar | Preserves/Tangs | Use 5% acidity for consistent results |
| Fresh Dill | Aromatic layer | Chop roughly to release more oils |
| Garlic Cloves | Pungency | Smash them to expose more surface area |
Gear For Your Jars
You don't need a professional kitchen to do this, but a few specific tools make it easier. I use 32oz wide mouth Mason jars because they allow you to pack the spears tightly without bruising the cucumbers. A small stainless steel saucepan is best for the brine, as it heats evenly and doesn't react with the vinegar.
If you have a mandoline, it's great for rounds, but for spears, a sharp chef's knife is your best bet. Just be careful with those Kirbys; they can be surprisingly firm. Also, make sure your jars are scrubbed clean. Any leftover residue can mess with the brine's clarity or, in worst case scenarios, affect the taste.
Step by step Process
Right then, let's get into the actual making. This is where the flavor detective work happens.
- Wash the cucumbers thoroughly. Slice a thin sliver off the blossom end of each cucumber to remove softening enzymes, then slice into spears or rounds. Note: This is the most important step for crunch.
- In a small saucepan, combine the white distilled vinegar, filtered water, kosher salt, and granulated sugar.
- Bring the brine to a simmer over medium heat, stirring occasionally until the salt and sugar are completely dissolved. Sizzle for about 5 minutes and remove from heat immediately to avoid over evaporating the acidity.
- Divide the smashed garlic, chopped dill, and mustard seeds evenly between two 32oz wide mouth Mason jars.
- Pack the cucumber slices or spears tightly into the jars, leaving approximately 1/2 inch of headspace.
- Pour the hot brine over the cucumbers until they are completely submerged. Seal the lids tightly.
- Allow jars to sit at room temperature until cool, then transfer to the refrigerator to chill for 24 to 48 hours before serving.
Chef's Note: If you see small bubbles forming around the cucumbers after you pour the brine, don't panic. That's just air escaping. Gently tap the jar on the counter to get them out so the cucumbers don't float.
Fixing Common Pickle Problems
Even for a flavor detective, things can go sideways. Usually, it comes down to the temperature or the type of cucumber used.
Troubleshooting Common Issues
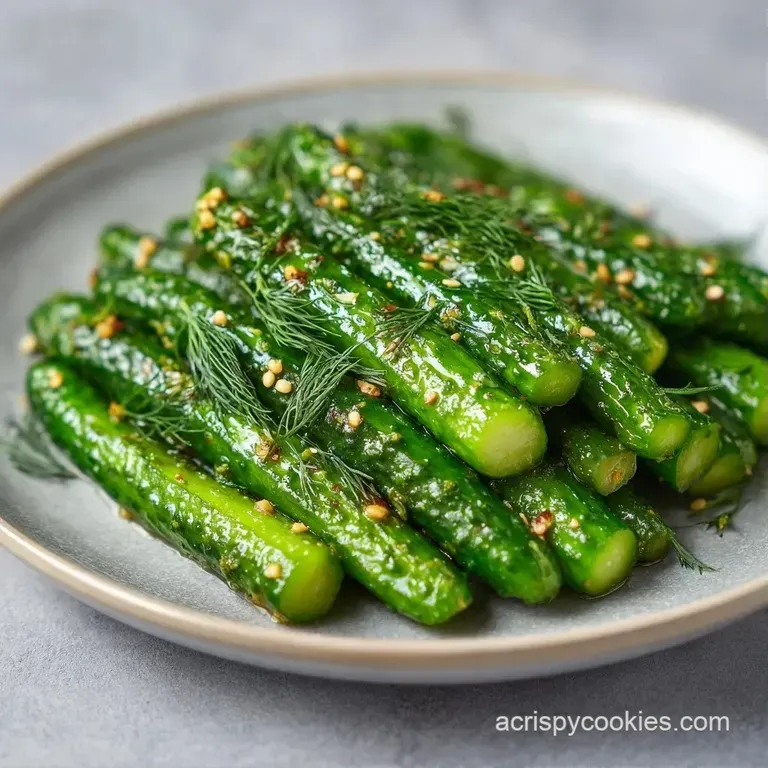
| Issue | Solution |
|---|---|
| Why Your Pickles Are Soft | This usually happens if the blossom end wasn't removed or if you used a slicing cucumber instead of a pickling one. Slicing cucumbers have thinner walls and more water, which leads to a soggy result. |
| Why The Brine Is Cloudy | Cloudiness is often caused by using tap water with high mineral content or using iodized table salt. Filtered water and kosher salt keep the liquid crystal clear. |
| Why They Taste Too Salty | If the salt hits too hard, you might have over reduced the brine by boiling it too long. Remember to remove it from the heat as soon as the sugar dissolves. |
Common Mistakes Checklist
- ✓ Did you slice off the blossom end?
- ✓ Did you use Kosher salt instead of table salt?
- ✓ Are the cucumbers fully submerged in brine?
- ✓ Did you wait at least 24 hours before opening?
- ✓ Did you use a pickling cucumber (Kirby)?
Changing Up Your Flavors
Once you've got the base Refrigerator Dill Pickles down, you can start playing with the additions. If you want a spicy kick, add a teaspoon of red pepper flakes or a sliced habanero to each jar. For something different, you could try my spicy pickled green beans for a crunchier, more pungent snack.
If you prefer something with a bit more balance, you can increase the sugar to two tablespoons. This creates a "bread and butter" hybrid that's still salty but has a mellow finish. If you're in the mood for something completely different, check out these sweet fridge pickles for a dessert adjacent condiment.
Decision Shortcut
- If you want an extra snap, do an ice water soak for 30 mins before jarring.
- If you want a deli style tang, use 100% white distilled vinegar (skip the water).
- If you want a milder garlic taste, leave the cloves whole instead of smashing them.
Adjusting The Batch Size
If you're making a massive batch for a party, don't just multiply everything linearly. When you double or triple the recipe, the salt can sometimes feel more aggressive. I recommend increasing the salt and mustard seeds to only 1.5x the original amount for a double batch, while keeping the liquids at 2x.
For those making a small batch, you can easily halve this. Just use one 32oz jar and be careful when simmering the brine, as a smaller volume of liquid evaporates much faster. Keep a close eye on the pot so you don't lose too much water, which would make the brine overly salty.
| Original Ingredient | Substitute | Why It Works |
|---|---|---|
| White Vinegar | Apple Cider Vinegar | Similar acidity. Note: Adds a fruitier, milder taste |
| Fresh Dill | Dried Dill Weed | Concentrated flavor. Note: Use 1 tbsp instead of 1/2 cup |
| Granulated Sugar | Honey | Natural sweetener. Note: Can make the brine slightly thicker |
Pickle Myths
There's a lot of bad advice out there about pickling. One big one is that you must boil the jars to make them "safe." For these Refrigerator Dill Pickles, that's totally unnecessary. Since they stay in the fridge and have a high acidity level, they don't need the heat sterilization required for shelf stable canning.
Another myth is that sugar makes pickles soft. In reality, a small amount of sugar actually helps balance the acidity and can even help maintain the crispness by interacting with the salt. The mushiness comes from enzymes and temperature, not the sugar.
Storage And Waste Tips
Keep these jars in the coldest part of your fridge. They'll stay peak crispy for about 4 to 6 weeks. Just make sure you use a clean fork every time you grab one; introducing bacteria from your fingers can shorten the shelf life and make the brine cloudy.
Don't you dare pour that leftover brine down the drain. It's liquid gold. You can use it as a marinade for grilled chicken, a splash in a Bloody Mary, or even as a brine for hard boiled eggs. If you have leftover cucumber ends, toss them into a compost bin or blend them into a quick relish.
Best Ways To Serve
These are obviously incredible on a burger, but let's think bigger. I love serving them as part of a gourmet charcuterie board. Pair the spears with a sharp cheddar, some salty prosciutto, and a dollop of grainy mustard. The acidity of the pickles cuts through the fat of the cheese and meat perfectly.
If you're doing a sandwich, try a toasted rye with pastrami and a double layer of Refrigerator Dill Pickle slices. The contrast between the warm meat and the ice cold, shattering pickle is what makes it taste like a New York deli.
You could even chop them up and fold them into a potato salad for an extra punch of flavor.
High in Sodium
1096 mg 1096 mg of sodium per serving (48% 48% of daily value)
The American Heart Association recommends a daily sodium limit of no more than 2,300 mg for most adults to reduce the risk of cardiovascular disease.
Tips to Reduce Sodium
-
Reduce Kosher Salt-30%
Cut the kosher salt amount by half. Since this is the primary sodium source, reducing it will have the most significant impact.
-
Try Salt Alternatives-25%
Replace a portion of the salt with a potassium-based salt substitute to maintain a savory taste while lowering sodium.
-
Enhance Tanginess-15%
Add a splash of lemon juice or a bit more vinegar to the brine; the increased acidity tricks the palate into needing less salt.
-
Adjust Brine Ratio-10%
Increase the amount of filtered water slightly to dilute the overall sodium concentration of the pickling liquid.
-
Boost Aromatics
Increase the amount of fresh dill and smashed garlic to create a bolder, more complex flavor profile that doesn't rely on salt.
Recipe FAQs
Do homemade dill pickles in vinegar need to be refrigerated?
Yes, since these are not canned. Keep them in the coldest part of your fridge to maintain a peak crispy texture for 4 to 6 weeks.
How to make simple dill pickles?
Simmer white distilled vinegar, filtered water, kosher salt, and sugar in a saucepan. Pack jars with cucumbers, smashed garlic, chopped dill, and mustard seeds, then pour the hot brine over them and chill for 24 to 48 hours.
How to make homemade dill pickle juice?
Combine 1 cup white distilled vinegar, 1 cup filtered water, 2 tbsp kosher salt, and 1 tbsp sugar. Bring the mixture to a simmer over medium heat until the salt and sugar are completely dissolved.
Is it true that any cucumber variety works for this recipe?
No, this is a common misconception. You must use Kirby pickling cucumbers; slicing cucumbers have thinner walls and more water, which results in a soggy pickle.
Can you use store-bought pickle juice to make more pickles?
No, it is not recommended. Commercial brines are often diluted or contain preservatives that won't provide the same crispness or flavor balance as a fresh batch.
What are some delicious ways to enjoy leftover brine?
Use it as a marinade for grilled chicken or a splash in a Bloody Mary. It also serves as an excellent brine for hard boiled eggs.
How to make these pickles sweet instead of savory?
Increase the sugar ratio and reduce the salt. If you want a more professional sugar-forward balance, try this sweet pickle brine.
Refrigerator Dill Pickles in 20 Minutes